
Verona L6-2.5L (2005)
Compressor Shaft Seal: Service and Repair
Shaft Seal Removal and Installation
Shaft Seal Removal
Tools Required:
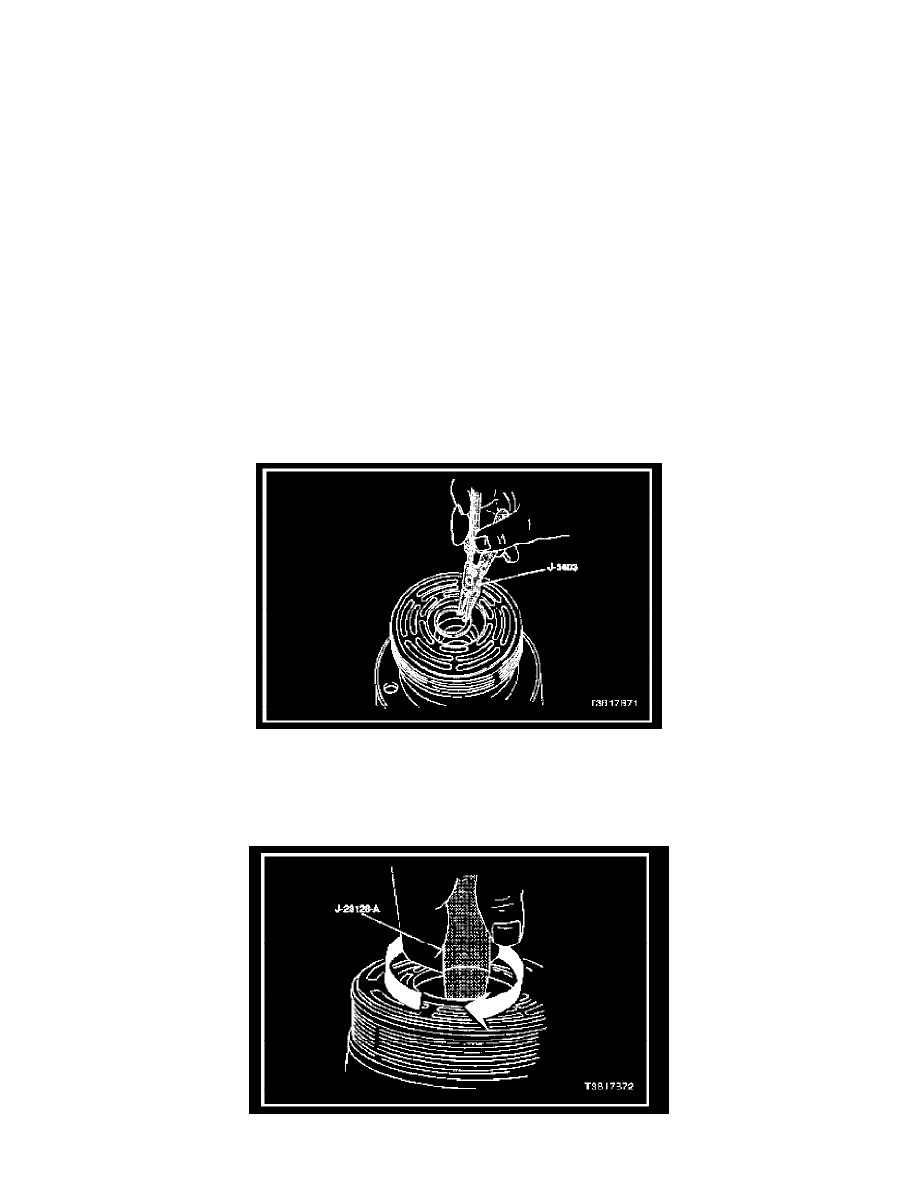
J-5403 Snap Ring Pliers
J-9553-1 O-Ring Remover
J-23128-A Seal Seat Remover/Installer
J-33011 O-Ring Installer
J-34614 Shaft Seal Protector
CAUTION: A shaft seal should not be replaced because a small amount of oil is found on the adjacent surface. The seal is designed to leak some oil for
lubrication purposes. A shaft seal should be changed only when a large amount of sprayed oil is found and then only after actual refrigerant leakage is
found by using an approved leak detection procedure. Refer to Leak Testing Refrigerant System.
Should a compressor shaft seal ever have to be replaced, the receiver-dryer in this system must also be removed from the vehicle. The oil in the
receiver-dryer must then be drained, measured and replaced. Refer to Discharging, Adding Oil, Evacuating, and Charging Procedures for A/C System.
1. Disconnect the negative battery cable.
2. Recover the refrigerant. Refer to Discharging, Adding Oil, Evacuating, and Charging Procedures for A/C System.
3. Loosen and reposition the compressor in the mounting brackets.
4. Remove the clutch drive plate and hub assembly from the compressor. Refer to Clutch Plate and Hub Assembly Disassembly.
5. Use the snap ring pliers J-5403 to remove the shaft seal retaining ring.
6. Thoroughly clean the inside of the compressor housing area surrounding the shaft, the exposed portion of the seal, the shaft itself, and the O-ring
groove.
CAUTION: Any dirt or foreign material that enters the compressor may cause damage.
7. Fully engage the knurled tangs of the seal seat remover/installer J-23128-A into the recessed portion of the seal by turning the handle clockwise.