
Verona L6-2.5L (2005)
8. When the fluid level checking procedure is completed, wipe any fluid from the transaxle case with a rag or shop towel. Also, check that the fluid
fill cap and the vent tube are properly installed.
Changing the Fluid
Changing the Fluid
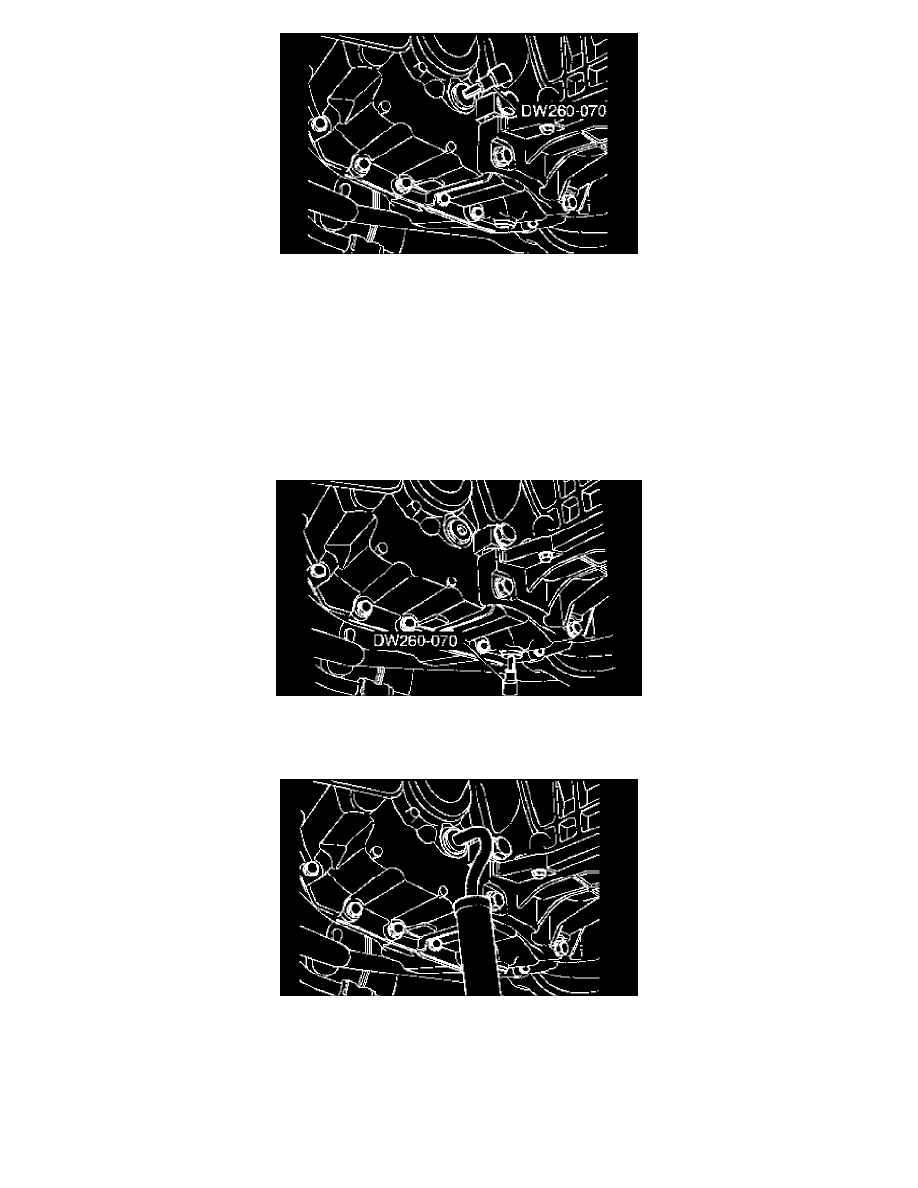
Tools Required:
DW260-070 Plug Remover/Installer
1. Raise and suitably support the vehicle.
2. Place a fluid container below the fluid drain plug.
3. Remove the transaxle fluid drain plug using the plug remover/installer DW260-070.
Tighten: Tighten the Plug to 45 Nm (33 ft. lbs.).
4. Adding transaxle fluid.
5. Connect the negative battery cable.
Fluid Level Set After Service
Fluid Level Set after Service
1. Add transaxle fluid through the fill cap hole prior to adjusting the fluid level. The amount of fluid to add should be based on the type of service
done.