
Verona L6-2.5L (2005)
Hose/Line HVAC: Service and Repair
A/C Suction Hose Assembly Removal and Installation
A/C Suction Hose Assembly Removal and Installation
A/C Suction Hose Assembly Removal
1. Disconnect the negative battery cable.
2. Discharge and recover the refrigerant. Refer to Discharging, Adding Oil,Evacuating, and Charging Procedures for A/C System.
3. Remove the surge tank mounting screws.
4. Remove the surge tank.
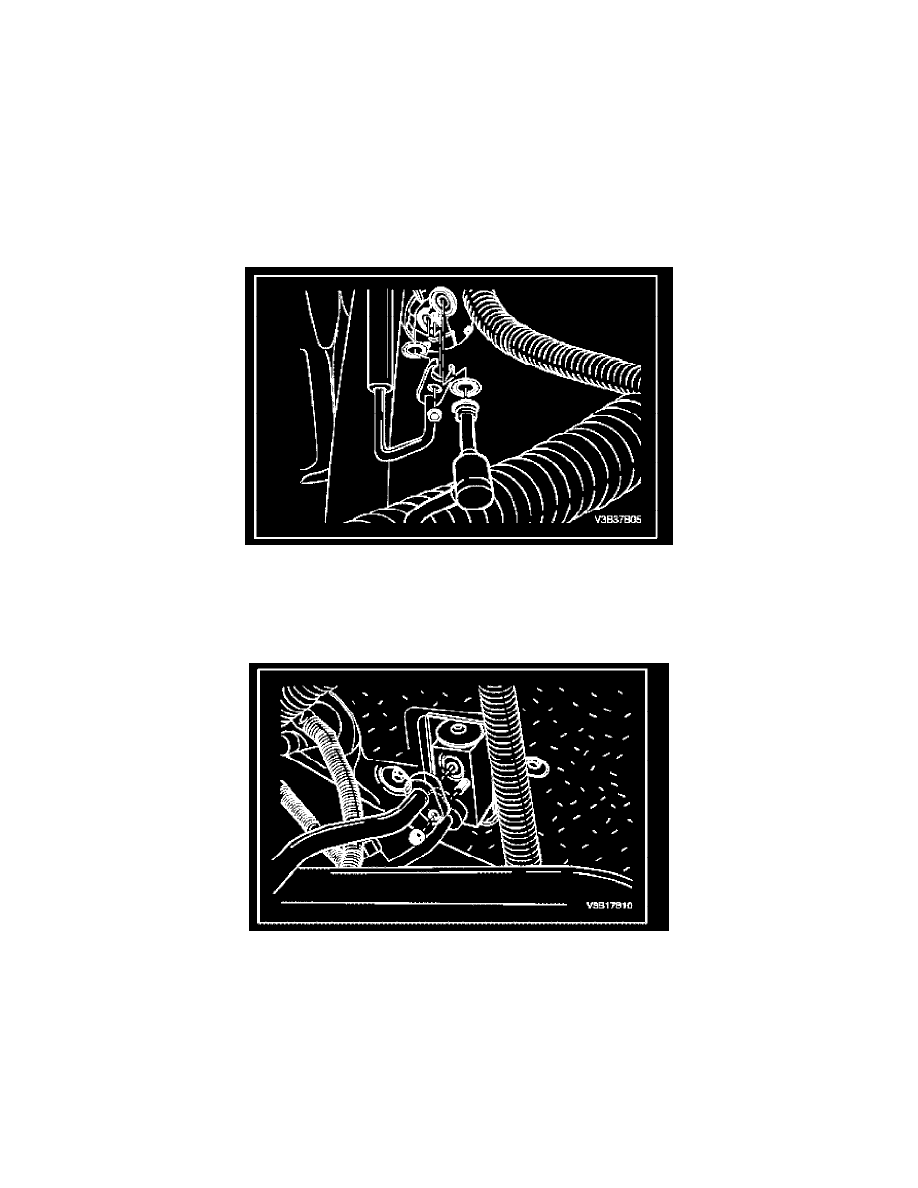
5. Remove the retaining nut from the hose connecting block and disconnect the air conditioning (A/C) hose assembly connector block at the top rear
of the compressor.
6. Cap all of the openings to prevent contamination.
7. Remove the suction hose support clamp bolt and the clamp along the left side of the engine compartment fender well.
8. Remove the evaporator flange connecting block retaining nut and disconnect the A/C suction hose at the fire wall evaporator flange connecting
block. Discard the O-ring seal.
9. Remove the A/C suction hose.
10. Cap the opening to the evaporator flange to prevent contamination.
A/C Suction Hose Assembly Installation
1. Install a new O-ring seal onto the suction hose end at the evaporator flange.
2. Position the hose assembly and the support clamp in place in the vehicle.
3. Insert the suction hose end into the evaporator flange.