Verona L6-2.5L (2005)

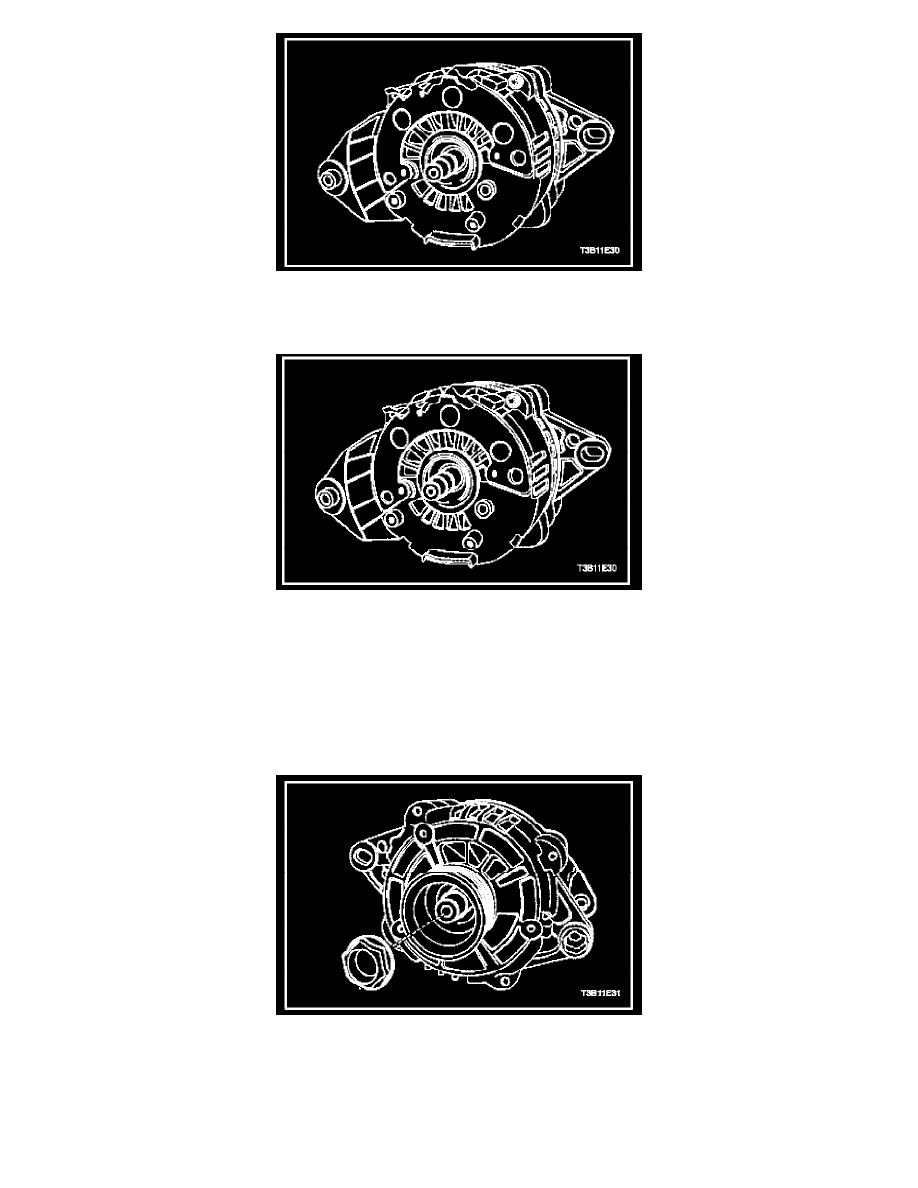
2. Install the stator.
3. Position the rotor assembly shaft with the drive end frame in the slip ring end assembly until the gap between the outer lace and the end frame
casting is 1.9 mm (0.075 inch).
4. Install the generator through-bolts.
Tighten:
Tighten the generator through-bolts to 10 Nm (89 lb-in).
5. Position the fan, the collars, and the pulley on the rotor shaft and secure with the nut.
Tighten:
Tighten the generator drive end bearing nut to 81 Nm (60 lb-ft).
6. Install the generator. Refer to Generator Installation.
7. Weld the brush holder terminal to the regulator terminal, if removed.
8. Fix the brush holder with the retainer pin, and weld the regulator/brush holder assembled terminal to the rectifier terminal.
9. Apply silicone grease between the bridge and the end frame for radiation purposes.
10. Fasten the screws holding the rectifier regulator/brush holder assembly to the end frame.
