
Verona L6-2.5L (2005)
Starter Motor: Service and Repair
Disassembly and Assembly
DISASSEMBLY
1. Remove the starter.
2. Remove the starter through-bolts.
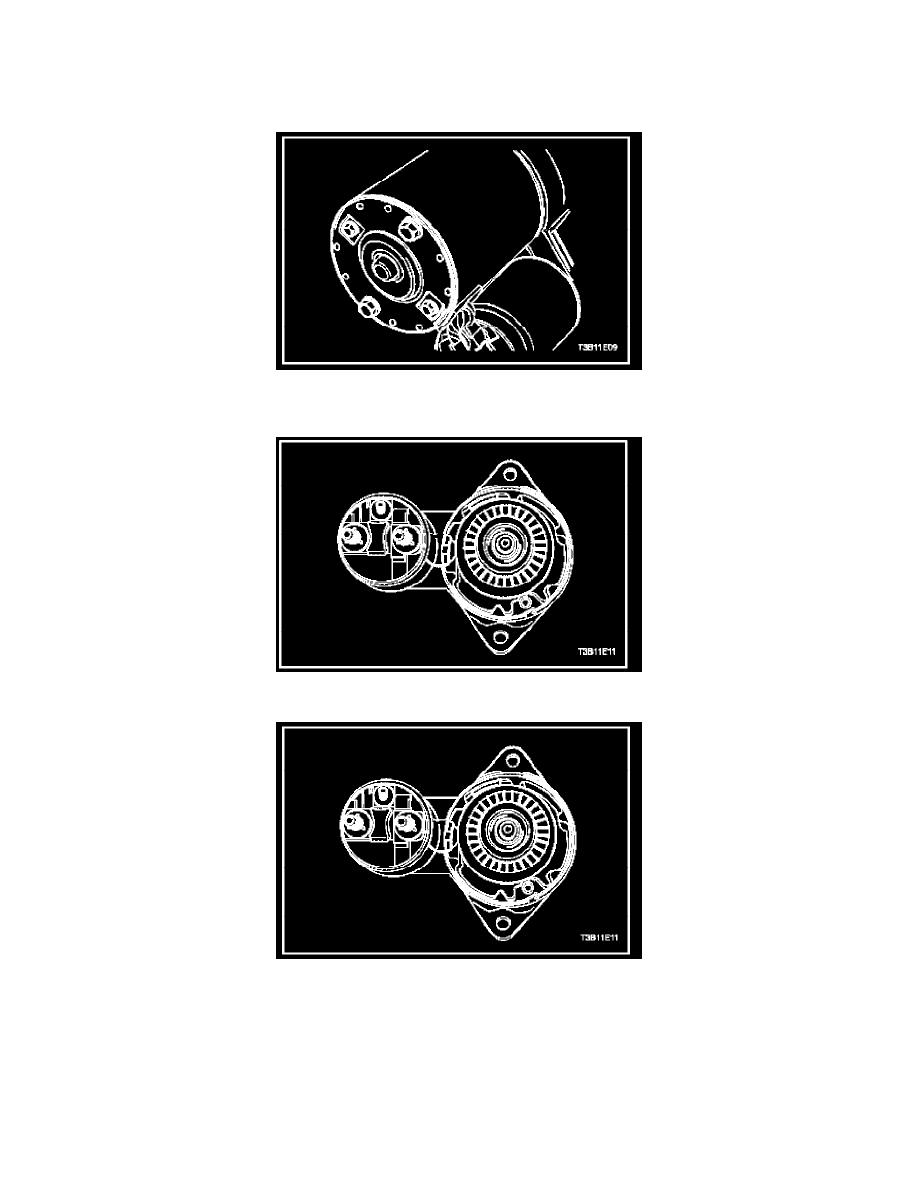
3. Remove the commutator end frame and brush holder assembly.
4. Inspect the brushes, the pop-out springs, and the brush holders for wear and damage. Replace the assembly, if needed.
5. Check the armature to see if it turns freely. If the armature does not turn freely, break down the assembly immediately, starting with Step 14.
Otherwise, give the armature a no-load test.
6. To begin the no-load test, close the switch and compare the rpm, the current, and the voltage readings with the specifications. Refer to Starter
Specifications. Make disconnections only with the switch open. Use the test results as follows:
CAUTION: Complete the testing in a minimum amount of time to prevent overheating and damaging the solenoid.
NOTE: If the specified current draw does not include the solenoid, deduct from the armature reading the specified current draw of the solenoid
hold-in winding.