
Verona L6-2.5L (2005)
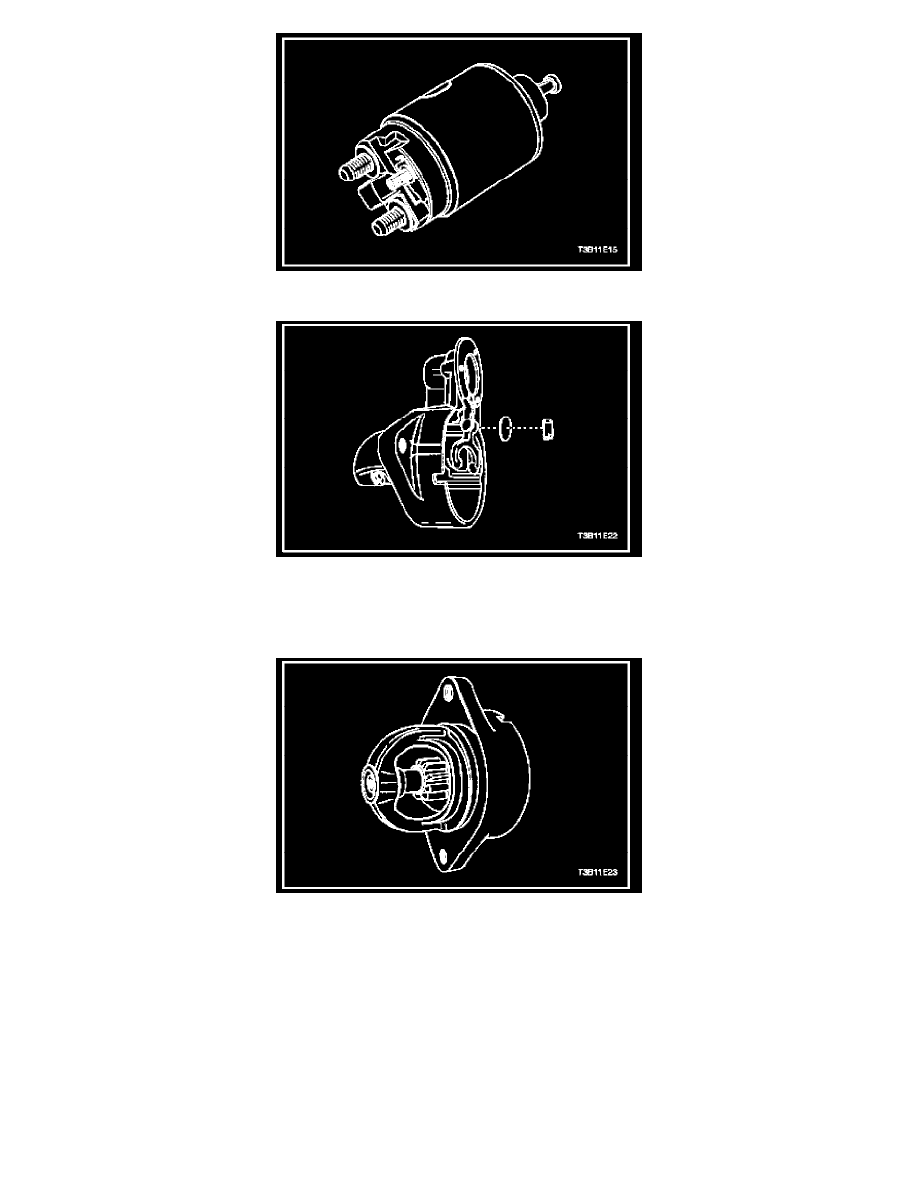
23. Rotate the solenoid 90 degrees and remove it along with the return spring.
24. Remove the plunger with the boot and the shift lever assembly. Test the solenoid windings, if not done in Step 11.
25. When the starter motor is disassembled and the solenoid is replaced, it is necessary to check the pinion clearance.
NOTE: The pinion clearance must be correct to prevent the buttons on the shift lever yoke from rubbing on the clutch collar during the cranking.
26. Disconnect the motor field coil connector from the solenoid motor terminal and carefully insulate the connector.
27. Connect one 12-volt battery lead to the solenoid switch terminal and the other to the starter frame.
28. Flash a jumper lead momentarily from the solenoid motor terminal to the starter frame, allowing shifting of the pinion in the cranking position,
where it will remain until the battery is disconnected.