Verona L6-2.5L (2005)

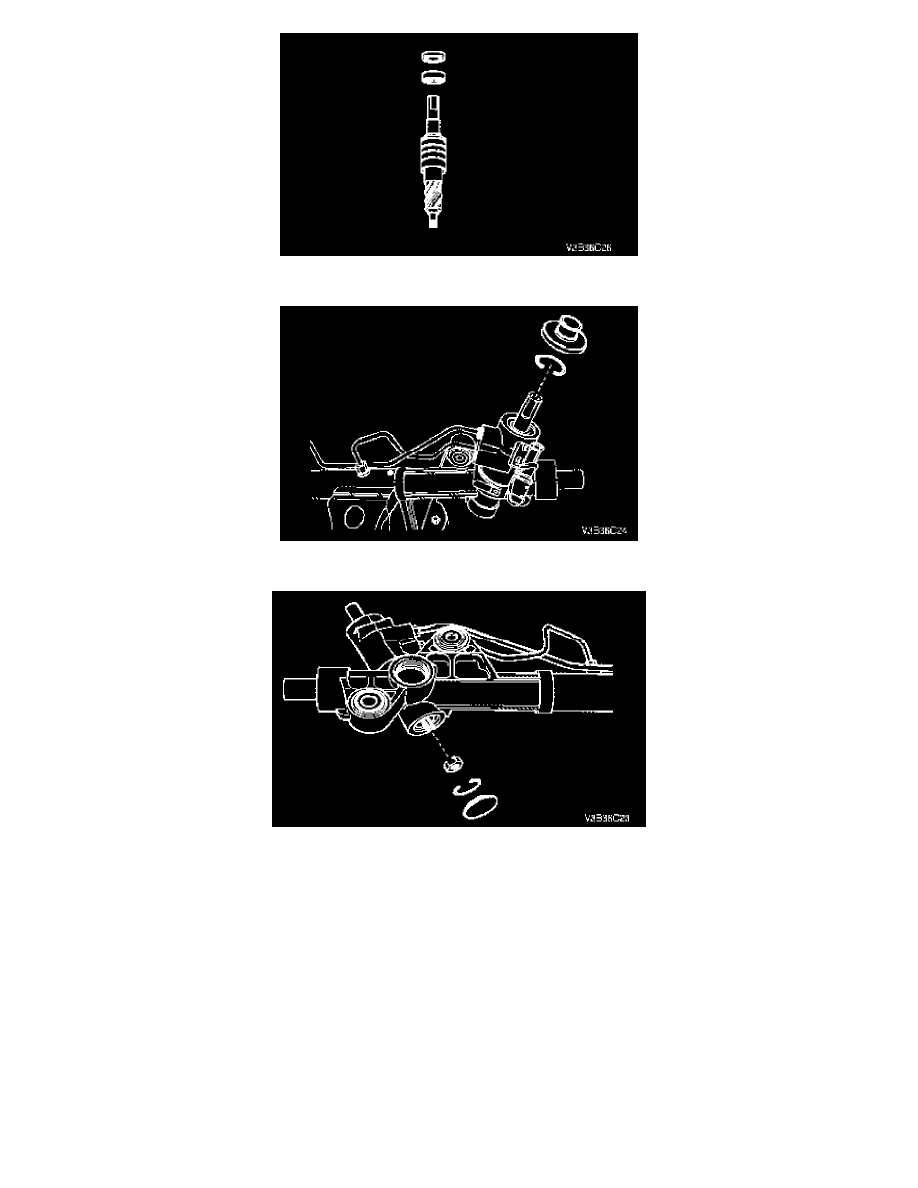
4. Install the pinion shaft, seal and needle bearing.
5. Install the snap ring and dust cover (Rubber).
6. Install the pinion lock nut, snap ring and dust cover.
Tighten: Tighten the pinion lock nut to 30 Nm (22 ft. lbs.).
7. Coat the rack bearing, the adjuster spring, and the adjuster plug with lithium-based grease and install them into the housing.
8. With the rack centered, turn the adjuster plug clockwise until a torque of 7 Nm (62 inch lbs.) is obtained, then back it off by 30 to 40°. Check the
pinion torque. Maximum pinion preloaded torque is 1 Nm (9 inch lbs.).
