
Verona L6-2.5L (2005)
2. Press the brake pedal and move the shift lever through the gear ranges, pausing a few seconds in each range. Return the shift lever to the park
position. (Left-Hand Drive Shown, Right-Hand Drive Similar.)
3. Raise and suitably support the vehicle.
4. Place a fluid container below the fluid level plug.
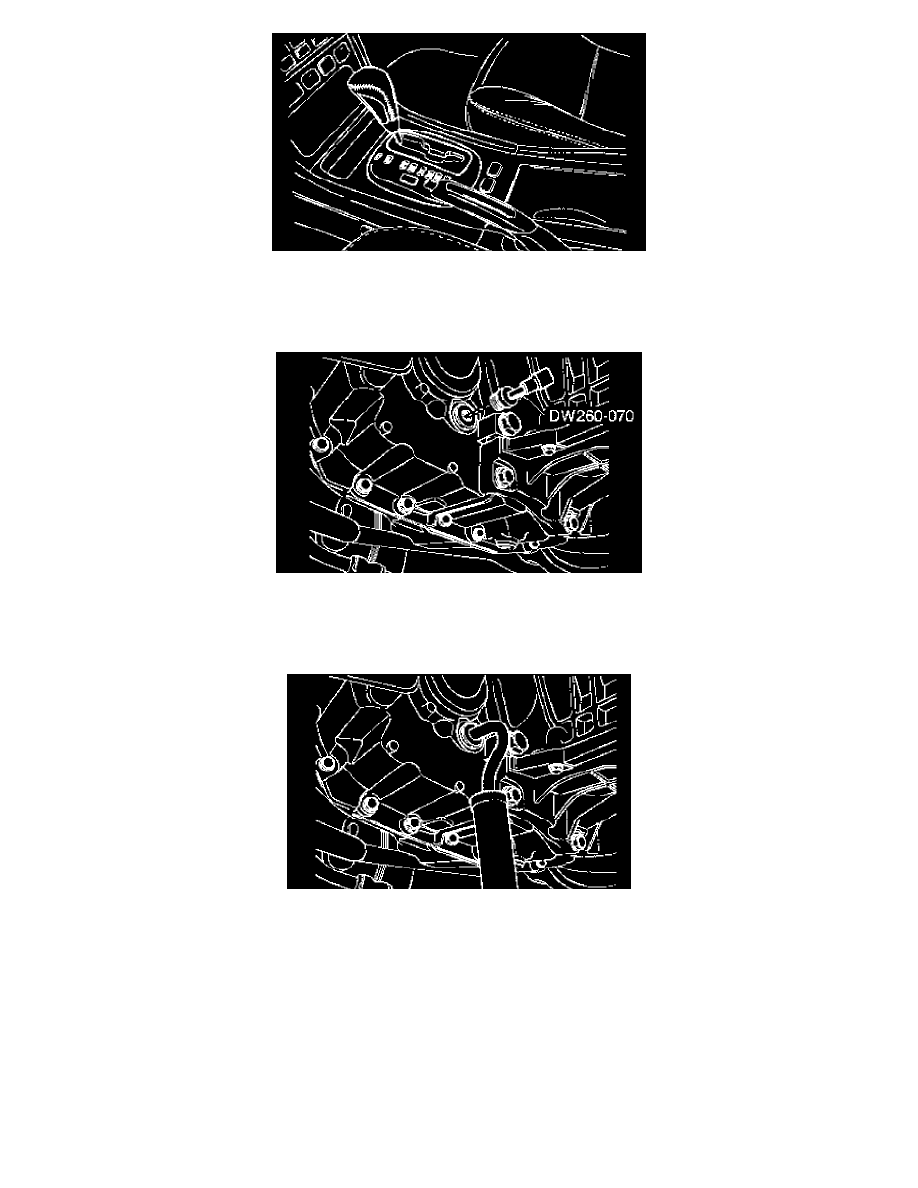
5. Remove the fluid level plug using the plug remover/installer DW260-070. Because the transaxle operates correctly over a range of levels, fluid
may or may not drain out of the plug hole when the plug is removed.
CAUTION: Do not remove the fluid level plug if the transaxle fluid is hot. This may cause injury if the fluid drains from the plug hole.
6. Check the oil fluid level. If fluid does not drain through the plug hole after adding a total of 4 liters, then the transaxle was either underfilled or the
transaxle is leaking fluid. Inspect the transaxle for fluid leaks. Fix any leaks before setting the transaxle fluid level.
7. Install the fluid level plug using the plug remover/installer DW260-070.
Tighten: Tighten the Plug to 45 Nm (33 ft. lbs.).