
Vitara 4WD L4-2.0L (2003)
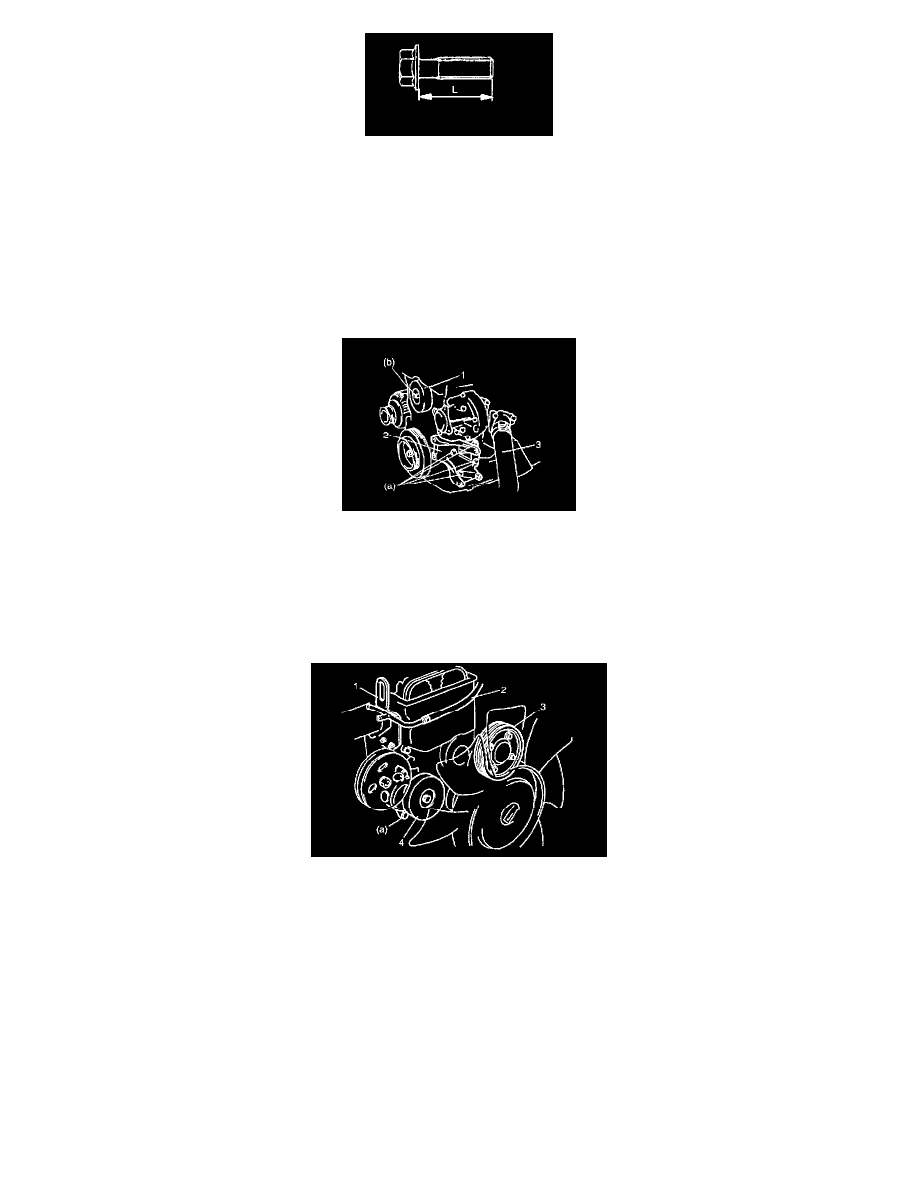
CAUTION: Be sure to use the following bolt for fixing special tool to crankshaft pulley.
Bolt size: M8, P1.25, L=45 mm
Strength: 7T
5. Install A/C compressor bracket (2), if equipped. Tighten bracket bolts to specified torque.
Tightening torque
A/C compressor bracket bolt (a): 55 Nm (5.5 kgf, 40.0 ft. lbs.)
6. Install generator belt idler pulley (1). Tighten nut to specified torque.
Tightening torque
Generator belt idler pulley bolt (b): 45 Nm (4.5 kgf, 33.0 ft. lbs.)
7. Connect radiator outlet hose (3) to thermostat cap.
8. Install generator belt tensioner (4). Tighten bolts to specified torque.
Tightening torque
Generator belt tensioner bolt (a): 25 Nm (2.5 kgf, 18.5 ft. lbs.)
9. Install water pump pulley (3).
10. Install generator belt by turning generator belt tensioner center bolt clockwise to loosen tension of generator belt.
11. Install cooling fan belt, fan pulley, cooling fan and shroud.
12. Install bypass pipe (1) and water bypass hose No.2 (2).
13. Install cylinder head cover.
14. Install oil pan and oil pump strainer.
15. Adjust cooling fan belt tension.
16. Refill cooling system with coolant, front differential with gear oil, engine with engine oil and power steering system with specified fluid.
17. Verify that there is no coolant leakage, oil leakage, power steering fluid leakage and exhaust gas leakage at each connection.
Inspection