
XL-7 2WD V6-3.6L (2007)
Heated Glass Element: Diagnostic Aids
Checking Aftermarket Accessories
Checking Aftermarket Accessories
Do not connect aftermarket accessories into the following circuits:
WARNING: Refer to [Restraint System Service Precautions].
^
SIR circuits, all such circuits are indicated on circuit diagrams with the SIR symbol.
CAUTION: Refer to OBD II Symbol Description Notice.
^
OBD II circuits, all such circuits are indicated on circuit diagrams with the OBD II symbol.
Always check for aftermarket accessories (non-OEM) as the first step in diagnosing electrical problems. If the vehicle is so equipped, disconnect the
system to verify that these add-on accessories are not the cause of the problems.
Possible causes of vehicle problems related to aftermarket accessories include:
^
Power feeds connected to points other than the battery
^
Antenna location
^
Transceiver wiring located too close to vehicle electronic modules or wiring
^
Poor shielding or poor connectors on antenna feed line
^
Check for recent service bulletins detailing installation guidelines for aftermarket accessories.
Circuit Protection - Fuses
Circuit Protection - Fuses
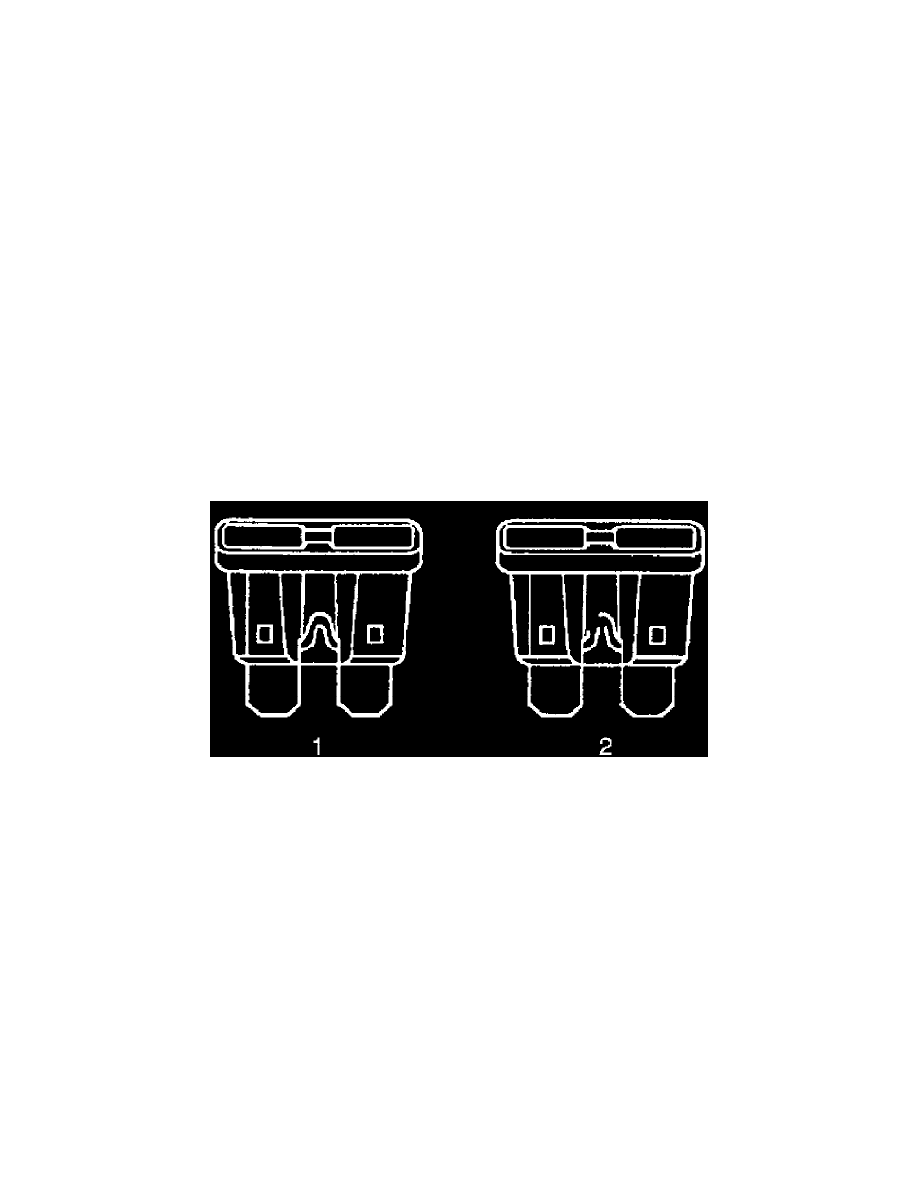
The fuse is the most common method of an automotive wiring circuit protection. Whenever there is an excessive amount of current flowing through a
circuit the fusible element will melt and create an open or incomplete circuit. Fuses are an one time protection device and must be replaced each time the
circuit is overloaded. To determine if a fuse is open, remove the suspected fuse and examine the element in the fuse for an open (2). If not broken (1),
also check for continuity using a DMM or a continuity tester. If the element is open or continuity is suspect, replace the fuse with one of equal current
rating.
Fuse Types