
XL-7 4WD V6-2.7L (2003)
NOTE:
^
Check length of push rod clevis (2).
^
Before installing master cylinder, adjust booster piston rod.
^
Apply silicone grease to master cylinder piston.
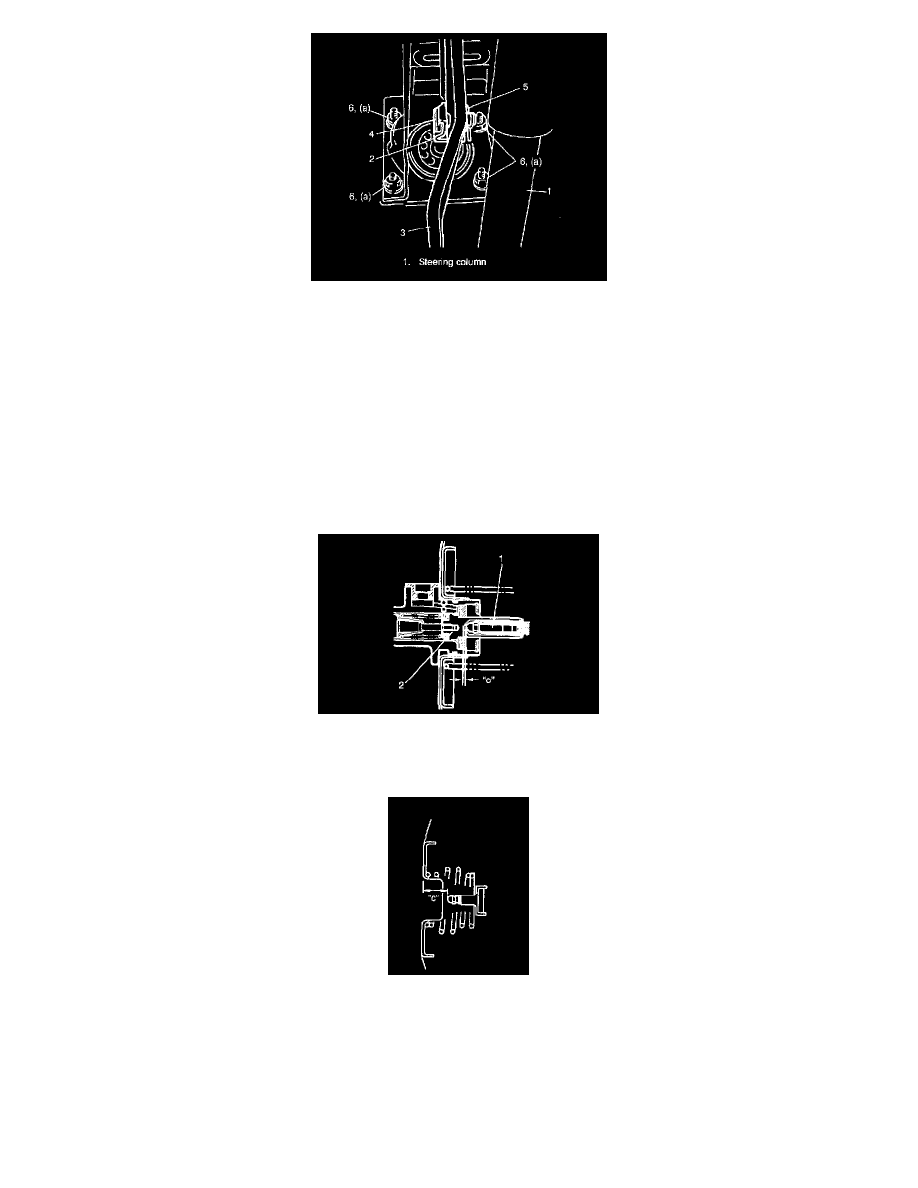
1. Install booster to dash panel as shown in the figure. Then connect booster push rod clevis (2) to pedal arm (3) with clevis pin (4) and clip (5).
2. Tighten booster attaching nuts (6) to the specified torque.
Tightening torque
Booster attaching nut (a): 13 Nm (1.3 kgf-m. 9.5 ft. lbs.)
3. Connect brake vacuum hose to brake booster.
4. Install master cylinder.
Clearance between Booster Piston Rod and Master Cylinder Piston Inspection and Adjustment
The length of booster piston rod (1) is adjusted to provide specified clearance "0" between piston rod (1) end and master cylinder piston (2).
1. Before measuring clearance, push piston rod several times so as to make sure reaction disc is in place.
2. Keep inside of booster at atmospheric pressure for measurement.
3. Check depth of piston rod, i.e. distance between piston rod and mating surface of booster-to-master cylinder.
Depth of piston rod for check
"c": 15.8 - 16.6 mm (0.623 - 0.653 inch)