
XL-7 Limited 4WD V6-2.7L (2002)
Lateral Accelerometer: Service and Repair
G Sensor Removal and Installation
Removal
1. Turn ignition switch to "OFF" position and disconnect battery negative cable.
2. Remove rear center console box.
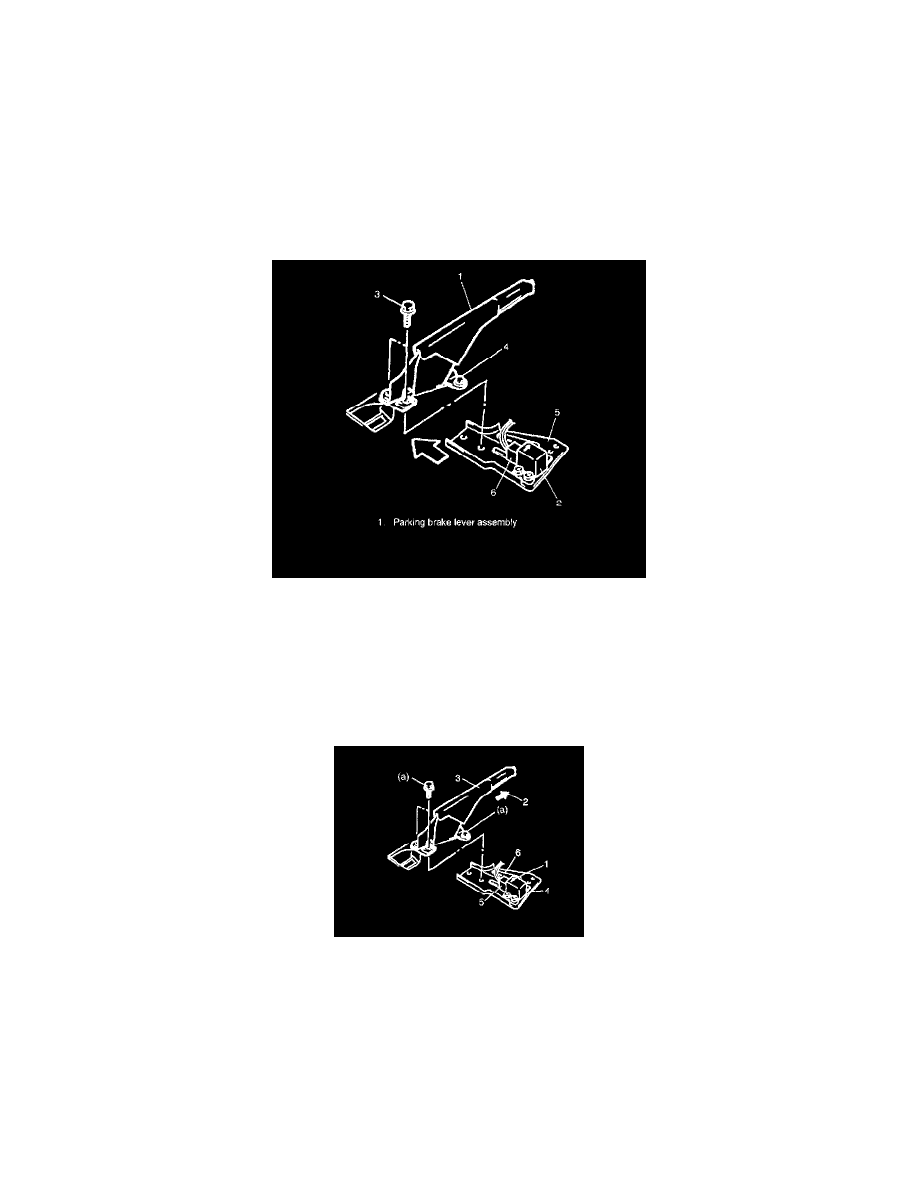
3. Remove parking brake lever bolts (rear side) (3) and loosen parking brake lever bolts (front side) (4) and then G sensor (2) with bracket from
floor.
NOTE: Loosen only bolt (front side) (4).
4. Remove sensor (2) with bracket (5) from floor.
5. Disconnect connector (6) from sensor (2).
CAUTION:
-
Do not separate sensor and bracket. It will lead to erroneous assembly.
-
Sensor must not be dropped or shocked. It will affect its original performance.
Installation
1. Connect connector (5) to sensor (4) securely.
2. Install sensor (4) with bracket (6) and parking lever assembly (3) onto floor so that arrow mark (1) directs vehicle forward (2).
Tightening torque
Parking brake lever assembly mounting bolt (a): 23 Nm (2.3 kgf-m, 17.0 ft. lbs.)
3. Install rear console box.
Inspection
1. Check sensor bracket for bend.