
XL-7 Limited 4WD V6-2.7L (2002)
4. Loosen floor suction pipe and floor liquid pipe mounting bolt (1).
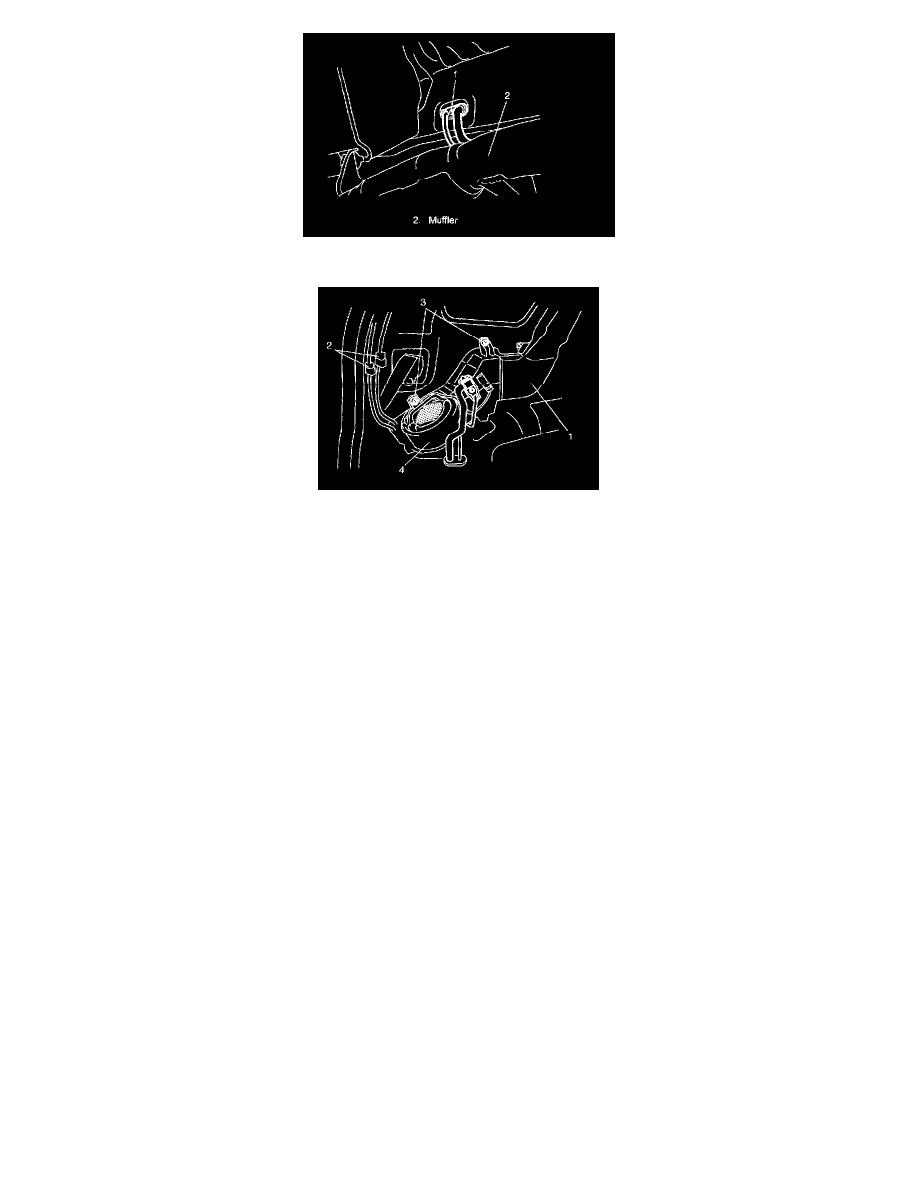
5. Remove rear A/C No.2 duct (1).
6. Disconnect rear A/C unit wire couplers (2).
7. Remove rear A/C unit mounting bolts (3), and then remove rear A/C unit (4).
NOTE: Cap open fitting immediately to keep moisture out of system.
Installation
1. Reverse removal procedure to install rear A/C unit noting the following points.
-
Evacuate and charge system. Refer to "Recovery" and "Evacuating of A/C System" in "Operation Procedure for Charging A/C with
Refrigerant:".
-
When the rear A/C evaporator thermistor (temperature sensor) removed, it should be reinstalled in original position.
-
If rear A/C unit or rear A/C evaporator is replaced, pour 25 cu.cm (25 cc) of refrigerating oil to compressor suction-side.