XL-7 Standard 2WD V6-2.7L (2001)

Fluid - A/T: Service and Repair
FLUID LEVEL
Level Check At Normal Operating Temperature
1. Stop vehicle and place it level.
2. Apply parking brake and place chocks against wheels.
3. With selector at P position, start engine.
4. Warm up engine till fluid temperature reaches normal operating temperature (70 - 80° C (158 - 176° F)). As a guide to check fluid temperature,
warm up engine till engine coolant temperature meter indicated around 1 unit above "C" point.
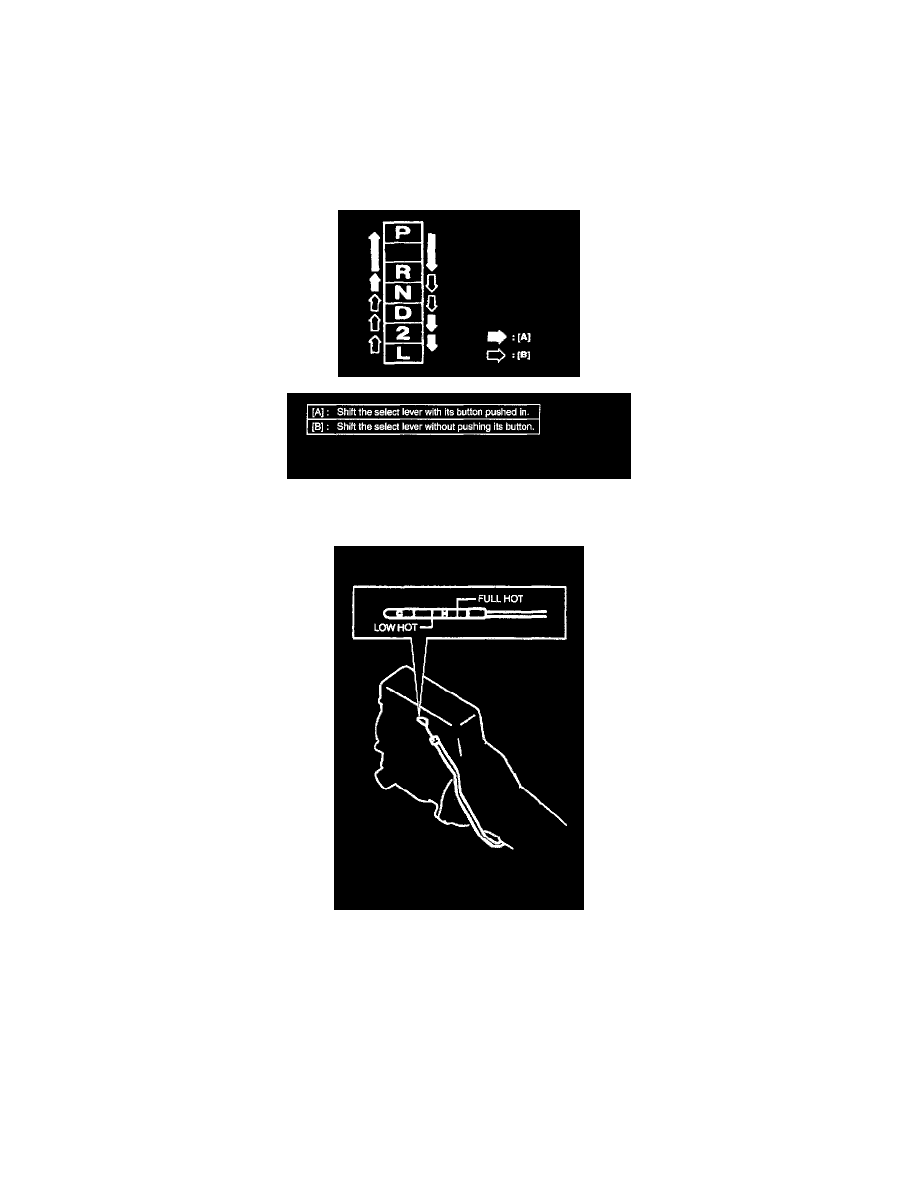
5. Keep engine idling and shift selector slowly to "L" and back to "P" position.
6. With engine idling, pull out dipstick, wipe it off with a clean cloth and put it back into place.
7. Pull out dipstick again and check fluid level indicated on it. Fluid level should be between FULL HOT and LOW HOT. If it is below LOW HOT,
add an equivalent of DEXRON III up to FULL HOT.
Fluid specification:
An equivalent of DEXRON III
NOTE:
^
DO NOT RACE ENGINE while checking fluid level, even after the engine start.
^
DO NOT OVERFILL. Overfilling can causes foaming and loss of fluid through breather. Then slippage and transmission failure can result.
^
Bringing the level from LOW HOT to FULL HOT requires 0.3 liters (0.64/0.53 US/Imp. pt).
^
If vehicle was driven under high load such as pulling a trailer, fluid level should be checked about half an hour after it is stopped.
Level Check At Room Temperature
