
XL-7 Standard 4WD V6-2.7L (2002)
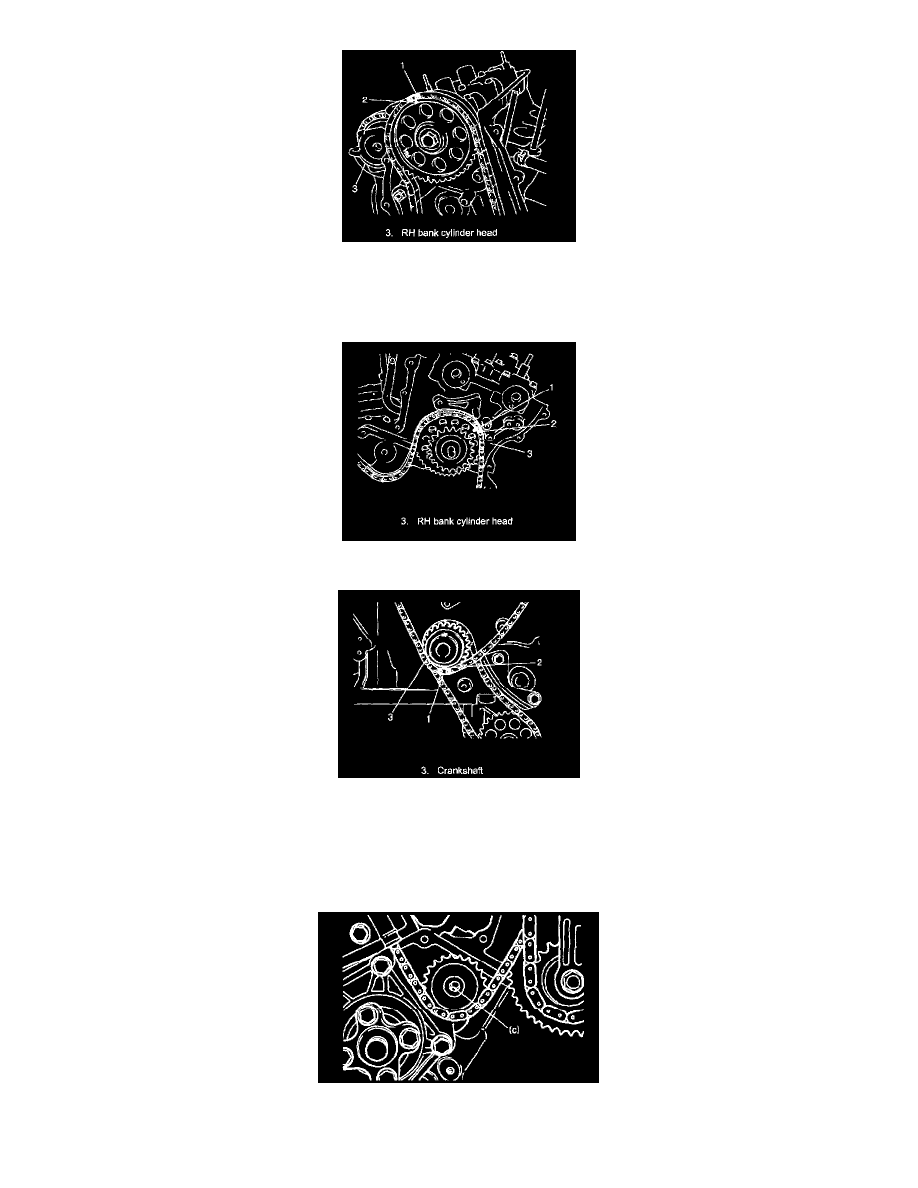
6. Install 1st timing chain by aligning match marks (2) on RH silver plate (1) of 1st timing chain and RH bank 1st timing chain intake camshaft
sprocket.
7. Apply oil to bush of idler sprocket No.2.
8. Install idler sprocket No.2 and sprocket shaft.
9. Install idler sprocket No.2 by aligning match marks (2) on LH silver plate (1) of 1st timing chain.
10. Install crankshaft sprocket by aligning match marks (2) on gold or yellow plate (1) of 1st timing chain and crankshaft timing sprocket.
To install it, fit a spanner to hexagonal part at the center of RH bank intake camshaft to turn a little.
CAUTION: Do not turn camshaft more than necessary. If turned excessively valve and piston may get damaged.
11. Apply oil to bearing of idler sprocket No. 1.
12. Install idler sprocket No.1.
Tightening torque
Idler sprocket No.1 bolt (c): 45 Nm (4.5 kgf-m, 32.5 ft. lbs.)