
XL-7 Standard 4WD V6-2.7L (2002)
Installation
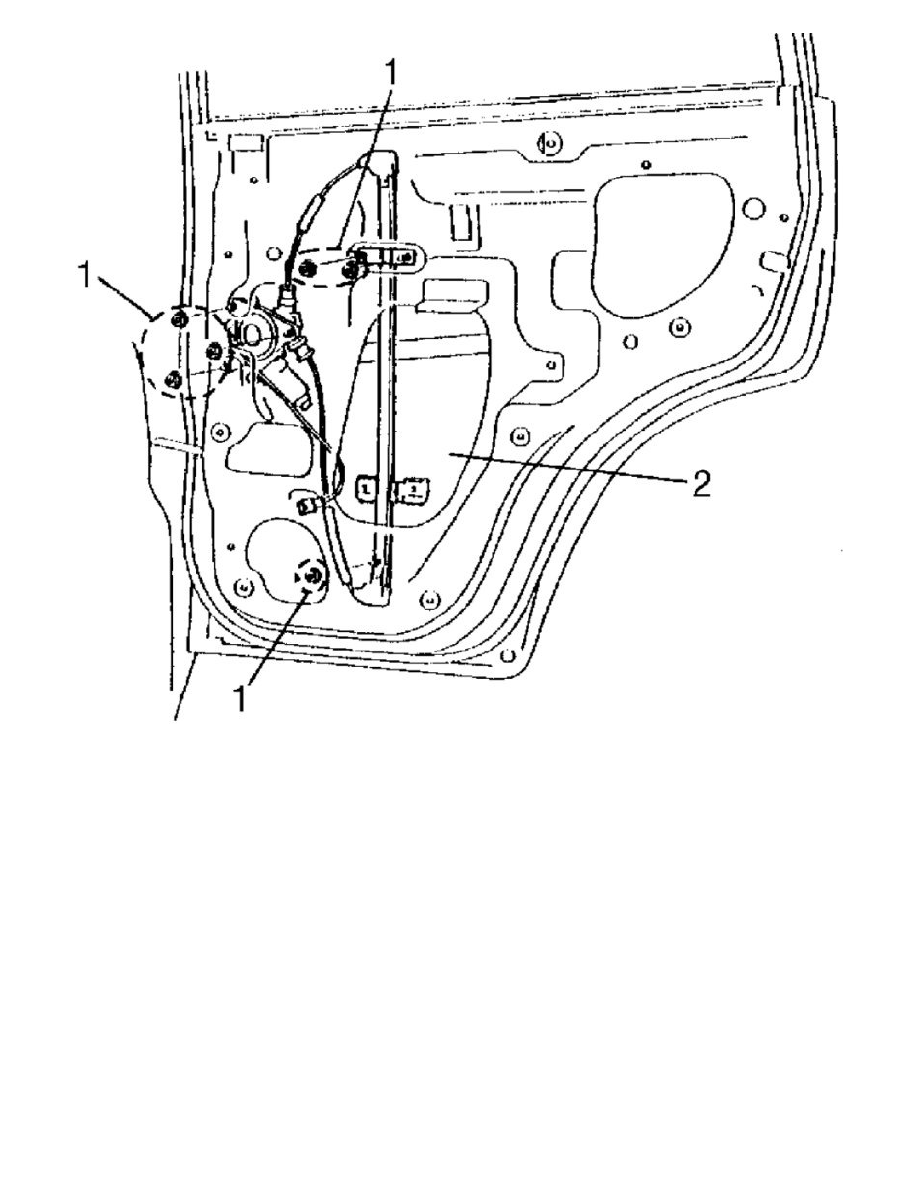
Reverse removal sequence to install door window regulator noting the following points.
-
Tighten regulator base nuts according to the order (a, b, c) shown in the figure.
-
Adjust door window regulator according to the following procedure.
a. Loosen 3 nuts, 2 screws and 2 bolts.
b. Raise window fully.
c. Tighten 3 regulator rail nuts according to the order (d, e, f) shown in the figure and 2 center sash bolts A.
d. Lower window.
e. Tighten 2 screws B to specified torque. Tighten front screw first, then rear.
Tightening torque
Glass attaching screw (front and rear): 2.5 N.m (0.25 kg-m, 1.8 lbf-ft)