
XL-7 Touring 4WD V6-2.7L (2002)
Fuel Injector: Testing and Inspection
Fuel Injector Inspection
WARNING: As fuel is injected in this inspection, perform in a well ventilated area and away from open flames.
Use special care to prevent sparking when connecting and disconnecting test lead to and from battery.
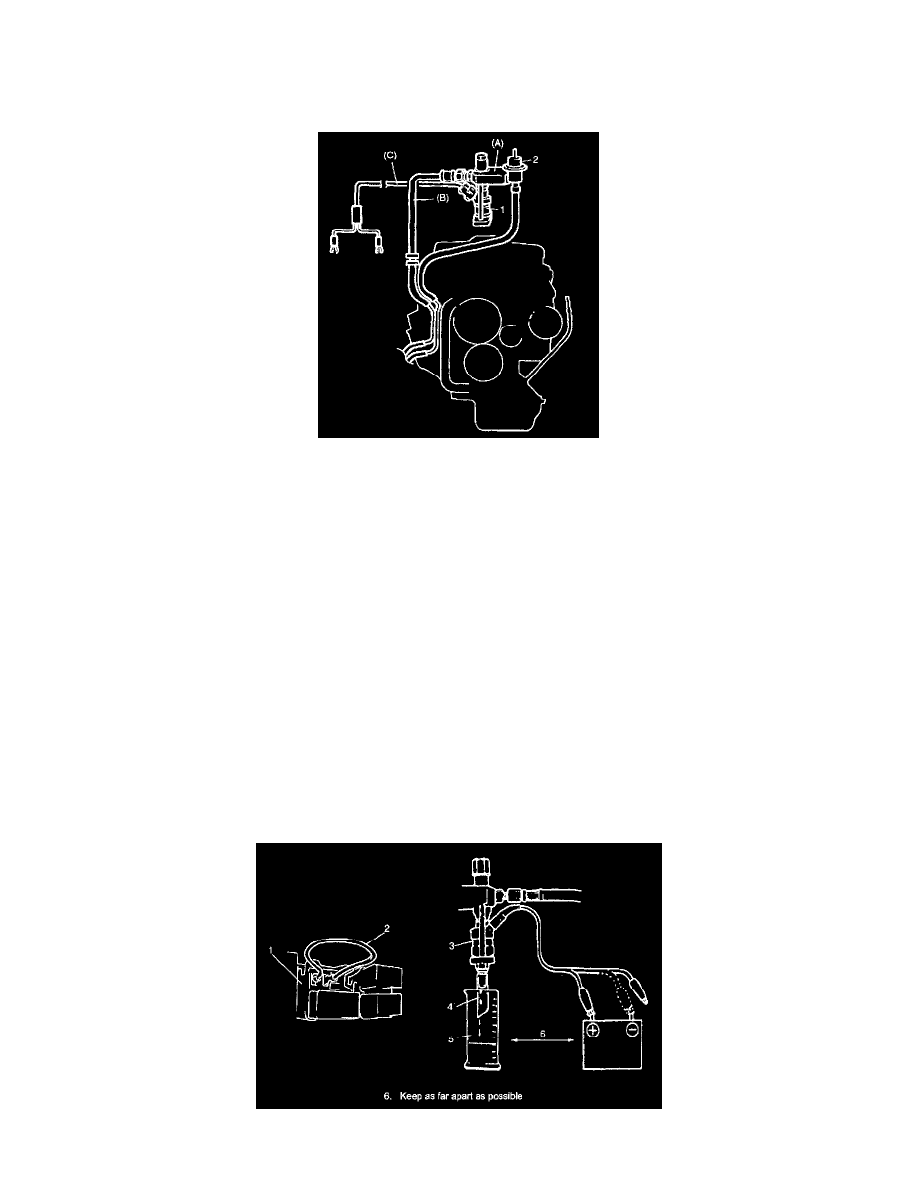
1. Install injector (1) and fuel pressure regulator (2) to special tool (injector checking tool).
NOTE: Remove grommet from injector, then install injector to special tool and tighten bolts by hand.
Special tool
(A): 09912 - 58421
2. Connect special tools (hoses and attachment) to pipes of vehicle.
Special tool
(B): 09912 - 58431
3. Connect special tool (test lead) to injector.
Special tool
(C): 09930 - 88521
4. Install suitable vinyl tube (4) onto injector (3) nozzle to prevent fuel from splashing out when injecting.
5. Put graduated cylinder (5) under injector as far apart as possible.
6. Disconnect fuel pump relay.
7. To operate fuel pump and apply fuel pressure to injector, using wire harness (2) as thick as the one used for fuel pump circuit, connect two
terminals of relay connector (1) as shown in the figure.
8. Apply battery voltage to injector for 15 seconds and measure injected fuel volume with graduated cylinder. Test each injector two or three times.