
4 Runner 2WD L4-2693cc 2.7L DOHC MFI (1997)
Drive Belt: Testing and Inspection
Alternator
DRIVE BELT
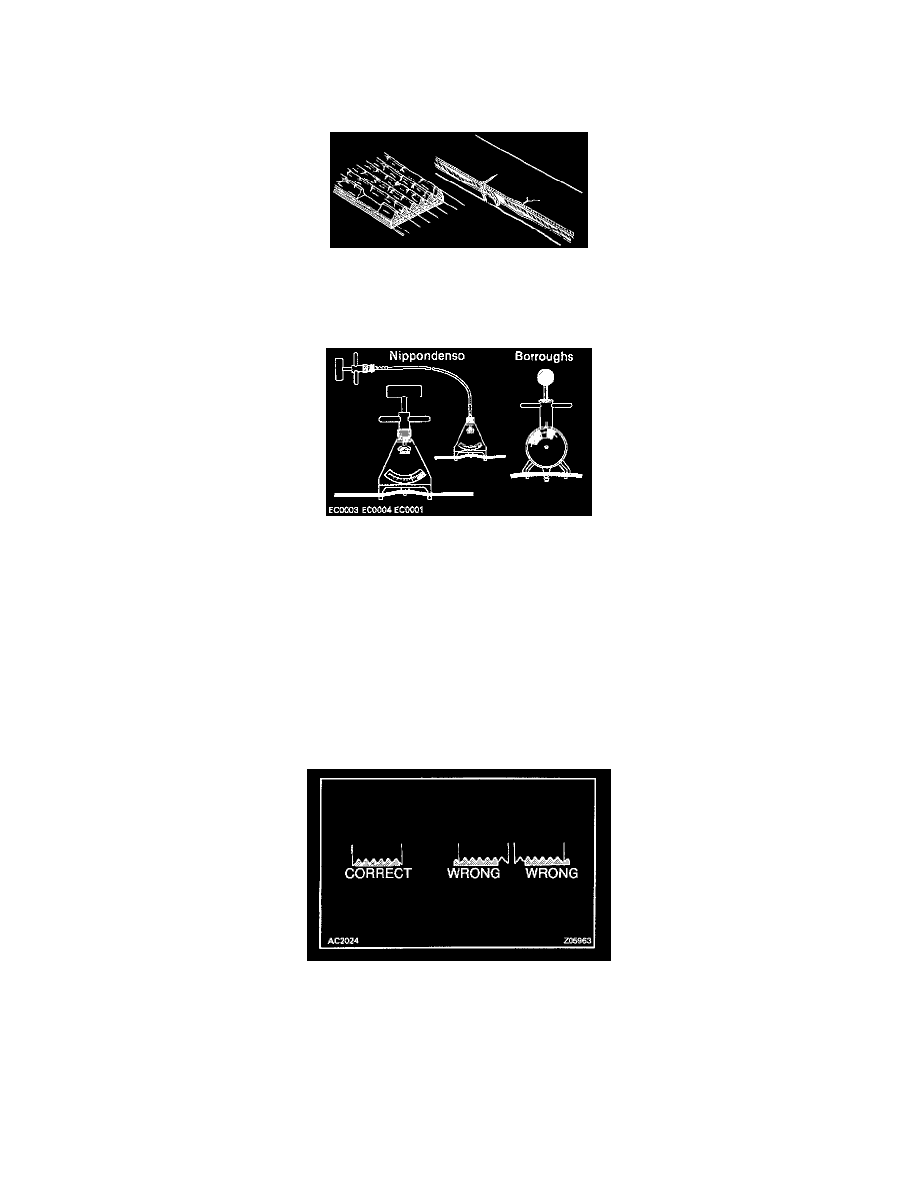
1. Visually check the belt for excessive wear, frayed cords etc.
If any defect has been found, replace the drive belt.
HINT: Cracks on the rib side of a belt are considered acceptable. If the belt has chunks missing from the ribs, it should be replaced.
2. Using a belt tension gauge, measure the belt tension. Belt tension gauge:
-
Nippondenso BTG-20 (95506-00020)
-
Borroughs No. BT-33-73F
Drive belt tension (Nippondenso):
New belt 165 ± 10 lbf
Used belt 115 ± 20 lbf
Drive belt tension (Borroughs):
New belt 175 ± 5 lbf
Used belt 115 ± 20 lbf
If the belt tension is not as specified, adjust it.
HINT:
-
"New belt" refers to a belt which has been used less than 5 minutes on a running engine.
-
"Used belt" refers to a belt which has been used on a running engine for 5 minutes or more.
-
After installing a belt, check that it fits properly in the ribbed grooves.
-
Check with your hand to confirm that the belt has not slipped out of the groove on the bottom of the pulley.
-
After installing a new belt, run the engine for about 5 minutes and recheck the belt tension.