4 Runner 2WD L4-2693cc 2.7L DOHC MFI (1997)

6. Remove direct clutch piston.
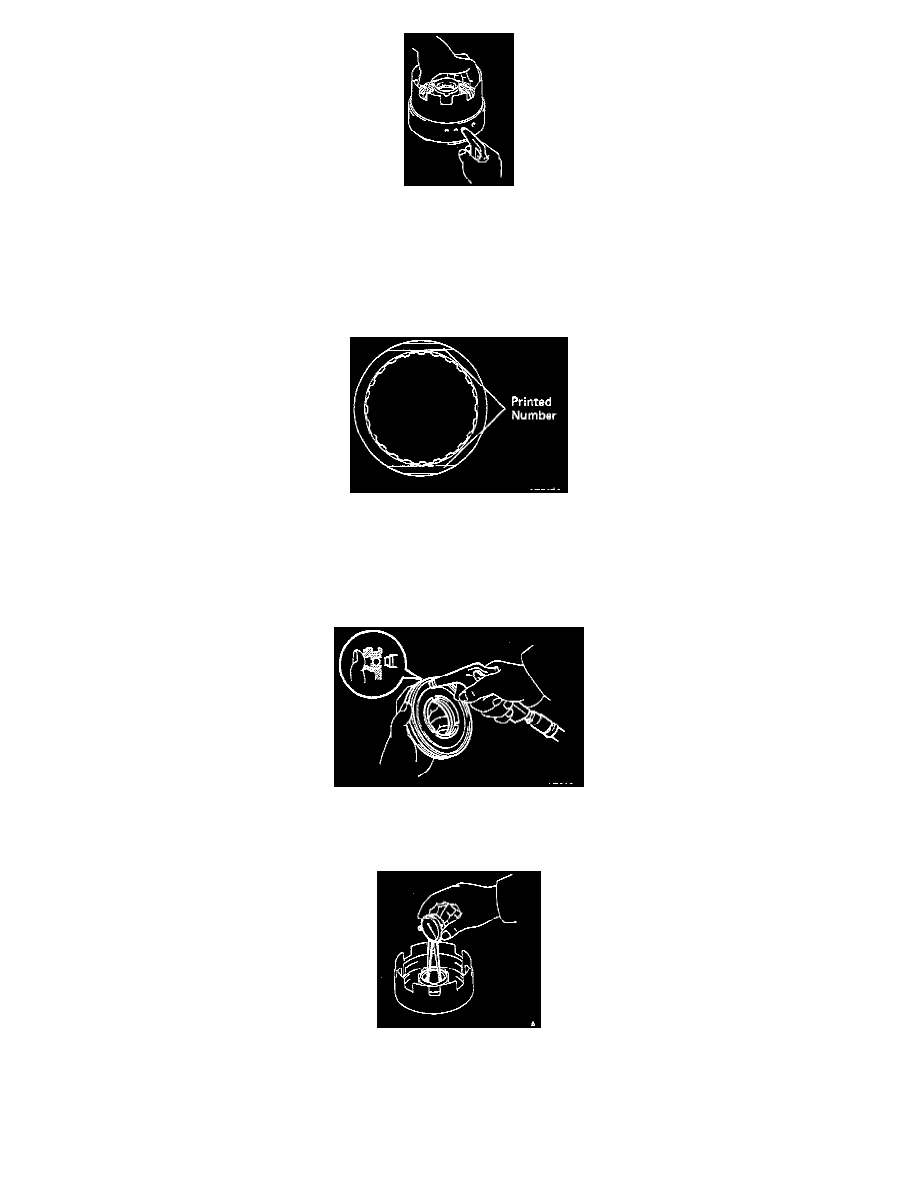
a. Place the direct clutch drum onto the O/D support.
b. Hold the direct clutch piston, apply compressed air to the O/D support to remove the direct clutch piston.
c. Remove the direct clutch piston.
d. Remove the 2 O-rings from the piston.
DIRECT CLUTCH INSPECTION
1. Inspect disc, plate and flange.
Check to see if the sliding surface of the disc, plate and flange are worn or burnt. If necessary, replace them.
HINT:
-
If the lining of the disc is peeling off or discolored, or even if a part of the printed numbers are defaced, replace all discs.
-
Before assembling new discs, soak them in ATF for at least 15 minutes.
2. Check direct clutch piston.
a. Check that the check ball is free by shaking the piston.
b. Check that the valve does not leak by applying low- pressure compressed air.
3. Check direct clutch drum bushing.
Using a dial indicator, measure the inside diameter of the clutch drum bushing.
Maximum inside diameter: 53.99 mm (2.1256 in.)
If the inside diameter is greater than the maximum, replace the clutch drum.
DIRECT CLUTCH ASSEMBLY
