Camry LE Sedan 4-Door L4-2164cc 2.2L DOHC MFI (1997)

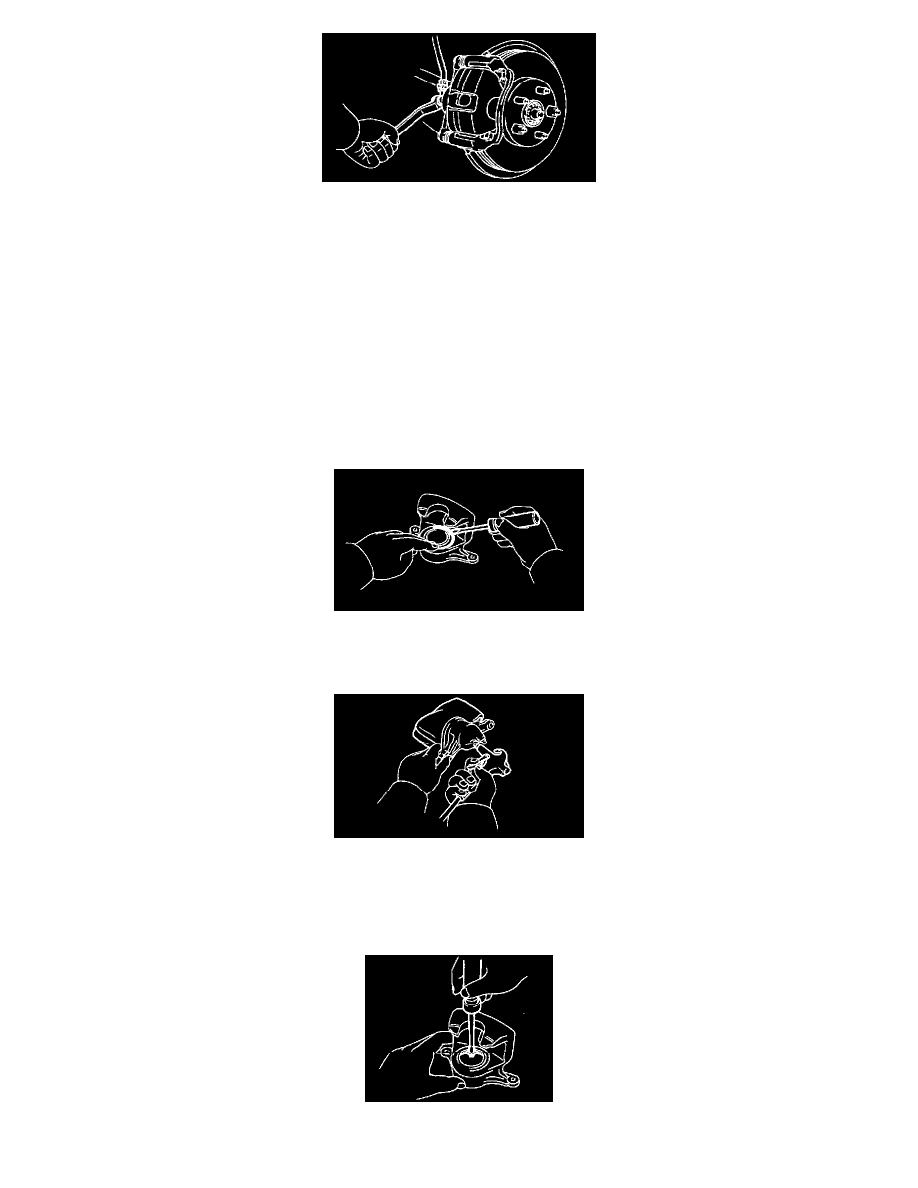
2. Disconnect flexible hose.
(a) Remove the union bolt and 2 gaskets from the Caliper, then disconnect the flexible hose from the Caliper.
Torque: 29 Nm (300 kg.cm,21 ft. lbs.)
NOTE: Install the flexible hose lock securely in the lock hole in the Caliper.
(b) Use a container to catch the brake fluid as it drains out.
3. Remove Caliper.
(a) Hold the sliding pin and loosen the 2 installation bolts, and remove the installation bolts.
Torque: 34 Nm (350 kg.cm, 25 ft. lbs.)
(b) Remove the Caliper from the torque plate.
4. Remove these parts:
-
2 anti-squeal springs.
-
2 Brake Pads with anti-squeal shims.
-
4 pad support plates.
DISASSEMBLY
1. Remove set ring and cylinder boot.
-
Using a screwdriver, remove the set ring and cylinder boot from the Caliper.
2. Remove piston.
(a) Place a piece of cloth, or similar, between the piston and the Caliper.
(b) Use compressed air to remove the piston from the cylinder.
CAUTION: Do not place your fingers in front of the piston when using compressed air.
3. Remove piston seal.
