
Camry XLE Sedan 4-Door L4-2164cc 2.2L DOHC MFI (1997)
Vacuum Brake Booster: Service and Repair
REMOVAL
1. Remove Air Cleaner cover with Air Cleaner hose.
2. Remove Master Cylinder. Refer to Master Cylinder, Brakes - Service and Repair. See: Hydraulic System/Brake Master Cylinder/Service and
Repair
3. Remove Charcoal Canister.
4. Disconnect vacuum hose from Brake Booster.
5. Remove pedal return spring.
6. Remove clip and clevis pin.
Removal Of Gasket And Clevis
7. Remove Brake Booster, gasket and clevis.
(a) Remove 4 nuts and clevis.
(b) Pull out the Brake Booster and gasket.
INSTALLATION
1. Install Brake Booster.
(a) Install the Booster and a new gasket.
(b) Install the clevis to the operating rod.
(c) Install and torque the Booster installation nuts.
Torque: 13 Nm (130 kg.cm, 9 ft. lbs.)
(d) Install the clevis, and torque the lock nut.
Torque: 25 Nm (260 kg.cm, 19 ft. lbs.)
(e) Install the clevis pin into the clevis and Brake Pedal, and install the clip to the clevis pin.
(f) Install the pedal return spring.
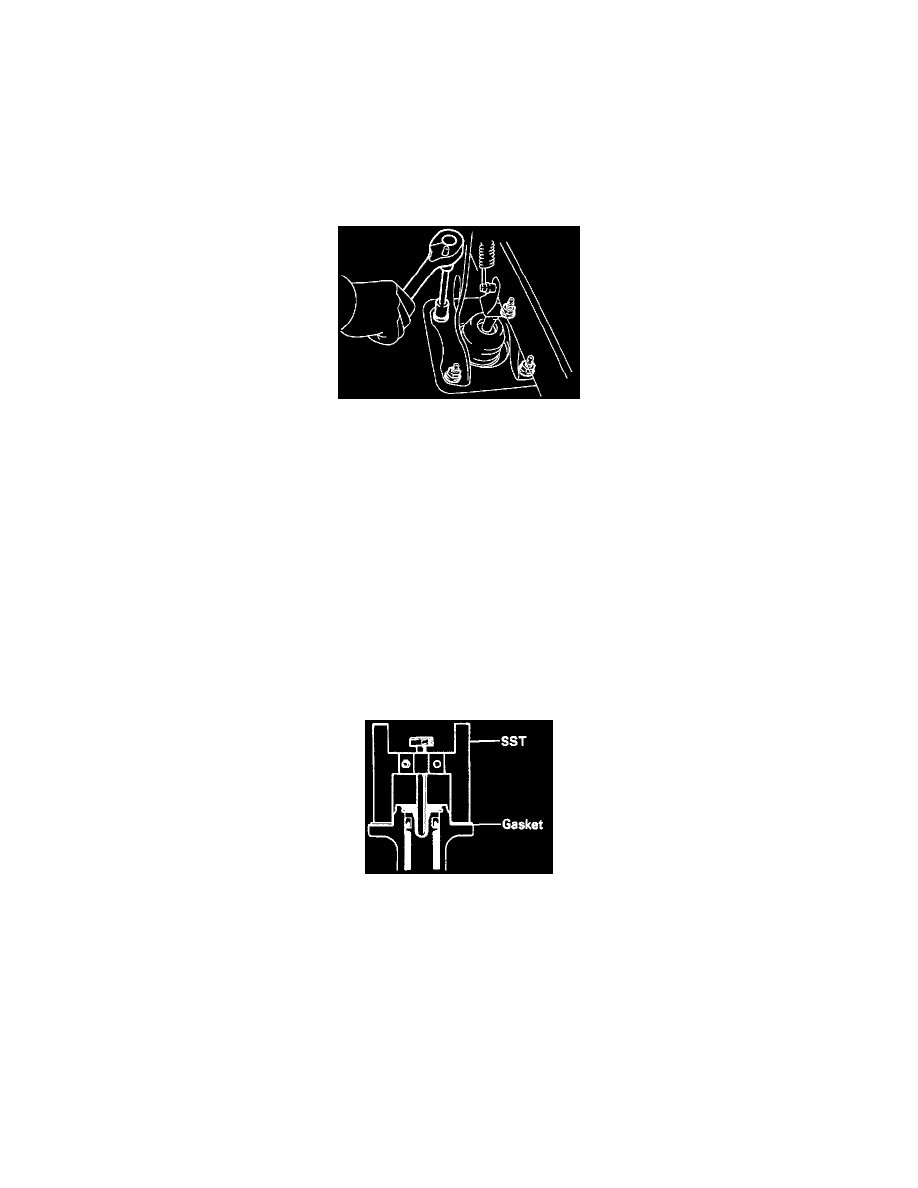
Length Of Booster Push Rod Adjustment
2. Adjust length of Booster Push Rod.
(a) Install a new gasket on the Master Cylinder.
(b) Set the SST on the gasket, and lower the pin until its tip slightly touches the piston. SST 09737-00010
(c) Turn the SST upside down, and set it on the Booster. SST 09737-00010
(d) Measure the clearance between the Booster Push Rod and pin head (SST). Clearance: 0 mm (0 inch)