
Camry XLE Sedan 4-Door L4-2164cc 2.2L DOHC MFI (1997)
4. Install cam ring. Align the holes of the ring and 2 straight pins, and install the ring with the inscribed mark facing outward.
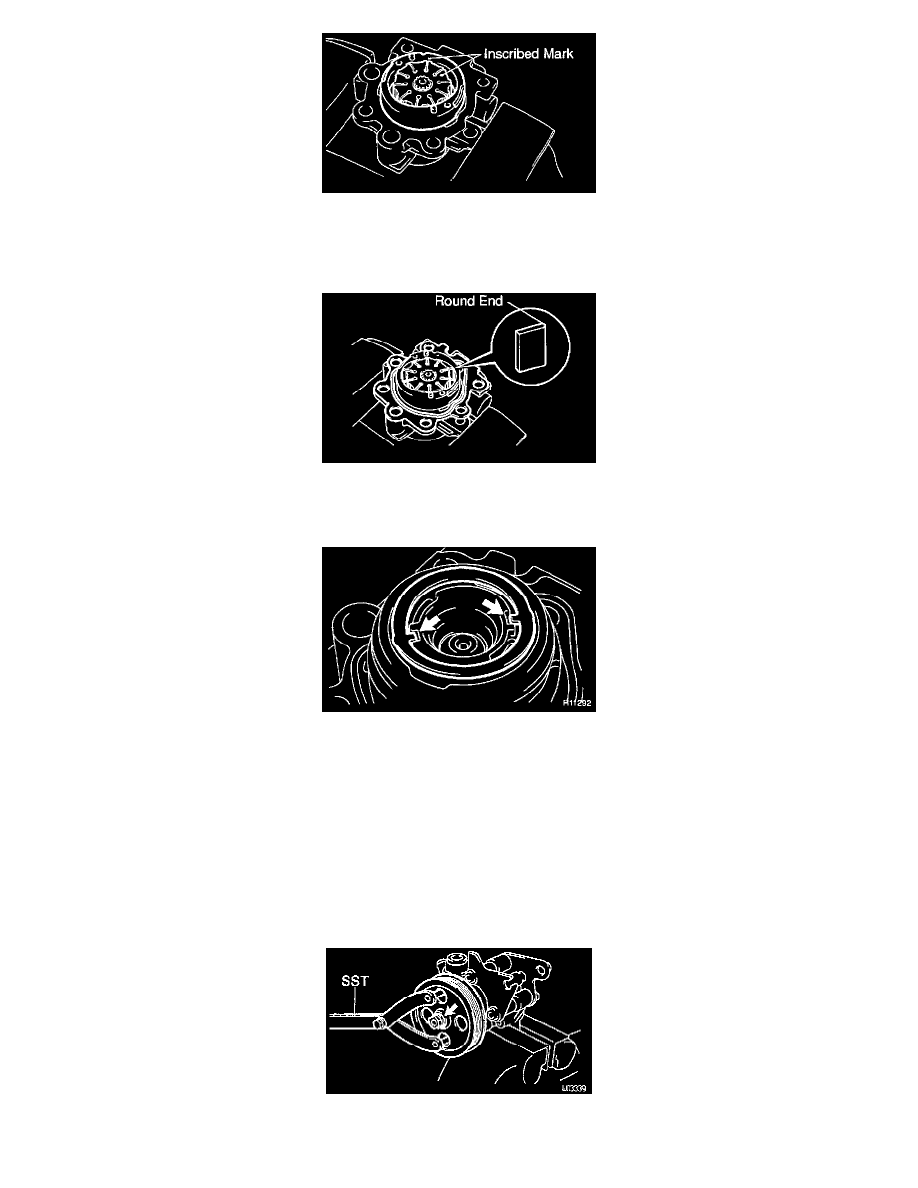
5. Install vane pump rotor.
a. Install the rotor with the inscribed mark facing outward.
b. Install a new snap ring to the vane pump shaft.
6. Install vane plates. Install the 10 plates with the round end facing outward.
7. Install gasket. Install a new gasket.
8. Install side plate. Align the holes of the plate and 2 straight pins.
9. Install wave washer. Install the washer so that its protrusions fit into the slots in the side plate.
10. Install rear housing.
a. Coat 2 new O-rings with power steering fluid and install them to the housing.
b. Torque the 4 bolts to 24 Nm (17 ft. lbs.).
11. Install spring, flow control valve and pressure port union.
a. Install the valve facing the correct direction.
b. Coat a new O-ring with power steering fluid and install it to the union.
c. Torque the union to 83 Nm (62 ft. lbs.).
12. Install suction port union.
a. Coat a new O-ring with power steering fluid and install it to the union.
b. Torque the bolt to 13 Nm (9 ft. lbs.).
13. Install front and rear brackets Torque the 3 bolts and 2 nuts to 43 Nm (32 ft. lbs.).
14. Install vane pump pulley. Using Special Service Tool (SST) 09960 - 10010 (09962 - 01000, 09963 - 01000) to stop the pulley rotating, torque the
nut to 43 Nm (32 ft. lbs.).