
Camry XLE Sedan 4-Door L4-2164cc 2.2L DOHC MFI (1997)
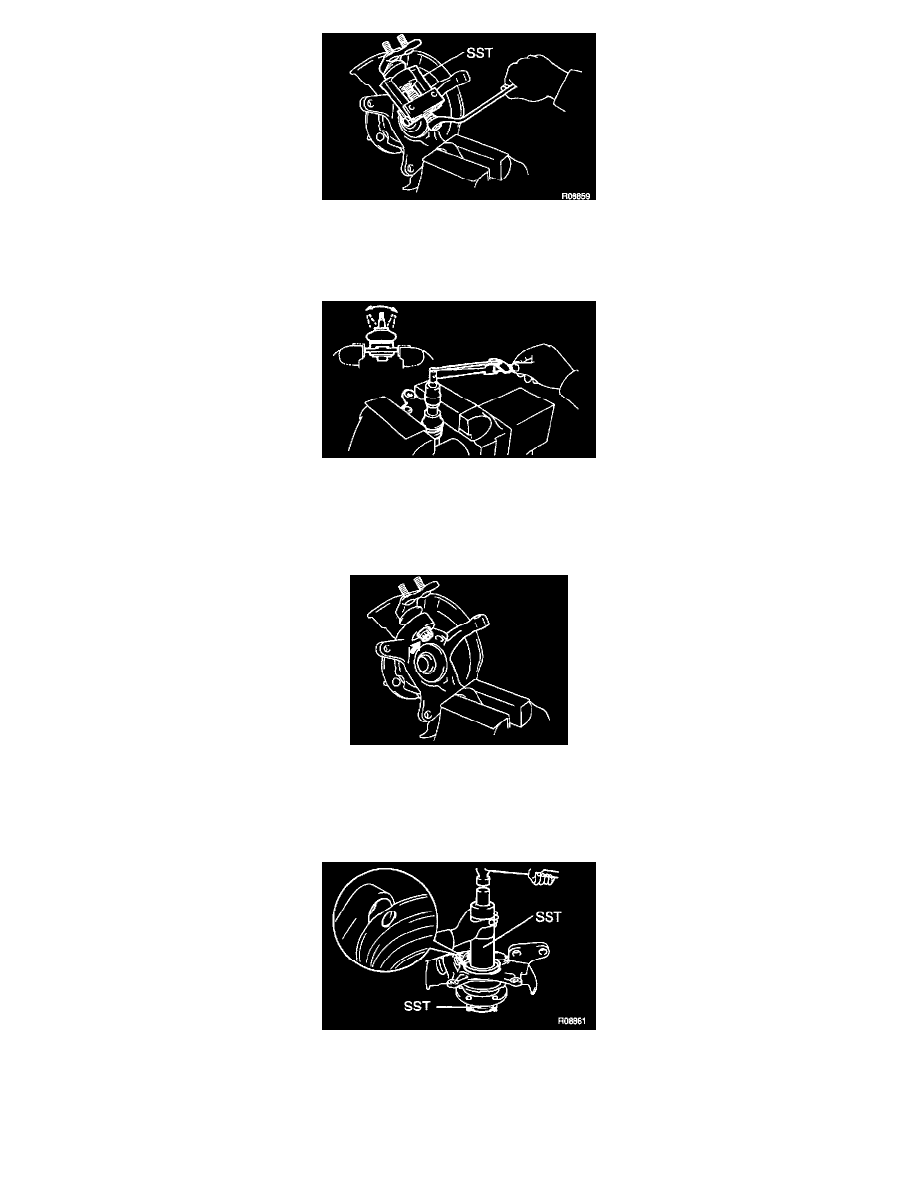
2. Remove lower ball joint
a. using a screwdriver, remove the dust deflector.
b. remove the cotter pin and nut.
c. Using SST 09628 - 62011, remove the lower ball joint.
3. Inspect ball joint for rotation condition.
a. As shown, flip the ball joint stud back and forth 5 times, before installing the nut.
b. Using a torque wrench, turn the nut continuously one turn each 2 - 4 seconds and take the torque reading on the 5th turn.
Turning torque: 1.0 - 3.4 Nm (8.7 - 30 inch lbs.).
INSTALLATION
1. Install lower ball joint.
a. Install the lower ball joint and tighten the nut.
[Torque: 123 Nm (90 ft. lbs.)]
b. Install a new cotter pinch
2. Install new dust deflector; using SST 09316 - 60011 (09316 - 00011, 09316 - 00041), 09608-32010 and a hammer.
NOTE: Align the holes for the ABS speed sensor in the dust deflector and steering knuckle.
3. Install steering knuckle with axle hub.
4. Check ABS speed sensor signal and front wheel alignment.