
Camry XLE Sedan 4-Door L4-2164cc 2.2L DOHC MFI (1997)
1. Remove coil spring.
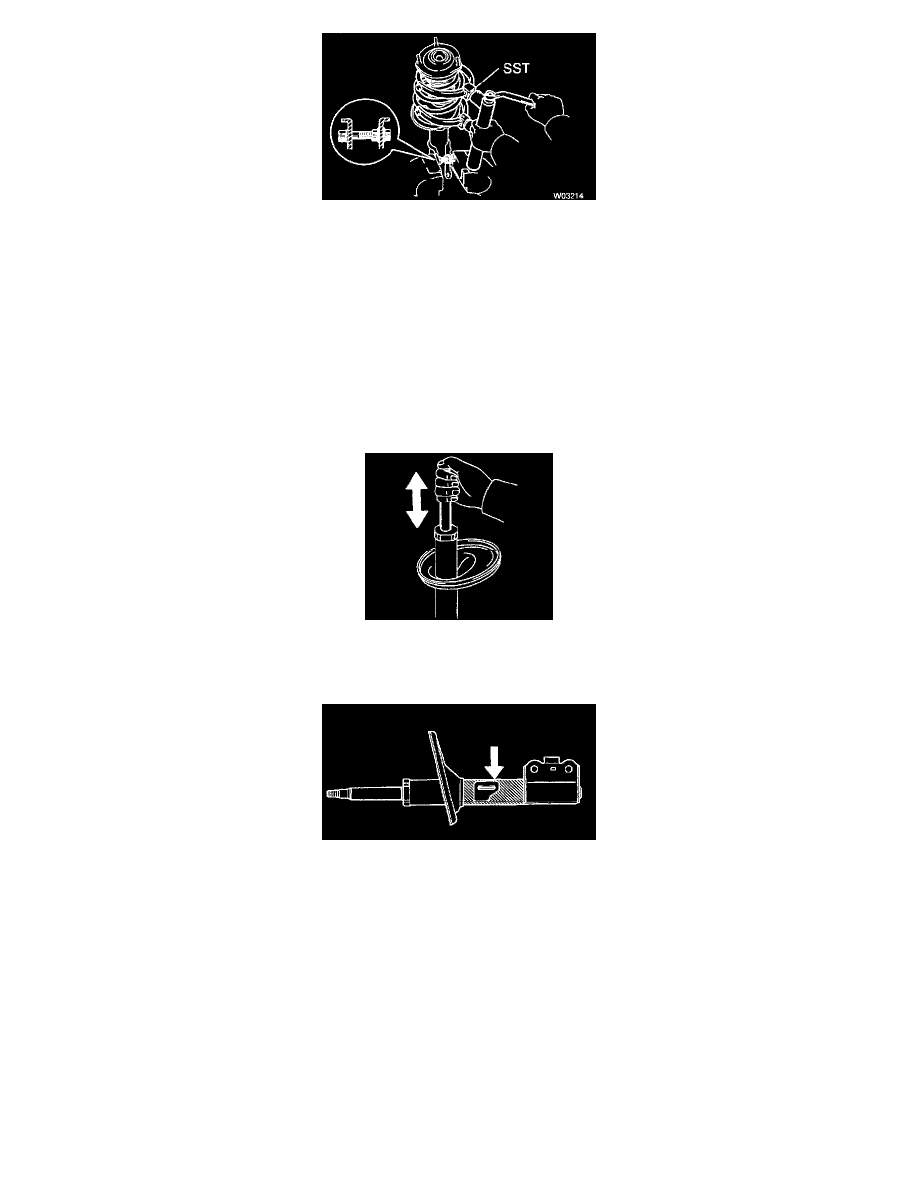
a. Install 2 nuts and a bolt to the bracket at the lower part of the shock absorber and secure it in a vise.
b. Using Special Service Tool (SST) 09727 - 30021, compress the coil spring.
CAUTION: Do not use an impact wrench. It will damage the SST.
c. Remove the suspension support nut.
d. Remove these parts from the shock absorber:
-
Suspension support
-
Upper insulator
-
Coil spring
-
Lower insulator
-
Spring bumper
2. Inspect rear shock absorber.
a. Compress and extend the shock absorber rod.
b. Check that there is no abnormal resistance or unusual operation sounds.
3. Dispose of rear shock absorber, if needed.
a. Fully extend shock absorber rod.
b. Drill hole to remove gas from cylinder.
CAUTION:
-
Drill a hole between the lines, as shown in image.
-
The gas coming out is harmless, but be careful of chips which may fly up when drilling.
Assembly
1. Install lower insulator.
2. Install spring bumper to piston rod.
3. Install coil spring.