
Celica GT Convertible L4-2164cc 2.2L DOHC MFI (1997)
Disconnect Brake Line
(a) Using Special Service Tool (SST) # 09751-36011 and spanner, disconnect the brake line from the flexible hose of LH front brake.
(b) Remove the brake line grommet from the body.
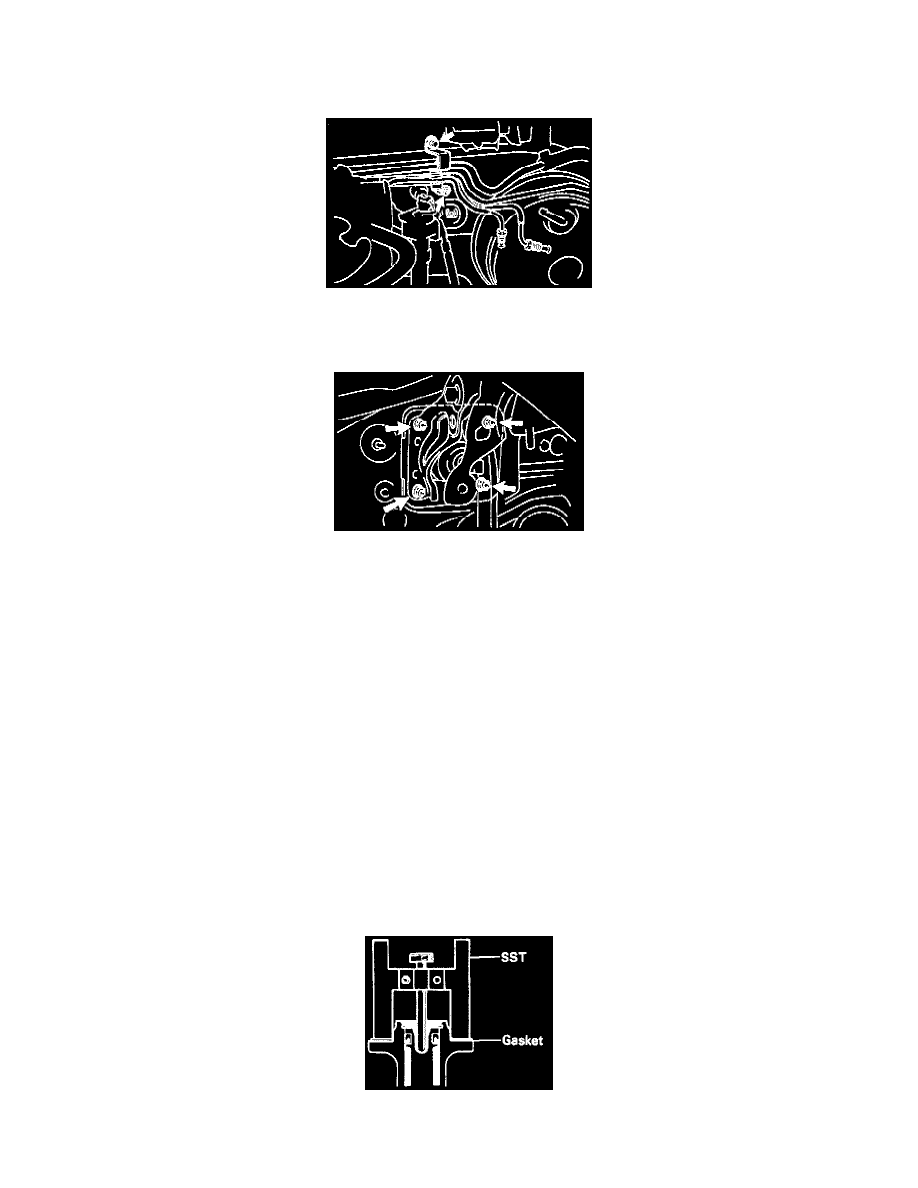
Remove 3 Brake Lines
(c) Remove the 3 brake lines, as shown in the illustration from the No.1 brake line clamp.
Remove Nuts And Clevis
(d) Remove the 4 nuts and clevis.
(e) Pull out the Brake Booster and gasket.
INSTALLATION
1. Install Brake Booster.
(a) Install the Booster and a new gasket.
(b) Connect the 2 hoses.
(c) Install the clevis to the operating rod.
(d) Install and torque the Booster installation nuts.
Torque: 13 Nm (9 ft. lbs.)
(e) Install the clevis pin into the clevis and Brake Pedal, and install the clip to the clevis pin.
(f) Install the pedal return spring.
(g) Install the 3 brake lines to the No.1 brake line clamp.
Torque: 6.4 Nm (48 inch lbs.)
(h) Using SST and spanner, connect the brake line to the flexible hose of LH front brake.
SST 09751 -36011
Torque: 15 Nm (11 ft. lbs.)
(i) Install the brake line grommet to the body.
2. Adjust length of Booster Push Rod.
(a) Install the gasket on the Master Cylinder.
Length Of Booster Push Rod Adjustment