
Celica GT Convertible L4-2164cc 2.2L DOHC MFI (1997)
(d) Uniformly loosen and remove the 6 bolts on the No. 1, No. 2 and No. 4 bearing caps in several passes, in the sequence shown.
CAUTION: Do not remove the No. 3 bearing cap bolts at this stage.
(e)
Remove the No. 1. No. 2 and No. 4 bearing caps.
(f)
Alternately loosen and remove the 2 bolts on the No. 3 bearing cap.
NOTE:
^
As the 2 No. 3 bearing cap bolts are loosened, make sure that the camshaft is lifted out straight and level.
^
If the camshaft is not being lifted out straight and level, retighten the 2 No. 3 bearing cap bolts. Then reverse the order of above steps
from (f) to (a) and reset the knock pin of the intake camshaft at 10 - 45° Before Top Dead Center (BTDC), and repeat steps from (b)
to (f) once again.
CAUTION: Do not pry on or attempt to force the camshaft with a tool or other object.
(g) Remove the No. 3 bearing cap and exhaust camshaft.
B. Remove intake camshaft.
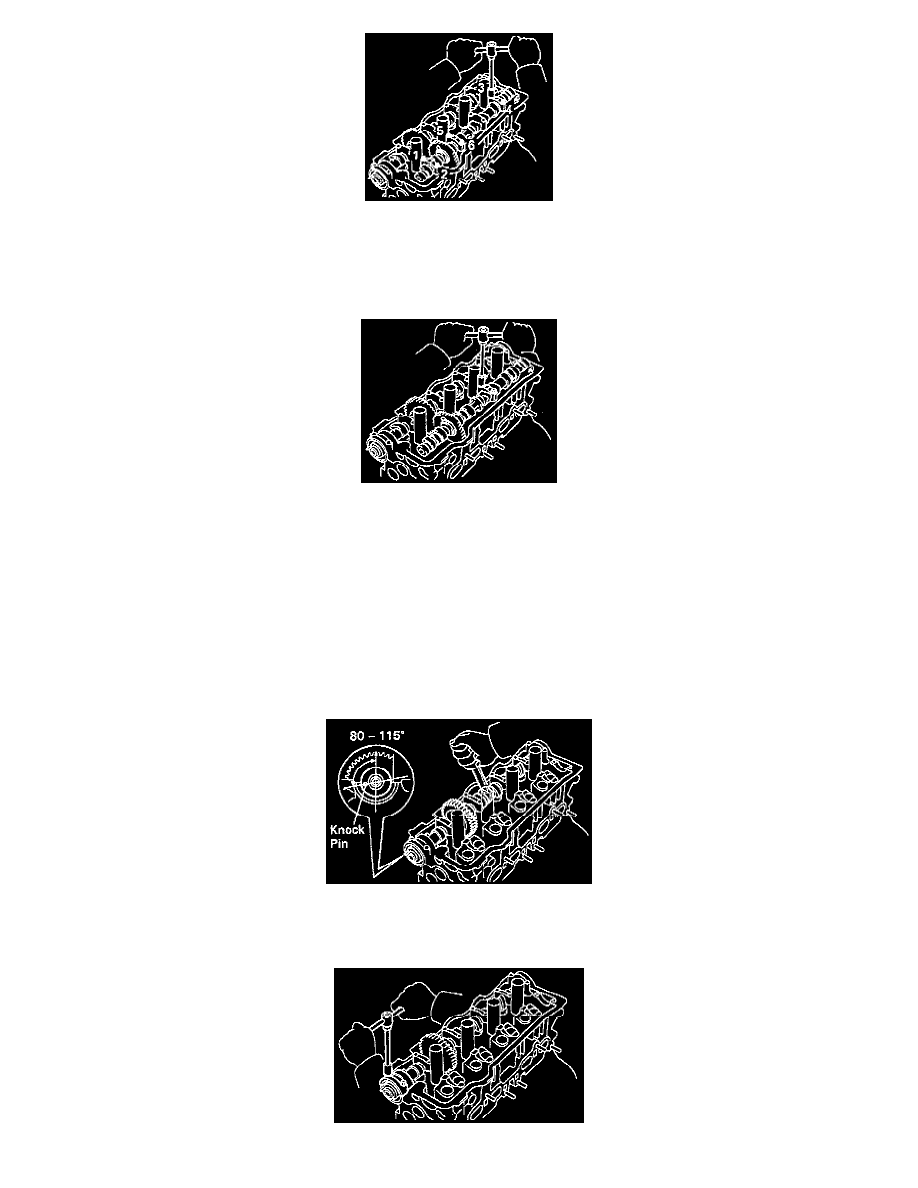
(a)
Set the knock pin of the intake camshaft at 80 - 115° BTDC of camshaft angle.
NOTE: The above angle allows the No. 1 and No. 3 cylinder cam lobes of intake camshaft to push their valve lifters evenly.