
Celica GT Convertible L4-2164cc 2.2L DOHC MFI (1997)
a. Check to see that there is no play in the outboard joint.
b. Check to see that the inboard joint slides smoothly in the thrust direction.
c. Check to see that there is no noticeable play in the radial direction of the inboard joint.
d. Check for damage to the boots.
2. Remove the inboard joint boot clamps by doing the following.
a. Using a screwdriver, remove the two boot clamps.
b. Slide the inboard joint boot toward the outboard joint.
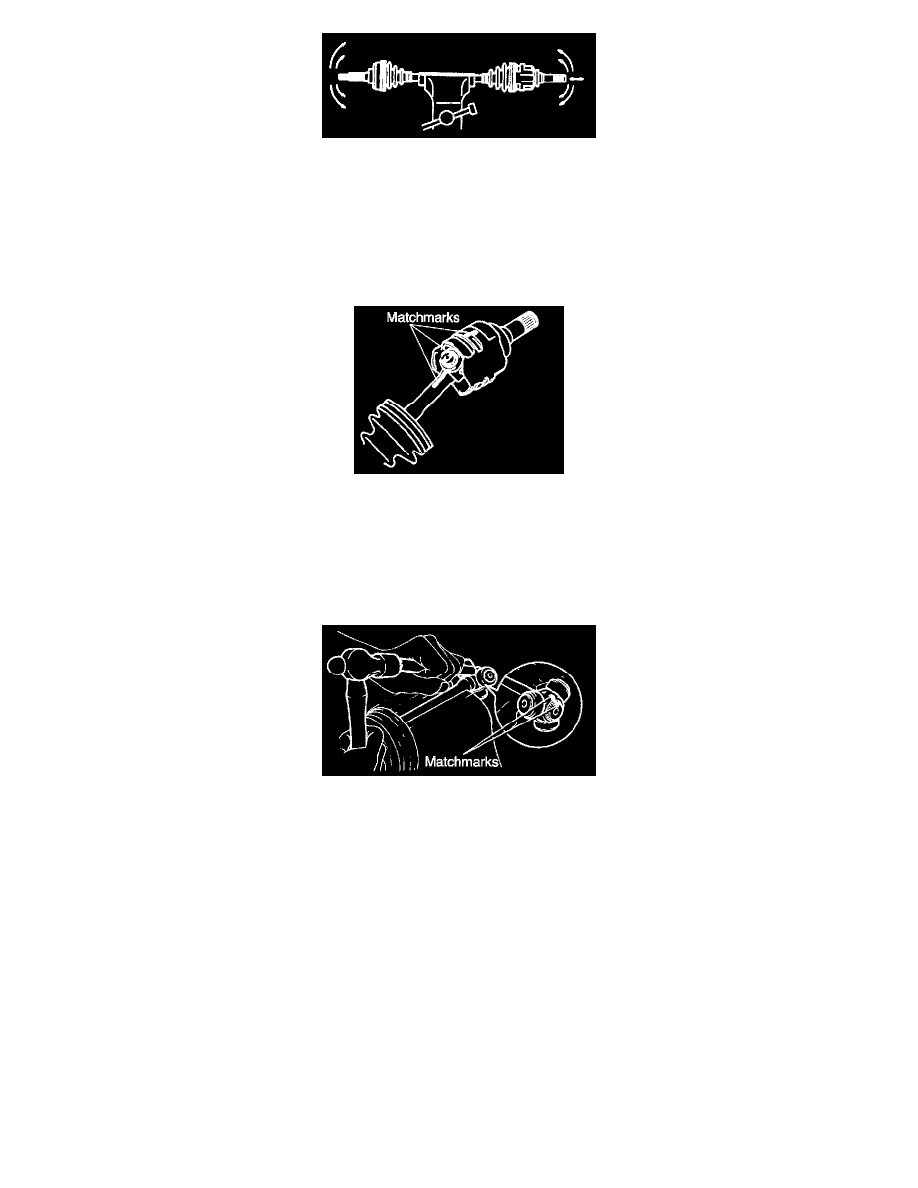
3. Remove the inboard joint tulip by doing the following procedures.
a. Place matchmarks on the inboard joint tulip, tripod and drive shaft.
NOTE: Do not punch the marks.
b. Remove the inboard joint tulip from the drive shaft.
4. Remove the tripod by doing the following.
a. Using a snap ring expander, remove the snap ring.
b. Place matchmarks on the shaft. and tripod.
NOTE: Do not punch the marks.
c. Using a brass bar and hammer, remove the tripod from the drive shaft.
NOTE: Do not tap the roller.
5. Remove the inboard joint boot.
6. To remove the dynamic damper (Rh drive shaft) perform the following procedures.
a. Using a screwdriver, remove the clamp of the dynamic damper.
b. Remove the dynamic damper.
7. Remove the outboard joint boot by doing the following.
a. Using a screwdriver, remove the 2 boot clamps of the outboard joint boot.
b. Remove the boot from the outboard joint.
NOTE: Do not disassemble the outboard joint.