Celica GT Liftback L4-2164cc 2.2L DOHC MFI (1998)

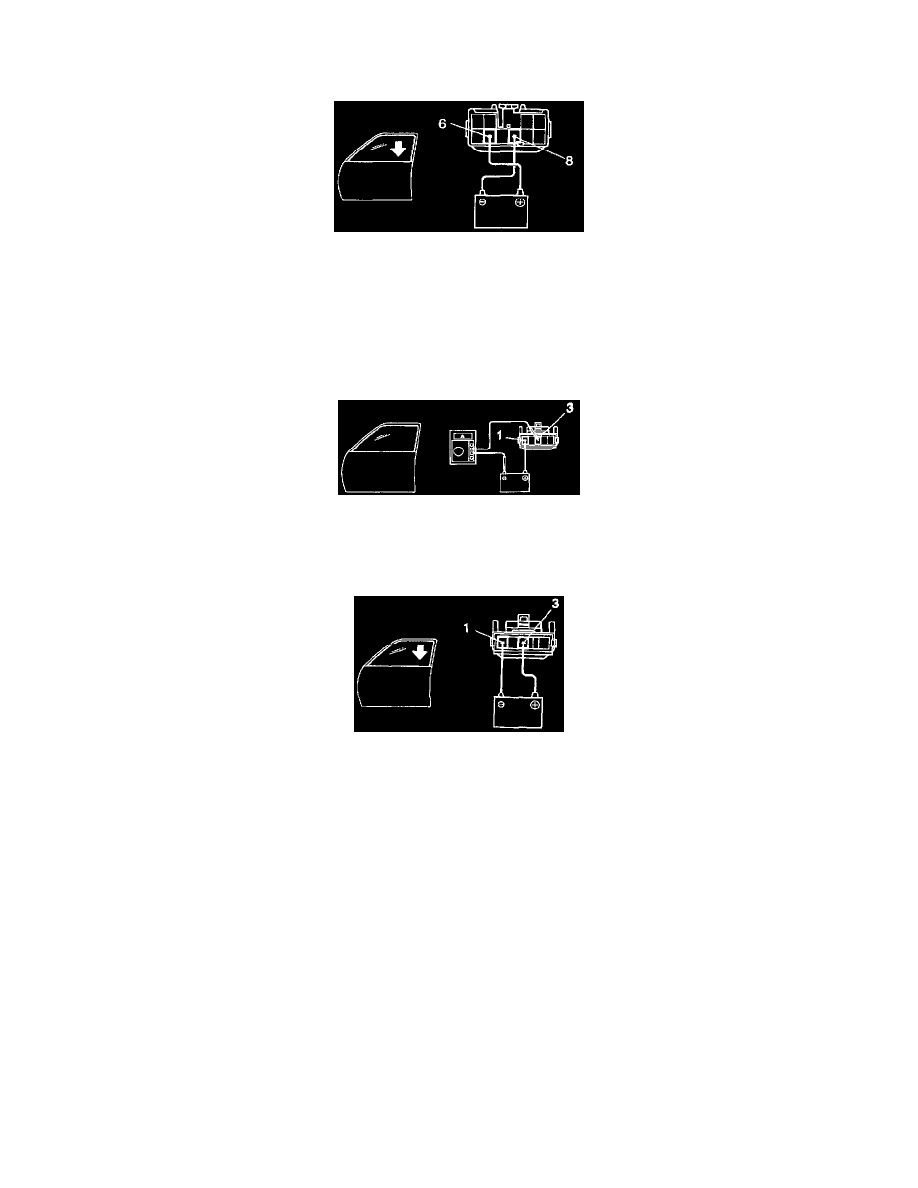
b. Connect the positive (+) lead from the ammeter to terminal 6 of the wire harness side connector and the negative (-) lead to negative terminal of
the battery.
c. Connect the positive (+) lead from the battery to terminal 8 of the wire harness side connector, and raise the window to the fully closed position.
d. Continue to apply voltage, check that the current changes from approximately 14 A to less than 1 A within 4 to 90 seconds.
e. Disconnect the leads from terminals.
f.
Approximately 90 seconds later, connect the positive (+) lead from the battery to terminal 6 and negative (-) lead to terminal 8, check that the
window begins to descend.
If operation is not as specified, replace the motor.
INSPECT PTC OPERATION
Passenger's Door:
a. Disconnect the connector from the power window switch.
b. Connect the positive (+) lead from the ammeter to terminal 3 of the wire harness side connector and the negative (-) lead to negative terminal of
the battery.
c. Connect the positive (+) lead from the battery to terminal 1 of the wire harness side connector, and raise the window to the fully closed position.
d. Continue to apply voltage, check that the current changes from approximately 14 A to less than 1 A within 4 to 90 seconds.
e. Disconnect the leads from terminals.
f.
Approximately 90 seconds later, connect the positive (+) lead from the battery to terminal 3 and the negative (-) lead to terminal 1, check that the
window begins to descend.
If operation is not as specified, replace the motor.
