
Celica GT Liftback L4-2164cc 2.2L DOHC MFI (1998)
Air Bag Control Module: Service and Repair
REMOVAL
NOTICE: Do not open the cover or the case of the ECU and various electrical devices unless absolutely necessary.
If the IC terminals are touched, the IC may be destroyed by static electricity.
1. REMOVE THESE PARTS
a. Console panel upper
b. Console box carpet
c. Console box
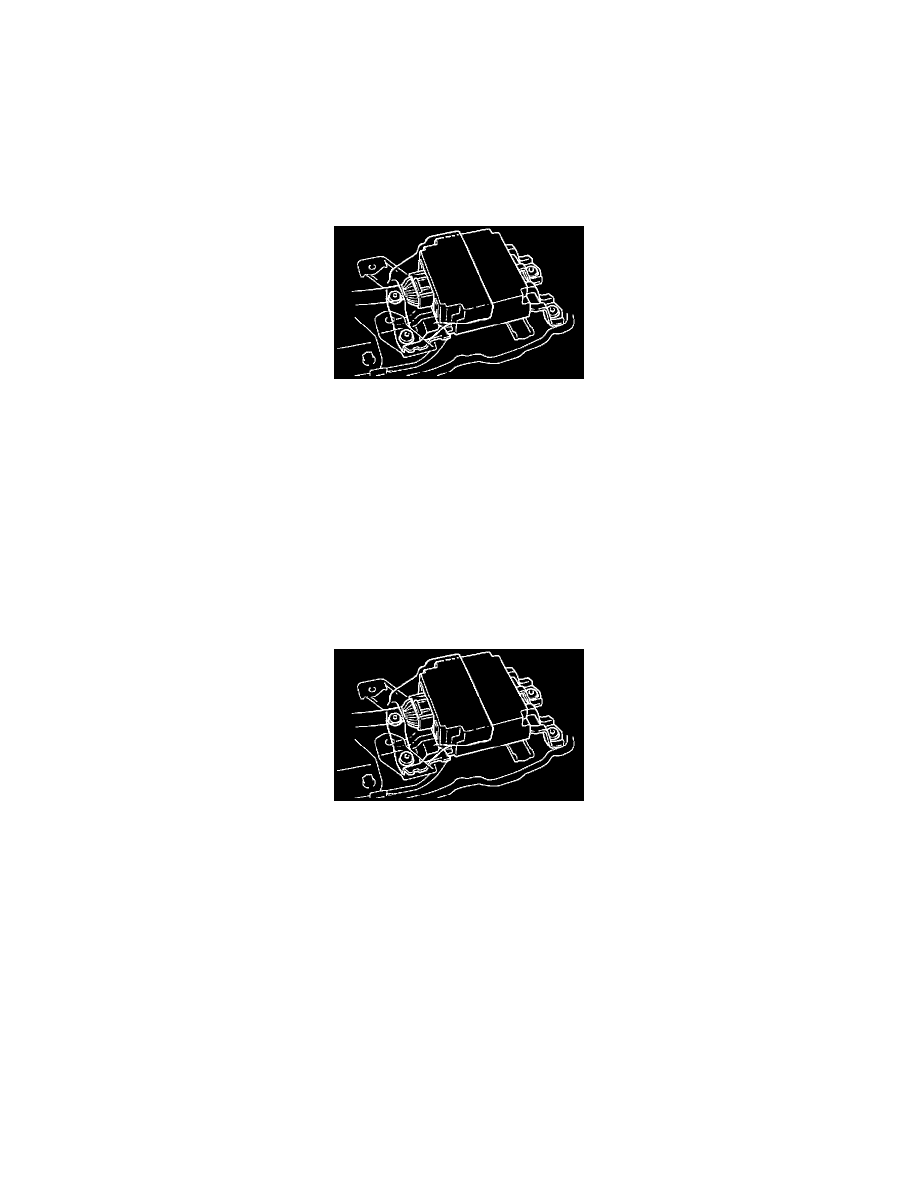
2. REMOVE AIRBAG SENSOR ASSEMBLY
a. Disconnect the connector.
NOTICE: Remove the connector with the sensor assembly installed.
b. Using a torx wrench remove the 4 screws and the airbag sensor assembly.
Torx wrench: T40 (Part No. 09042-00020 or locally manufactured tool).
INSTALLATION
NOTICE:
-
Never use SRS parts from another vehicle. When replacing parts, replace with new parts.
-
Never reuse the airbag sensor assembly involved in a collision when the airbag has deployed.
-
Never repair a sensor in order to reuse it.
1. INSTALL AIRBAG SENSOR ASSEMBLY
a. Using a torx wrench, install the airbag sensor assembly with the 4 screws.
Torx wrench: T40 (Part No. 09042-00020 or locally manufactured tool)
Torque: 21 N.m (210 kgf.cm, 15 ft.lbf)
b. Connect the connector.
NOTICE:
-
Installation of the connector is done after the sensor assembly has been Installed.
-
Make sure the sensor assembly is installed to the specified torque.
-
If the sensor assembly has been dropped, or there are cracks, dents or other defects in the case, bracket or connector, replace the sensor
assembly with a new one.
-
When installing the airbag sensor assembly, take care that the SRS wiring does not interfere with other parts and is not pinched between other
parts.
-
After installation, shake the sensor assembly to check that there is no looseness.
2. INSTALL REMOVED PARTS.