
Celica GT Ltd Ed Convertible L4-2164cc 2.2L DOHC MFI (1997)
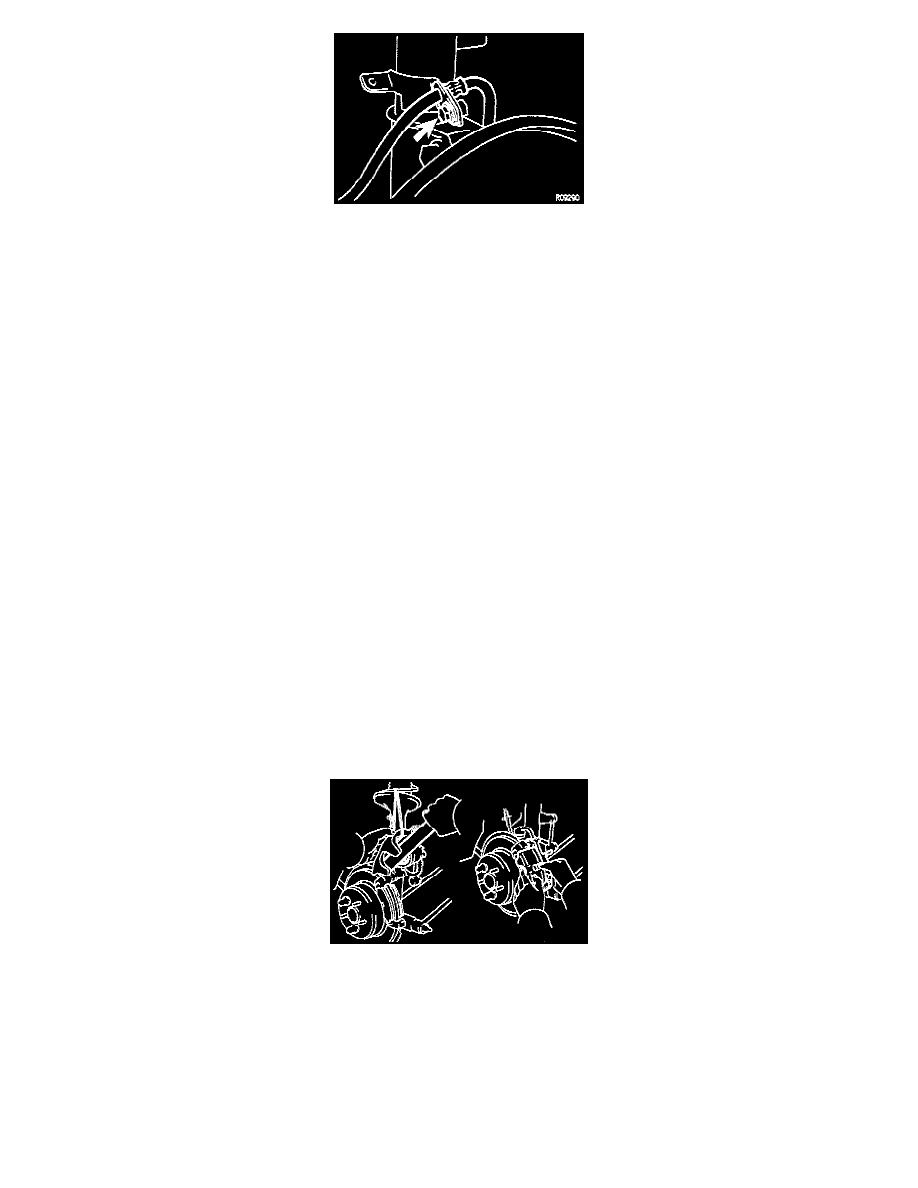
Remove Flexible Hose Bracket And Installation Bolt
(a) Remove the flexible hose bracket.
(b) Remove the installation bolt.
(c) Lift up Caliper and suspend it securely.
NOTE: Do not disconnect the flexible hose from the Caliper.
4. Remove these parts:
(a) 2 Brake Pads.
(b) 3 anti-squeal shims.
(c) 2 pad support plates.
NOTE: The support plates can be used again provided that they have sufficient rebound, no deformation, cracks or wear, and have had all
rust, dirt and foreign particles cleaned off.
5. Check Disc thickness and runout.
6. Install pad support plates.
Install the 2 pad support plates.
7. Install new pads.
NOTE: When replacing worn pads, the anti-squeal shims must be replaced together with the pads.
(a) Apply Disc brake grease to both sides of the inner anti-squeal shim.
(b) Install the 2 anti-squeal shims to the outside pad.
(c) Install the anti-squeal shim to the inside pad.
(d) Install 2 pads.
CAUTION: There should be no oil or grease adhering to the friction surfaces of the pads or the Disc.
8. Install Caliper.
(a) Draw out a small amount of brake fluid from the reservoir.
Press In Piston With Hammer Handle And Install Caliper
(b) Press in the piston with a hammer handle or an equivalent.
NOTE: If the piston is difficult to push in, loosen the bleeder plug and push in the piston while letting some brake fluid escape.
(c) Install the Caliper and torque the installation bolt.
Torque: 20 Nm (14 ft. lbs.)
(d) Install the flexible hose bracket.
Torque: 19 Nm (14 ft. lbs.)
9. Install rear wheel.