Celica ST Ltd Ed Liftback L4-1762cc 1.8L DOHC MFI (1997)

5. REMOVE CORD CLAMP
(a) Disconnect the connector from the cord clamp.
(b) Remove the screw and cord clamp.
6. REMOVE CONDENSER
Remove the screw and condenser.
DISTRIBUTOR ASSEMBLY
1. INSTALL CONDENSER
Install the condenser with the screw.
2. INSTALL CORD CLAMP
(a) Install the cord clamp with the screw.
(b) Connect the connector to the cord clamp.
3. INSTALL IGNITION COIL
(a) Remove any old packing (FIPG) material.
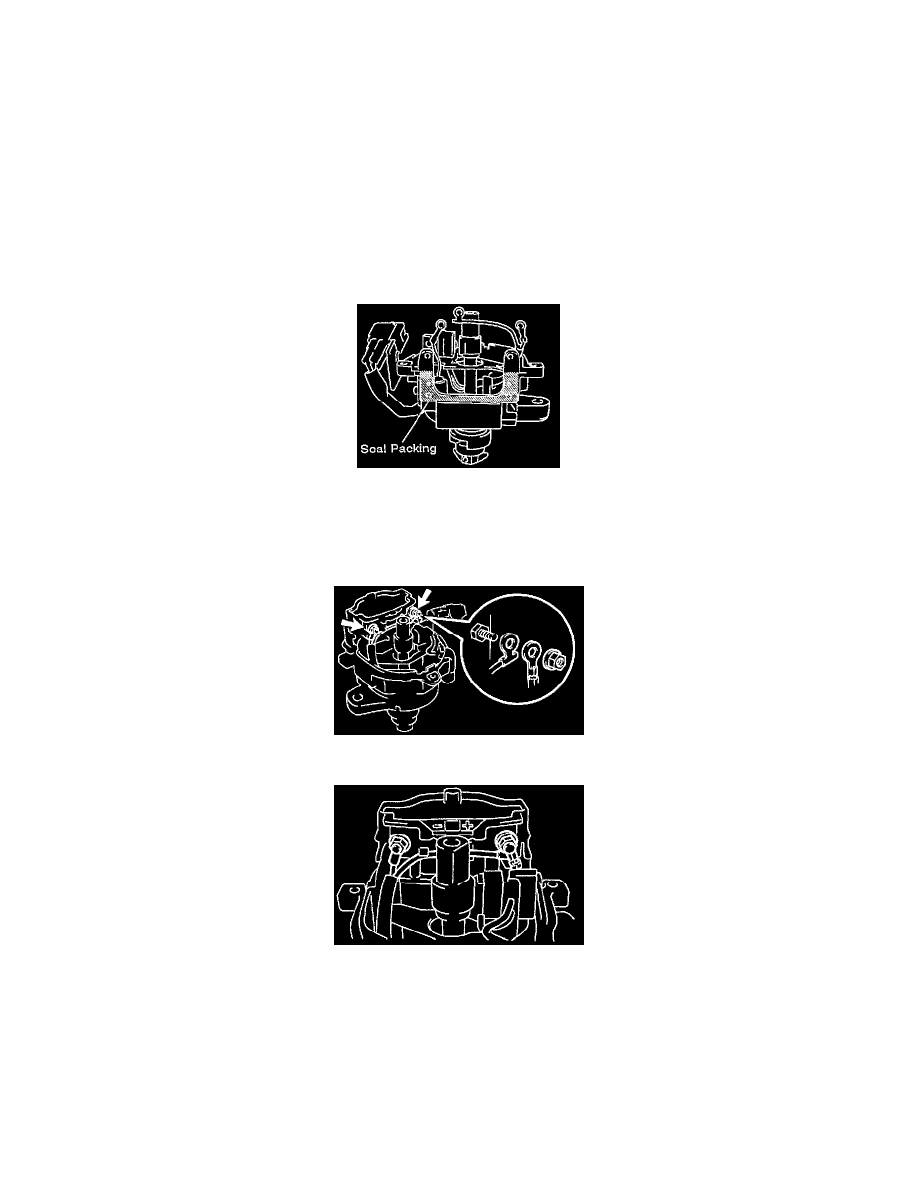
(b) Apply seal packing to the ignition coil installing surface of the housing as shown in the illustration.
Seal packing: Part No. 08826-00080 or equivalent
(c) Install the ignition coil with the 4 screws.
(d) Connect the 3 wires to the ignition coil terminals with the 2 nuts as shown in the illustration.
NOTICE:
-
When connecting the wires to the ignition coil, insert both properly into their grooves found on the side of the ignition coil.
-
Be sure the wires do not contact with signal rotor or distributor housing.
4. INSTALL IGNITION COIL DUST COVER
(a) Install a new gasket to the distributor housing,
(b) Install the dust cover.
5. INSTALL ROTOR
6. INSTALL DISTRIBUTOR CAP
Install the distributor cap with the 3 bolts.
