
Celica ST Ltd Ed Liftback L4-1762cc 1.8L DOHC MFI (1997)
b. Coat a new oil seal lip with power steering fluid.
c. Install the oil seal, making sure you install the oil seal facing the correct direction.
d. Remove the SST.
NOTE: Hold the oil seal down with your hand to prevent it coming out together with the SST.
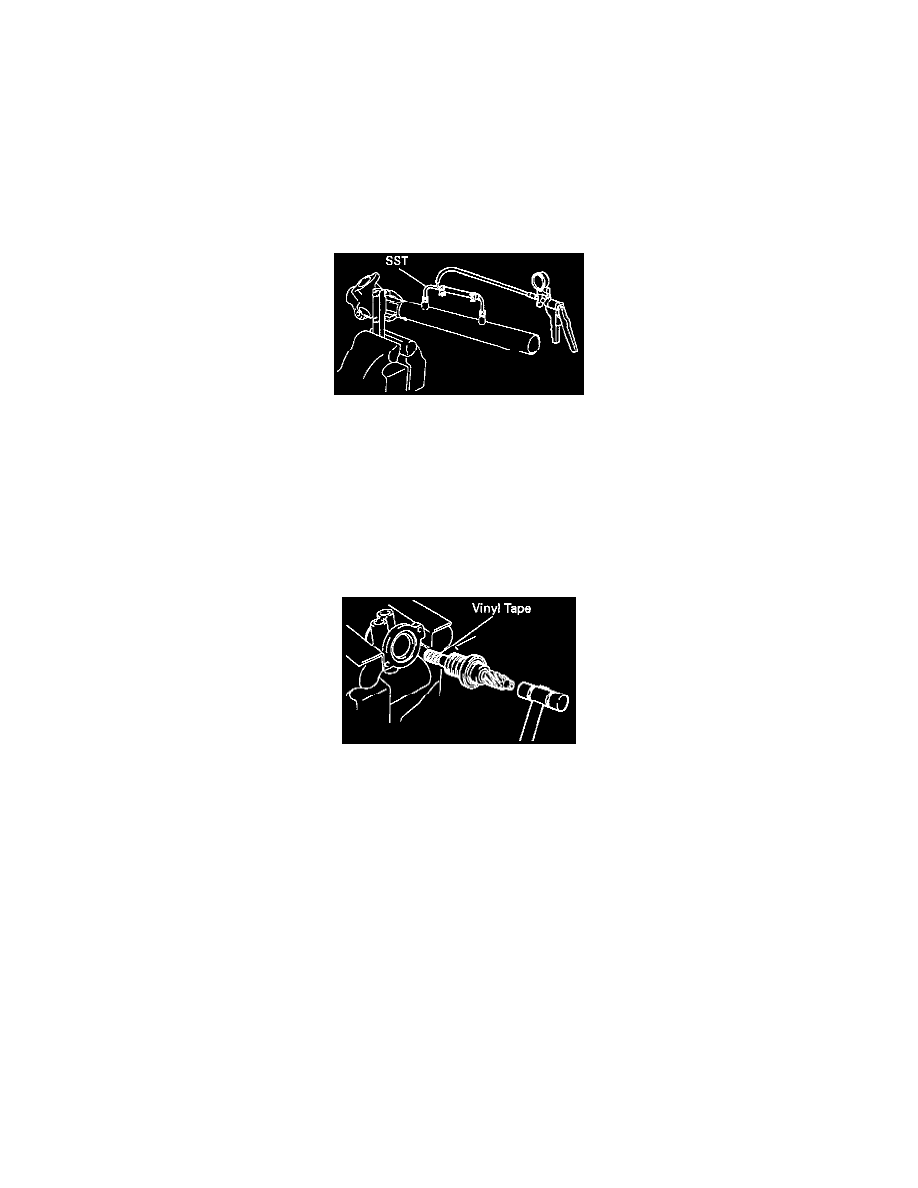
5. Install the cylinder end stopper after doing the following.
a. Install the stopper into the rack housing.
b. Using snap ring pliers, install the snap ring.
6. Perform an air tightness test by doing the following.
a. Install the 09631 - 12071 SST to the rack housing.
b. Apply 53.3 kPa (15.75 inch Hg) of vacuum for about 30 seconds.
c. Check that there is no change in the vacuum. If there is change in the vacuum, check the installation of the oil seals.
7. Install the grommet to the rack housing NO. 2 bracket.
8. Install the rack housing No. 2 bracket by doing the following.
a. Align the matchmarks on the bracket and rack housing, and install the bracket.
b. Tighten the bolt to 39 Nm (29 ft. lbs.).
9. Install the control valve assembly after doing the following.
a. Coat the teflon rings with power steering fluid.
b. To prevent oil seal lip damage, wind vinyl tape on the serrated part of the valve shaft.
c. Using a plastic hammer, tap in the valve assembly into the valve housing, being careful not to damage the teflon rings and oil seal.
10. Install the control valve housing with the control valve assembly after doing the following.
a. Coat a new O-ring with power steering fluid and install it to the rack housing.
b. Align the matchmarks on the valve housing and rack housing.
c. Tighten the two bolts to 31 Nm (23 ft. lbs.).
11. Install the dust cover.
12. Install the bearing, doing the following.
a. Coat a new bearing with molybdenum disulfide lithium base grease.
b. Install the bearing to the rack housing.
13. Install the rack housing cap by following these procedures.
a. Apply sealant Part NO. 08833 - 00080. THREE BOND 1344, LOCTITE 242 or equivalent to two or three threads of the cap.
b. Temporarily install the cap.
c. Use the 09616 - 00010 SST and a torque wrench to measure the rotational torque of the control valve shaft, and make a note of the torque
value.
d. Using a (24 mm) hexagon wrench, tighten the cap to 15 Nm (11 ft. lbs.).