
Corolla/FX L4-1587cc 4A SOHC (1984)
(B)
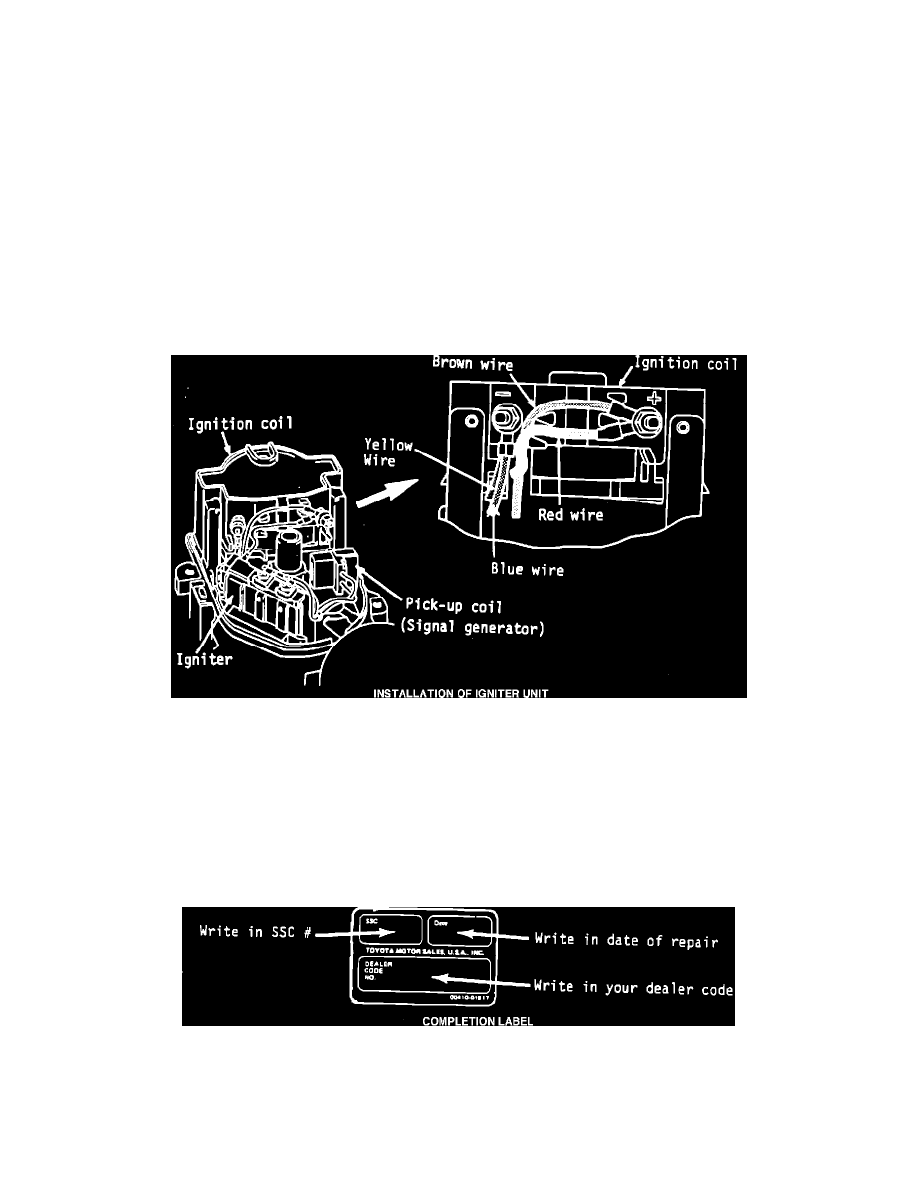
Installation of Igniter Unit
1)
Install new igniter using two new retaining screws.
2)
Install the pickup coil (signal generator) lead wire as indicated below:
Note:
Two different types of end terminal on pickup coil lead wires
A.
Nut Type Terminal
Twist lead wire as illustrated, then install pink wire terminal first onto the right igniter terminal.
B.
Welded Nut Type Terminal
Install white wire terminal first onto the center terminal of igniter without twisting the lead wires.
*
Insert pink and white wires into clamp as illustrated.
*
Make sure that the wires do not contact with signal rotor, distributor housing or advance plate.
Installation of Igniter Unit
3)
Install black wire on its original location to the igniter terminal.
4)
Route red and yellow wire from igniter so that it would not contact any moving parts. Connect red wire and brown wire to the right ignition
coil (+) terminal. Connect the yellow wire to the left coil (-) terminal with the blue wire. When the red and brown wire are installed to the
ignition coil (+) terminal, insert the wires properly into the groves of the coil so as to avoid touching the rotor.
5)
Install igniter cover, coil cover, rotor and distributor cap.
Completion Label
Completion Label
1)
After completing repair and before returning the vehicle to a customer, a SSC completion label must be affixed to the firewall next to the factory
I.D. plate.
2)
The label is to be filled out as follows: