
Corolla CE Sedan 4-Door L4-1587cc 1.6L DOHC MFI (1997)
(i) Release the Brake Pedal.
6. For other wheels.
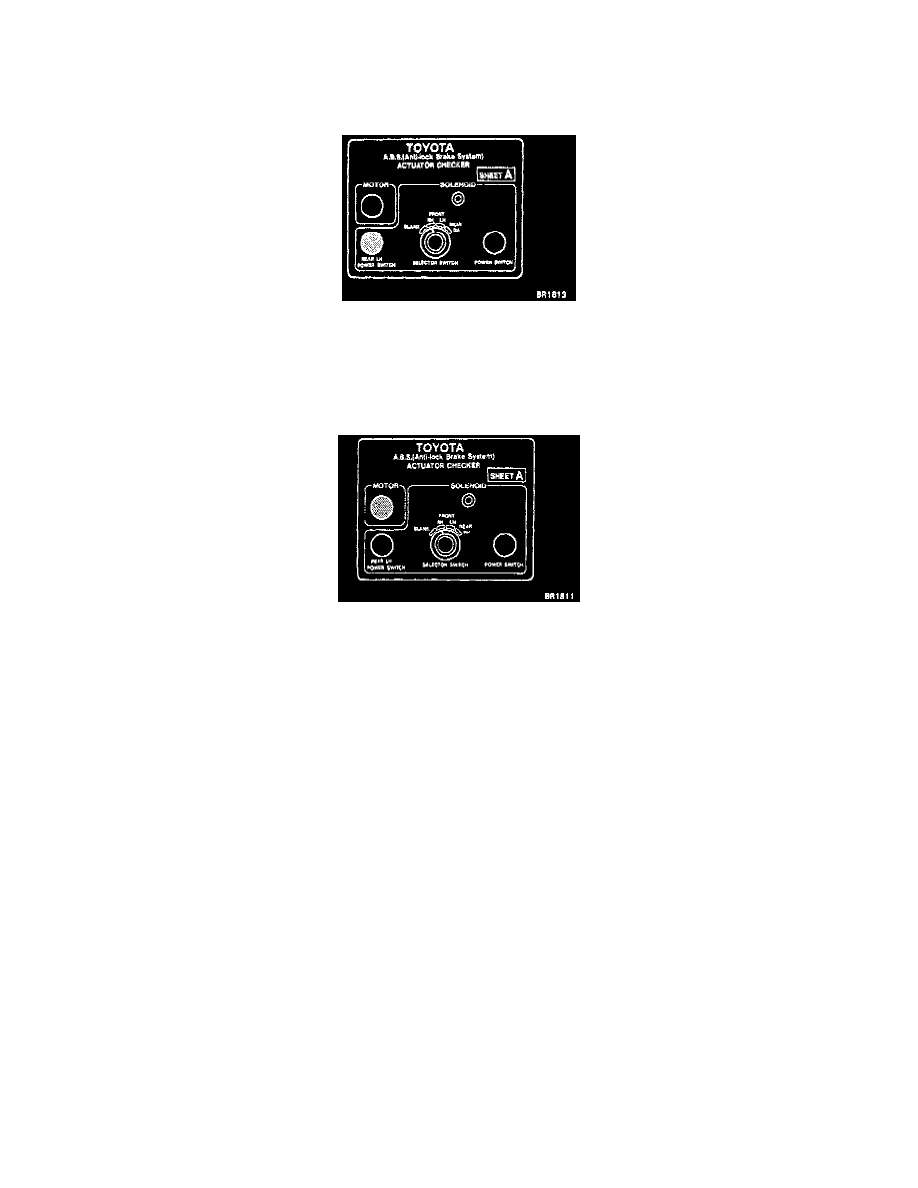
(a) Turn the selector switch to "FRONT LH" position.
(b) Repeating (c) to (i) in step 5, check the Actuator operation similarly.
(c) Similarly, inspect "REAR RH" and "REAR LH" position.
Depressing REAR LH Switch
NOTE: When inspecting "REAR LH" position, push the REAR LH switch instead of the POWER SWITCH. This makes it possible to inspect
whatever the selector switch position indicates.
7. Push MOTOR switch.
Holding In MOTOR Switch
(a) Push and hold in the MOTOR switch for a few seconds.
(b) Stop the engine.
8. Disconnect Actuator checker (SST) from Actuator.
Remove the "SHEET A" (SST) and disconnect the Actuator checker (SST) and sub-wire harness (SST) from the Actuator, control relay and body
side wire harness.
SST 09990-00150, 09990-00163, 09990-00200, 09990-00300
9. Connect connectors.
(a) Connect the connector to the Actuator.
(b) Connect the 2 connectors to the control relay.
10. Clear Diagnostic trouble codes (DTC).
11. Install Windshield Washer Tank.