
Corolla CE Sedan 4-Door L4-1587cc 1.6L DOHC MFI (1997)
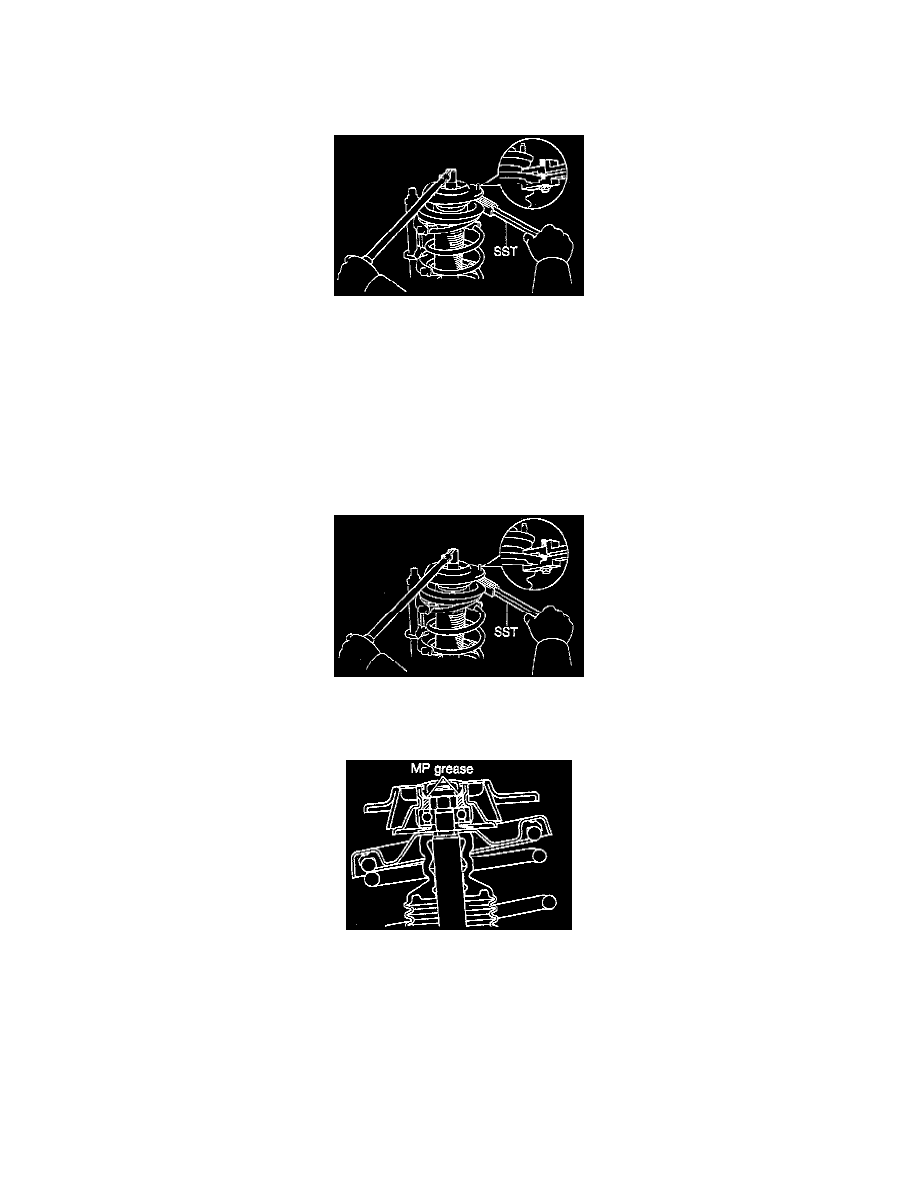
3. Using Special Service Tool (SST) 09727 - 30021, compress the coil spring.
CAUTION: Do not use an impact wrench. It will damage the SST.
4. Remove the cap from the suspension support.
5. Using SST 09729 - 22031 to hold the spring seat, remove the nut.
INSTALLATION
1. Using SST 09727 - 30021, compress the coil spring.
2. Install the coil spring to the shock absorber.
NOTE: Fit the lower end of the coil spring into the gap of the spring seat of shock absorber.
3. Install the upper insulator.
4. Install the spring seat to the shock absorber with the "OUT" mark facing the outside of the vehicle.
5. Install the dust seal and suspension support.
6. Using SST 09729 - 22031 to hold the spring seat, install a new nut torque to 47 Nm (34 ft. lbs.).
7. Install the cap.
8. Remove the SST 09727 - 30021.
9. Pack MP grease into the suspension support.
10. Install shock absorber assembly in reverse order of removal, noting the torque specifications in brackets [ ].
11. After installation, bleed the brake system and check the rear wheel alignment. See: Alignment