
Corolla CE Sedan 4-Door L4-1587cc 1.6L DOHC MFI (1997)
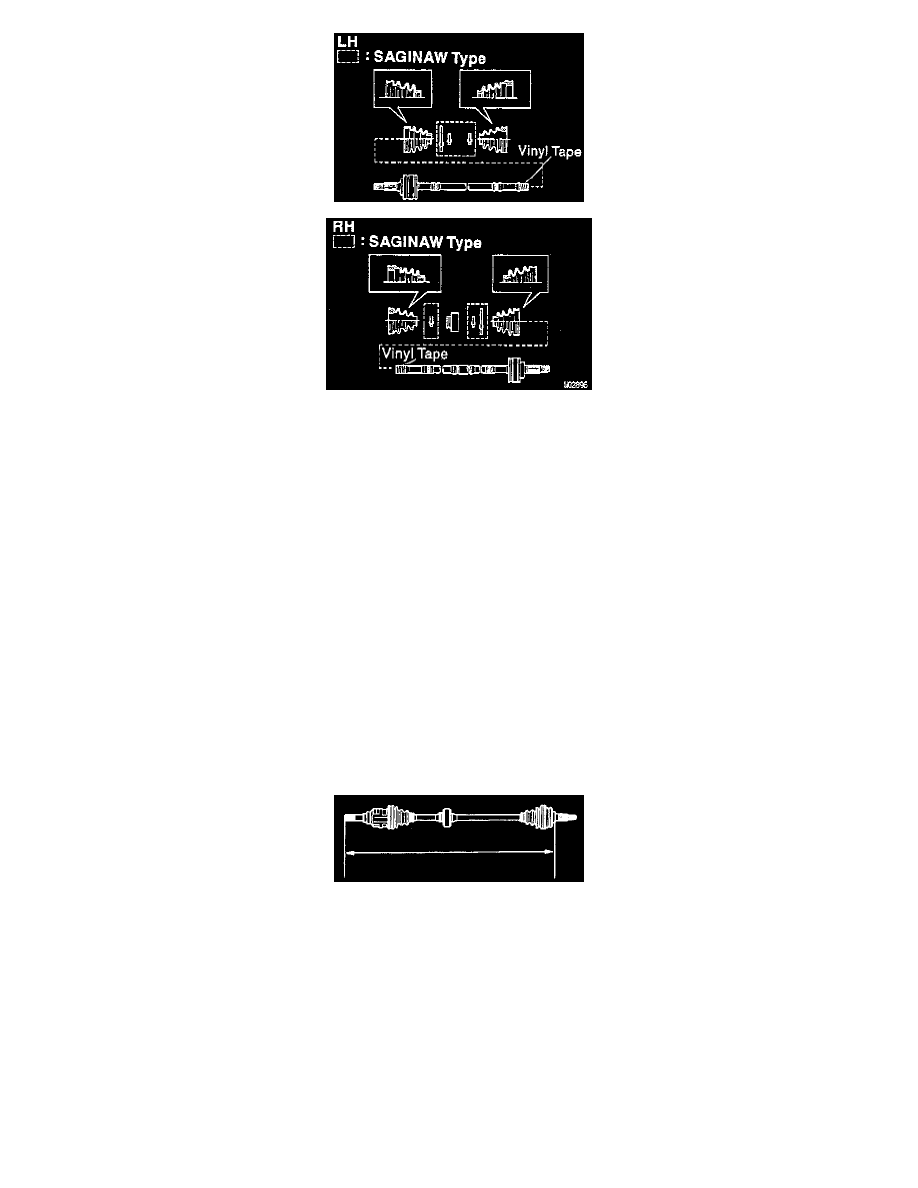
3. Temporarily install boots, damper (RH drive shaft) and new clamps (SAGINAW type).
NOTE:
-
Before installation the boot, wrap vinyl tape around the spline of the drive shaft to prevent the boot from damaging.
-
Fix the clamp position in line with the groove of the drive shaft (RH Drive shaft).
4. Install tripod (TOYOTA Type).
a. Place the beveled side of the tripod axial spline toward the outboard joint.
b. Align the matchmarks placed before removal.
c. Using a brass bar and hammer, tap in the tripod to the drive shaft.
CAUTION: Do not tap the roller.
d. Using a snap ring expander, install a new snap ring.
5. Install boot to outboard joint. Before assembling the boot, pack the outboard joint and boot with grease in the boot kit.
6. Install inboard joint tulip to front drive shaft.
a. Pack the inboard joint tulip and boot with grease in the boot kit.
b. Align the matchmarks placed before disassembly.
c. Install the inboard joint tulip to the drive shaft.
d. Temporarily install the boot to the inboard joint tulip.
7. Assemble boot clamps and dynamic damper clamp (RH drive shaft).
a. Check that the boots are on the shaft groove.
b. Make sure that the boots are not stretched or contracted when the drive shaft is at standard length.
Drive Shaft Standard Length
TOYOTA Type:
LH: 541.3 ± 5.0 mm (21.311 ± 0.197 inch).
RH: 855.8 ± 5.0 mm (33.693 ± 0.197 inch).
SAGINAW Type:
LH: 540.2 ± 5.0 mm (21.268 ± 0.197 inch).
RH: 857.4 ± 5.0 mm (33.756 ± 0.197 inch).