
Corolla LE Sedan L4-1762cc 1.8L DOHC MFI (1998)
4. Remove No.2 lower suspension arm.
a. Remove the nut and washer, and disconnect the No.2 lower suspension arm from the suspension member.
Torque: 125 Nm (89 ft. lbs.)
HINT: At the time of installation, after stabilizing the suspension, torque the nut.
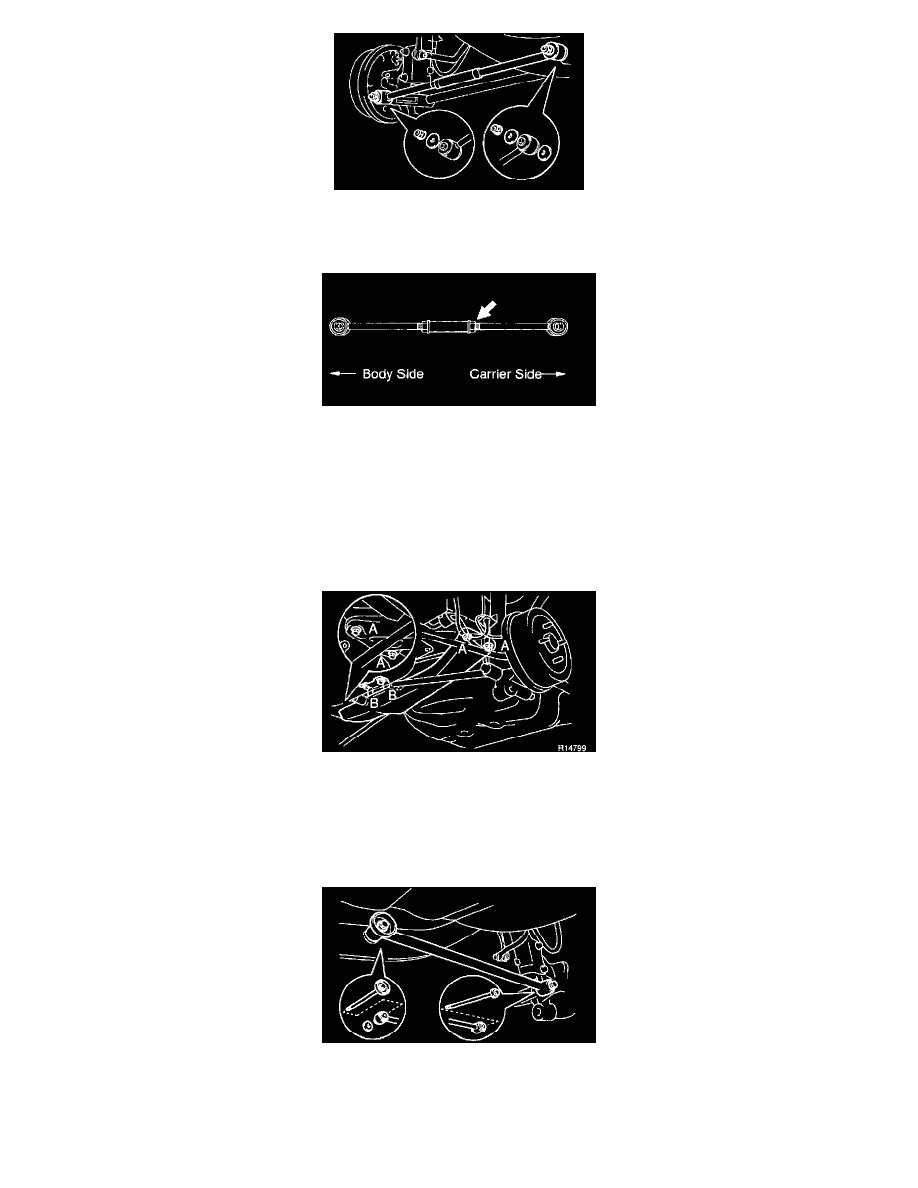
b. Remove the nut, washer and No.2 lower suspension arm from the axle carrier.
Torque: 125 Nm (89 ft. lbs.)
HINT: At the time of installation, please refer to the following items.
Face the left hand thread to the carrier side.
After stabilizing the suspension, torque the nut.
5. Remove No.1 lower suspension arm.
a. Support the suspension member with a jack.
b. Remove the 6 bolts from the suspension member.
Torque:
-
Bolt A: 74 Nm (55 ft. lbs.)
-
Bolt B: 19 Nm (14 ft. lbs.)
c. Remove the bolt and washer, and disconnect the No.1 lower suspension arm from the axle carrier.
d. Lower the suspension member, remove the bolt, washer and No.1 lower suspension arm.
INSTALLATION