
Corolla Sedan 4-Door L4-1587cc 1.6L DOHC MFI (1997)
Valve Clearance: Adjustments
Intake
VALVE ADJUSTMENT PROCEDURE
1. Remove intake camshaft as follows:
CAUTION: Since the thrust clearance of the camshaft is small, the camshaft must be kept level while it is being removed. If the camshaft is not
kept level, the portion of the cylinder head receiving the shaft thrust may crack or be damaged, causing the camshaft to seize or break. To avoid
this, the following steps should be carried out.
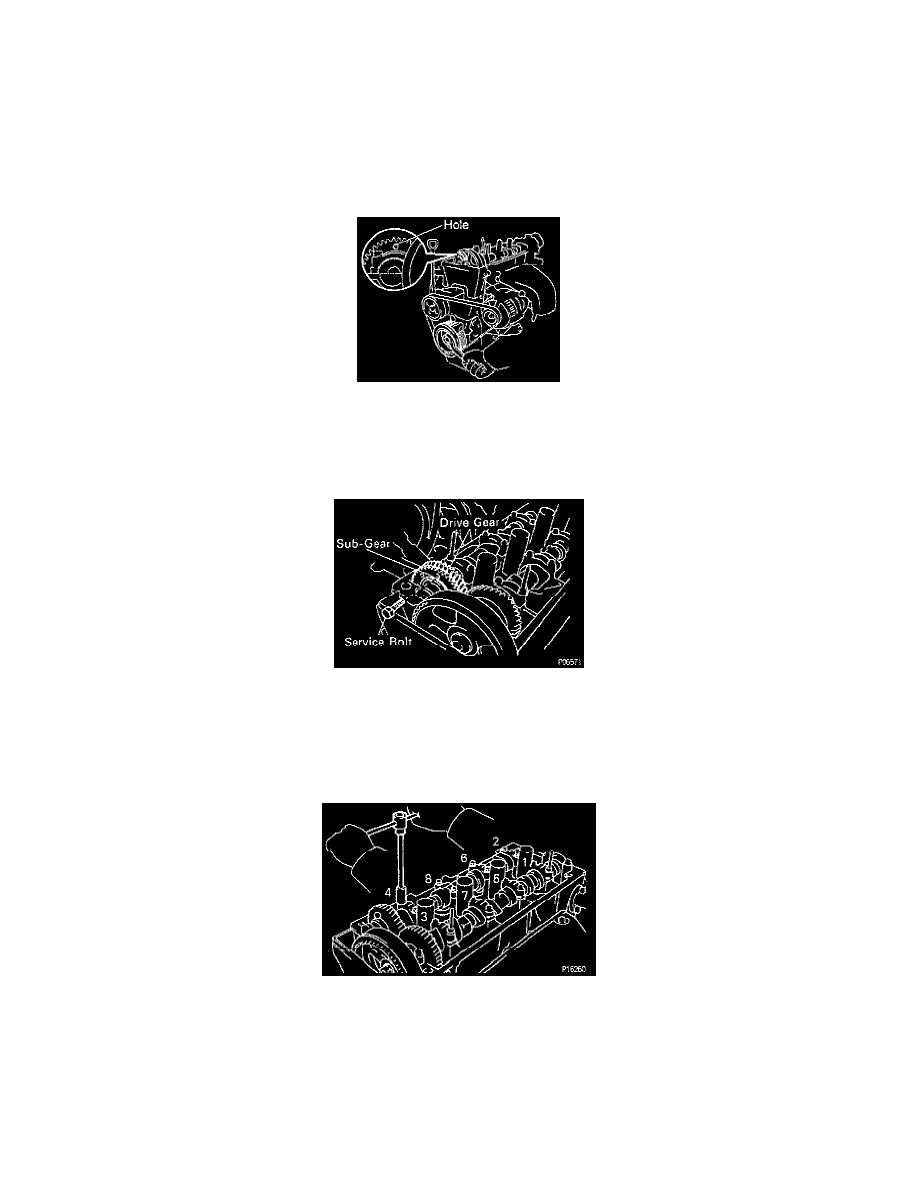
a. Turn the crankshaft pulley so that the hole in the sub-gear (which sets the sub-gear to the camshaft drive gear) comes up.
NOTE: The above state allows the No. 1 and No. 3 cylinder cam lobes of the intake camshaft to push their valve lifters evenly.
b. Remove the 2 bolts and No.1 bearing cap.
c. Secure the intake camshaft sub-gear to the drive gear with a service bolt. Recommended service bolt:
^
Thread diameter: 6 mm
^
Thread pitch: 1.0 mm
^
Bolt length: 16-20 mm (0.63-0.79 inch)
CAUTION: When removing the camshaft, make sure that the torsional spring force of the sub-gear has been eliminated by the above operation.
d. Uniformly loosen and remove the 8 bearing cap bolts in several passes, in the sequence shown.
e. Remove the 4 bearing caps and camshaft.