
Corona L4-2366cc 22R (1982)
Air Injection Control Valve: Testing and Inspection
Vacuum Control Valve
1978 4M Engine & 1981 22R Engine
1. Open and close throttle valve.
2. Check that compressed air is discharged from hose to front pipe of catalytic converter.
Fig.68 - Testing Vacuum Control Valve
1978-79 20R Engine
1. Start engine.
2. Disconnect vacuum sensing hose, pipe "S", from vacuum control valve and reconnect it, Fig. 68.
3. Check that compressed air is momentarily discharged from by-pass hose.
1979 4M ENGINE
Vacuum Control Valve No. 1
1. To test vacuum control valve on car, proceed as follows:
a. Open and close throttle valve.
b. Check that compressed air is discharged from hose to front pipe of catalytic converter.
2. To test vacuum control valve off car, proceed as follows:
a. Remove vacuum control valve.
b. Remove filter cover and take out filter, visually check filter, and replace if damaged or clean filter by blowing with compressed air.
c. Install filter with thicker side positioned outward.
d. Install valve, being sure it is positioned in correct direction.
e. Connect vacuum gauge between valve and carburetor using 3-way fitting.
f. Disconnect hose from filter side of valve.
g. Check that valve is closed when engine vacuum is below 18.3 in. Hg.
h. Check that valve is open when engine vacuum is above 19.5 in. Hg.
i. Reconnect vacuum hose.
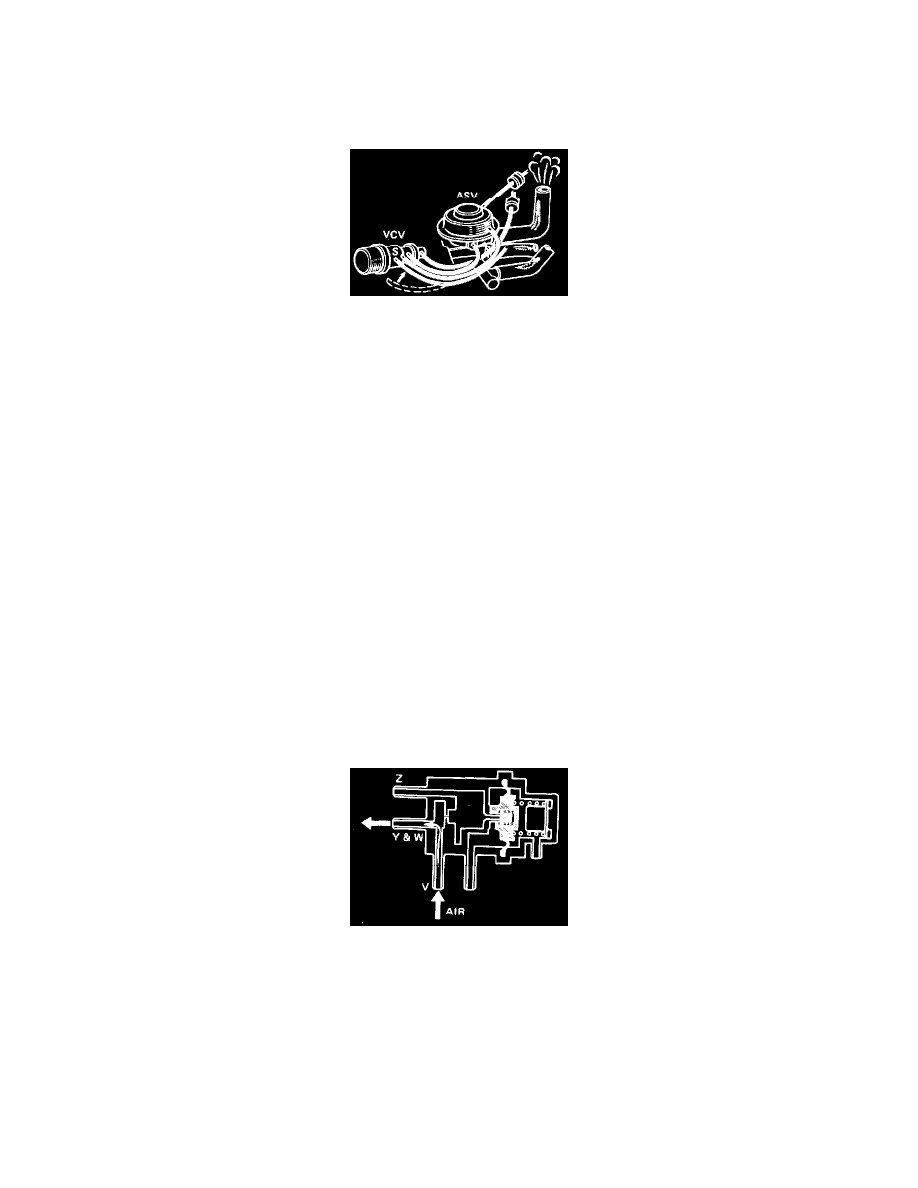
Fig.69 - Testing Vacuum Control Valve
Vacuum Control Valve No. 2
1. To check vacuum passage in valve, proceed as follows:
a. Blow air into pipe "V", Fig. 69, and check that a large amount of air flows to pipes "Y" and W".
b. Close off pipes "Y" and "W" and check that a small amount of air flows to pipe"Z".
c. Reconnect hoses to proper location.
2. To test valve operation, proceed as follows: