
Corona L4-2366cc 22R (1982)
5.
If no change is detected, rotate clamps in opposite directions slightly and retest. Continue until best location is established. Mark locations
with crayon or paint.
6.
Confirm results with actual road test. If satisfactory, remove hose clamps and install special weighted bolts to provide identical balancing
effect (see illustration).
Standard bolt weight = 13 gram
#2 weighted bolt
= 15 gram
#4
"
"
= 17 gram
#6
"
"
= 19 gram
CAUTION:
Hose clamp must be removed from driveshaft after balancing to prevent possible contact with underside of body at full suspension compression.
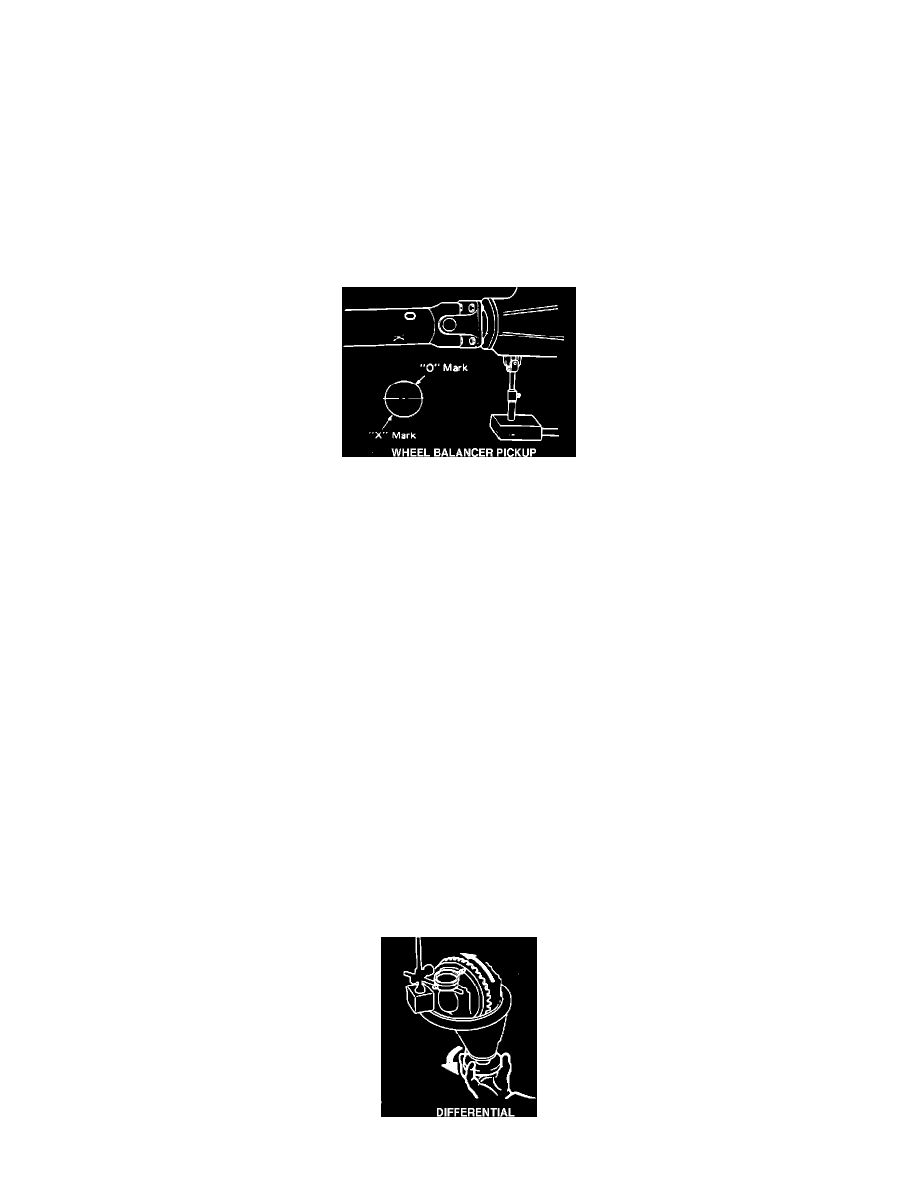
Wheel Balancer Pickup
Balance Method 2
1.
With vehicle properly lifted, locate the wheel balancer pickup at the underside of the differential carrier, as shown. The strobe will now flash when
the heavy side of the driveshaft is down.
2.
Mark the driveshaft with an "X" and an "O" directly opposite each other for reference.
3.
Start the engine and accelerate the driveline to the complaint speed range.
4.
Shine the strobe light on the marks on the driveshaft. Note the position of the marks. If the strobe equipment has a meter indicating weight, note
this reading also.
NOTE:
If the "X" and "O" alternately appear at the same location, the balance of the driveshaft is satisfactory.
NOTE:
On many four-cylinder-engined vehicles, the weight meter may not indicate zero even if the driveshaft balance is correct, due to engine firing pulses.
5.
Stop the engine and rotate the driveshaft so that the marks are in the position observed during strobe testing. This position places the heavy side of
the driveshaft straight down.
6.
Install weighted bolts to upper side to provide proper balance (see Method 1, Step 6.).
This completes Driveshaft Balance Section
Procedure J - Ring and Pinion Vibration
Differential