Paseo Coupe L4-1497cc 1.5L DOHC MFI (1997)

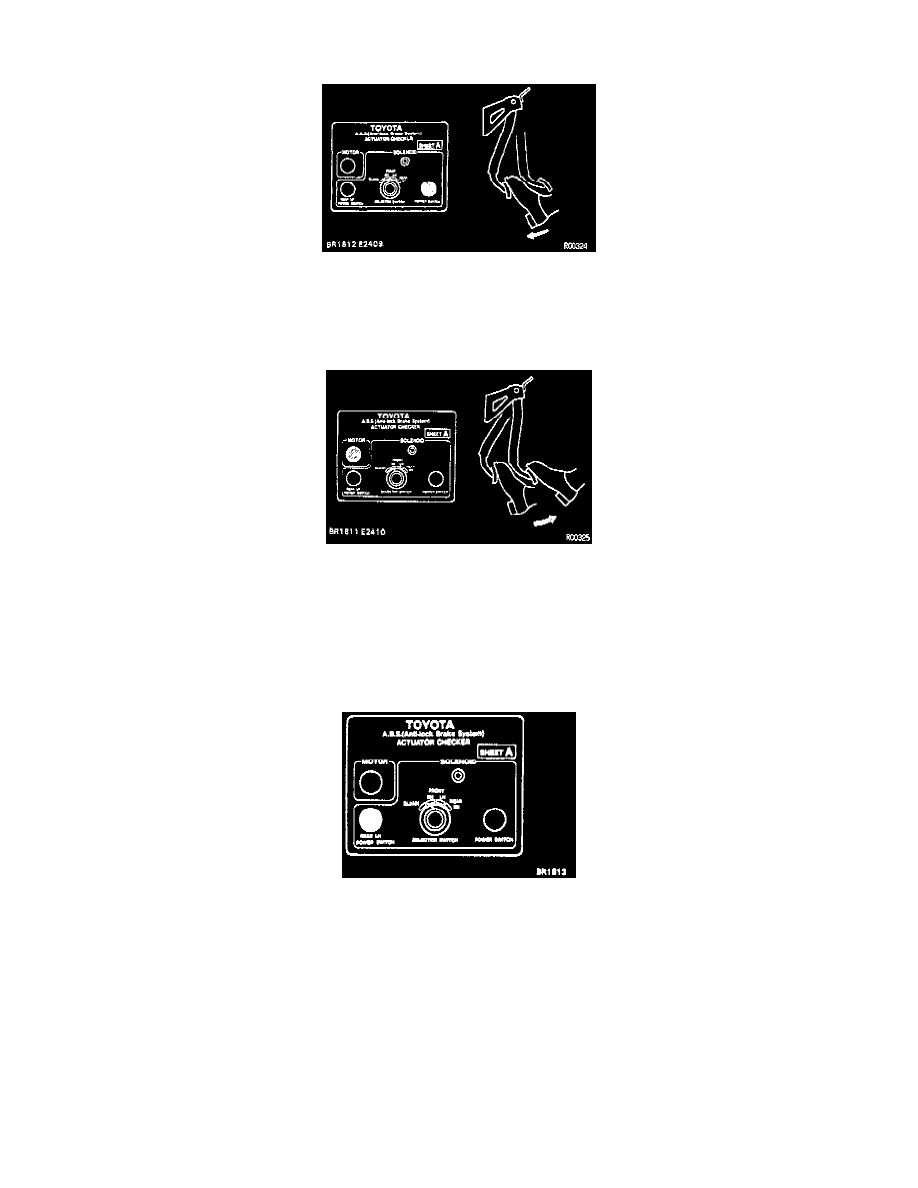
(e) With your foot still applied onto the Brake Pedal, push the MOTOR switch and check the Brake Pedal does not pulsate.
Depressing Brake Pedal And POWER SWITCH
(f) Depress the Brake Pedal and hold it. As you hold the pedal down, push and hold in the POWER SWITCH for a few seconds. Check the pedal
does not go down.
(g) With your foot still applied onto the Brake Pedal, release the POWER SWITCH and check that the pedal goes down.
Depressing Brake Pedal And MOTOR Switch
(h) With your foot still applied on the Brake Pedal, push the MOTOR switch and check the Brake Pedal returns.
(i) Release the Brake Pedal.
5. Inspect for other wheels
(a) Turn the selector switch to the "FRONT LH" position.
(b) Repeat (c) - (i) of step 4, check the Actuator operation as before.
(c) Similarly, inspect the "REAR RH" and "REAR LH" positions.
Turn Selector To REAR RH
NOTE: When inspecting the "REAR LH" position, push the "REAR LH" switch instead of the POWER SWITCH, and you can inspect in any
selector switch position.
6. Push MOTOR switch.
(a) Push and hold in the MOTOR switch for a few seconds.
(b) Stop the engine.
7. Disconnect Actuator checker (SST).
Remove the "SHEET A". (SST) and disconnect the Actuator checker (SST) and sub-wire harness (SST) from the Actuator, Control Relay and
body side wire harness.
SST 09990 - 00150, 09990 - 00163, 09990 - 00200, 09990 -00300
8. Connect connectors.
(a) Connect the connector to the Actuator.
(b) Connect the 2 connectors to the Control Relay.
