
Paseo Coupe L4-1497cc 1.5L DOHC MFI (1997)
Remove No.2 Brake Line Clamp
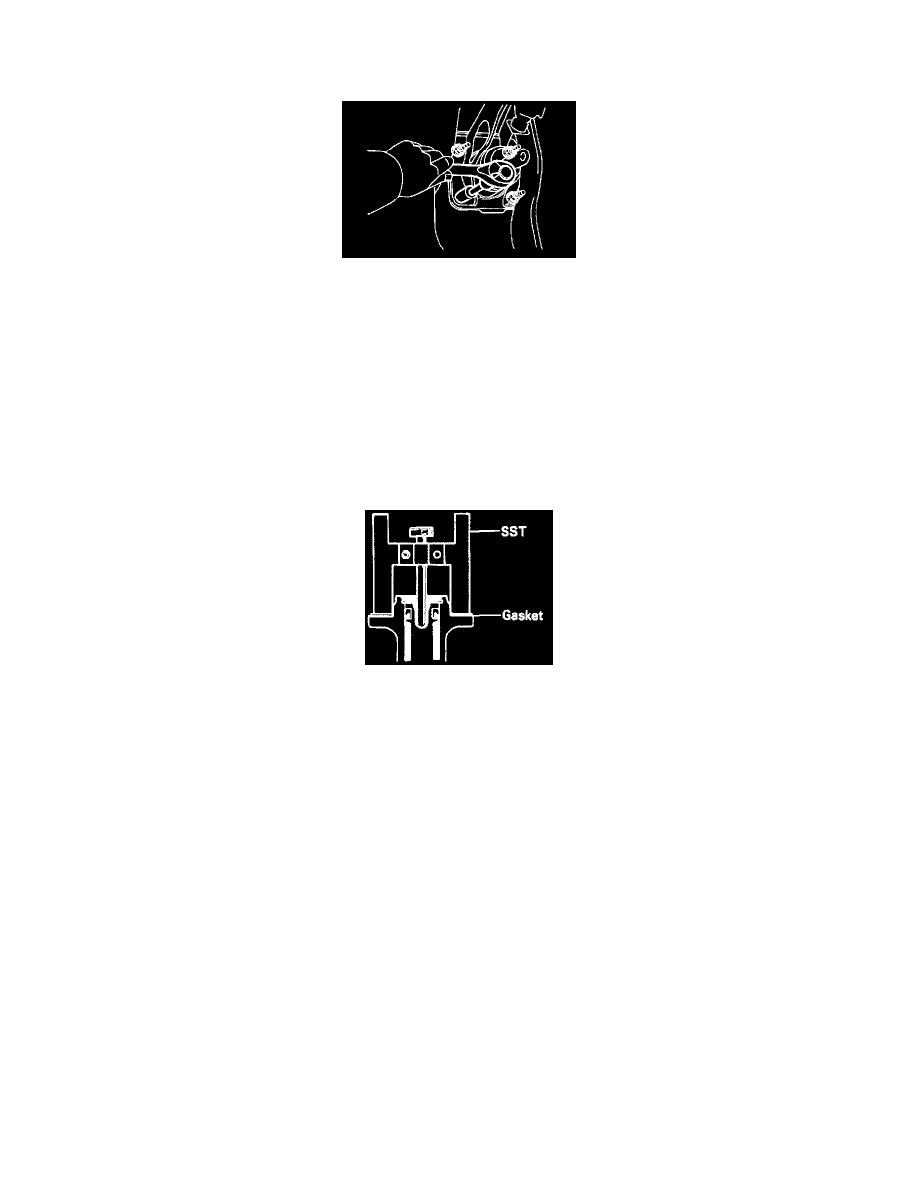
(b) Remove the No.2 brake line clamp.
(c) Remove the 4 nuts and clevis.
(d) Pull out the Brake Booster and gasket.
INSTALLATION
1. Install Brake Booster.
(a) Install the Booster and a new gasket.
(b) Install the clevis to the operating rod.
(c) Install and torque the Booster installation nuts.
Torque: 14 Nm (10 ft. lbs.)
(d) Install the clevis pin into the clevis and Brake Pedal, and install the clip to the clevis pin.
(e) Install the pedal return spring.
(f) Install the No.1 brake line clamp to the body.
(g) Install the No.2 brake line clamp to the body.
Length Of Booster Push Rod Adjustment
2. Adjust length of Booster Push Rod. See: Hydraulic System/Brake Master Cylinder/Adjustments
3. Install Master Cylinder.
4. Connect vacuum hose to Brake Booster.
5. Fill brake reservoir with brake fluid and bleed brake system. See: Brake Bleeding/Service and Repair.
6. Check for fluid leakage.
7. Check and adjust Brake Pedal.
Check and adjust the Brake Pedal, then tighten the clevis lock pin.
Torque: 26 Nm (19 ft. lbs.)
8. Do operational check.