
Paseo Coupe L4-1497cc 1.5L DOHC MFI (1997)
Vacuum Switching Valve (VSV) for EVAP: Testing and Inspection
VACUUM SWITCHING VALVE (VSV) FOR EVAP INSPECTION
1. Remove VSV
2. Inspect VSV
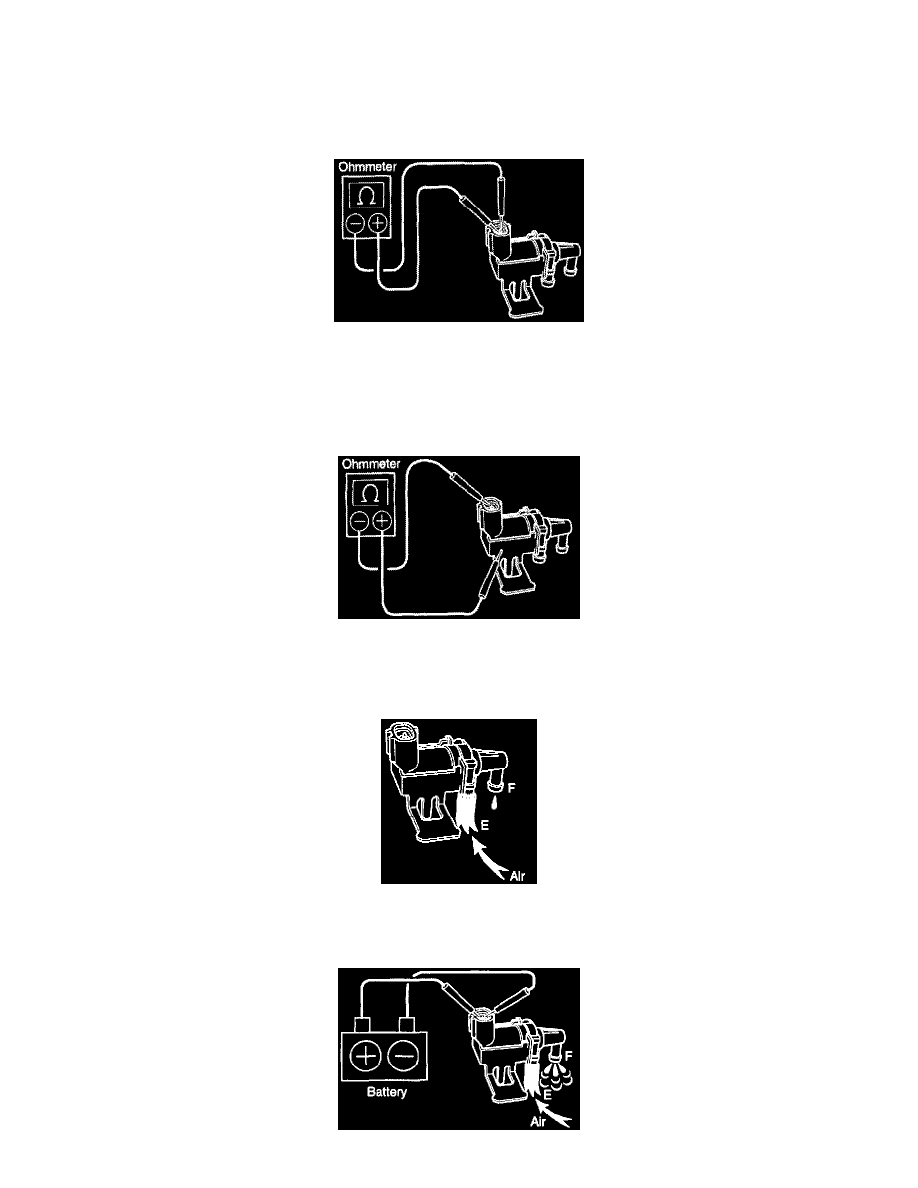
A. Inspect VSV for open circuit
Using an ohmmeter, check that there is continuity between the terminals.
Resistance: 30 - 34 ohms at 20°C (68°F)
If there is no continuity, replace the VSV.
B. Inspect VSV for ground
Using an ohmmeter, check that there is no continuity between each terminal and the body.
If there is continuity, replace the VSV.
C. Inspect VSV operation
(a) Check that air does not flow from ports E to F.
NOTICE: Never apply more than 60 kPa (0.61 kgf/sq.cm, 8.7 psi) of pressure compressed air to the VSV.