
Paseo Coupe L4-1497cc 1.5L DOHC MFI (1997)
Air Bag Control Module: Service and Repair
NOTICE:
^
Do not open the cover or the case of the ECU and various computers unless absolutely necessary. (If the IC terminals are touched, the IC may be
destroyed by static electricity.)
^
Never use SRS parts from another vehicle. When replacing parts, replace with new ones.
^
Never reuse the airbag sensor assembly involved in a collision when the airbag has deployed.
^
Never repair a sensor in order to reuse it.
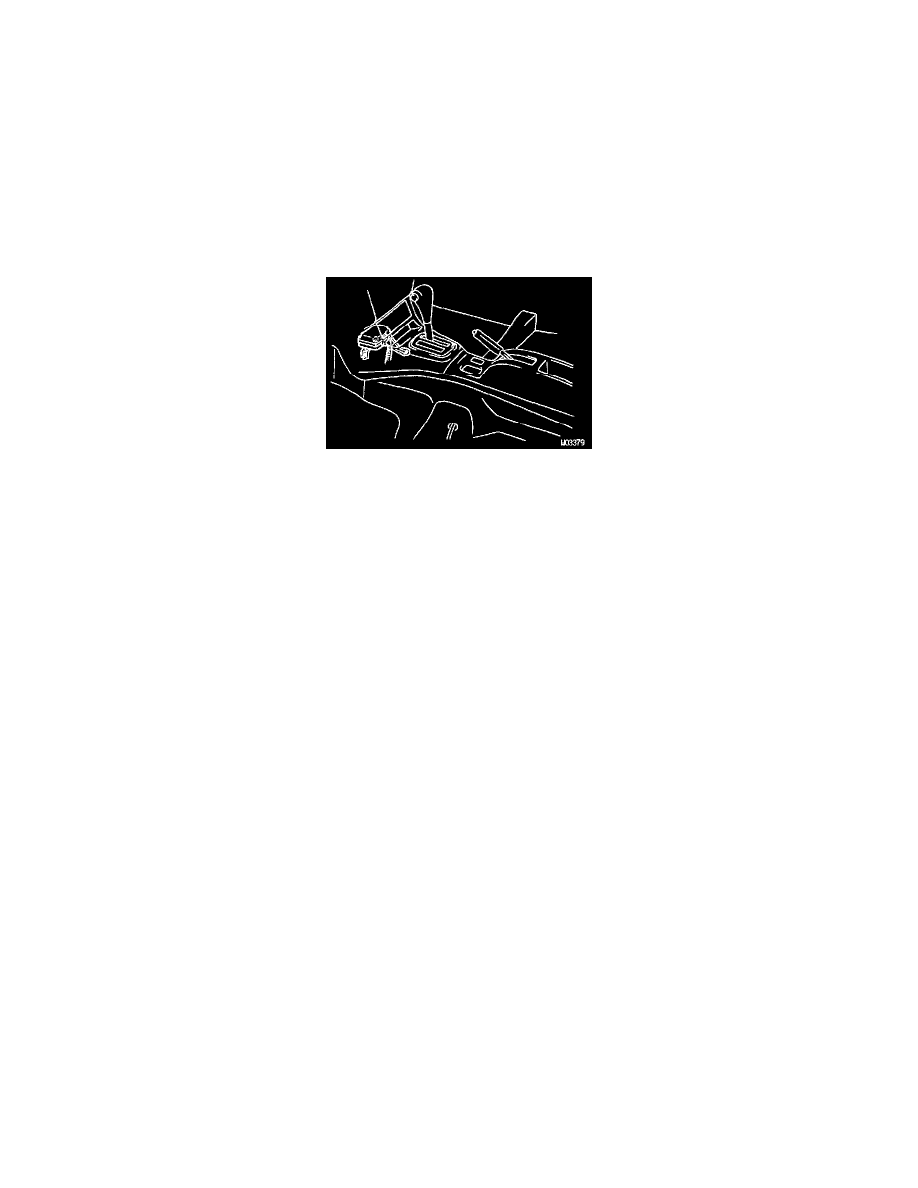
1. REMOVE THESE PARTS
^
Console box
^
Center cluster finish panel
^
Lower center finish panel
^
Rear air duct No.3
Remove Airbag Sensor Assembly
2. REMOVE AIRBAG SENSOR ASSEMBLY
a. Disconnect the connector.
NOTICE: Removal of the connector is done with the sensor assembly installed.
b. Using a torx wrench, remove the 3 screws and the airbag sensor assembly.
Torx wrench: T40 (Part No. 09042-00020 or locally manufactured tool)
3. INSTALL AIRBAG SENSOR ASSEMBLY
a. Using a torx wrench, install the airbag sensor assembly with the 3 screws.
Torx wrench: T40 (Part No. 09042-00020 or locally manufactured tool)
Torque: 20 N.m (200 kgf.cm, 14 ft.lbf)
b. Connect the connector.
NOTICE:
^
Installation of the connector is done with the sensor assembly installed.
^
Make sure that the sensor assembly is installed to the specified torque.
^
If the sensor assembly has been dropped, or there are cracks, dents or other defects in the case, bracket or connector. replace the sensor
assembly with a new one.
^
When installing the sensor assembly, take care that the SRS wiring does not interfere with other parts and is not pinched between other
parts.
^
After installation, shake the sensor assembly to check that there is no looseness.
4. INSTALL THE REMOVED PARTS