
Paseo Coupe L4-1497cc 1.5L DOHC MFI (1997)
f.
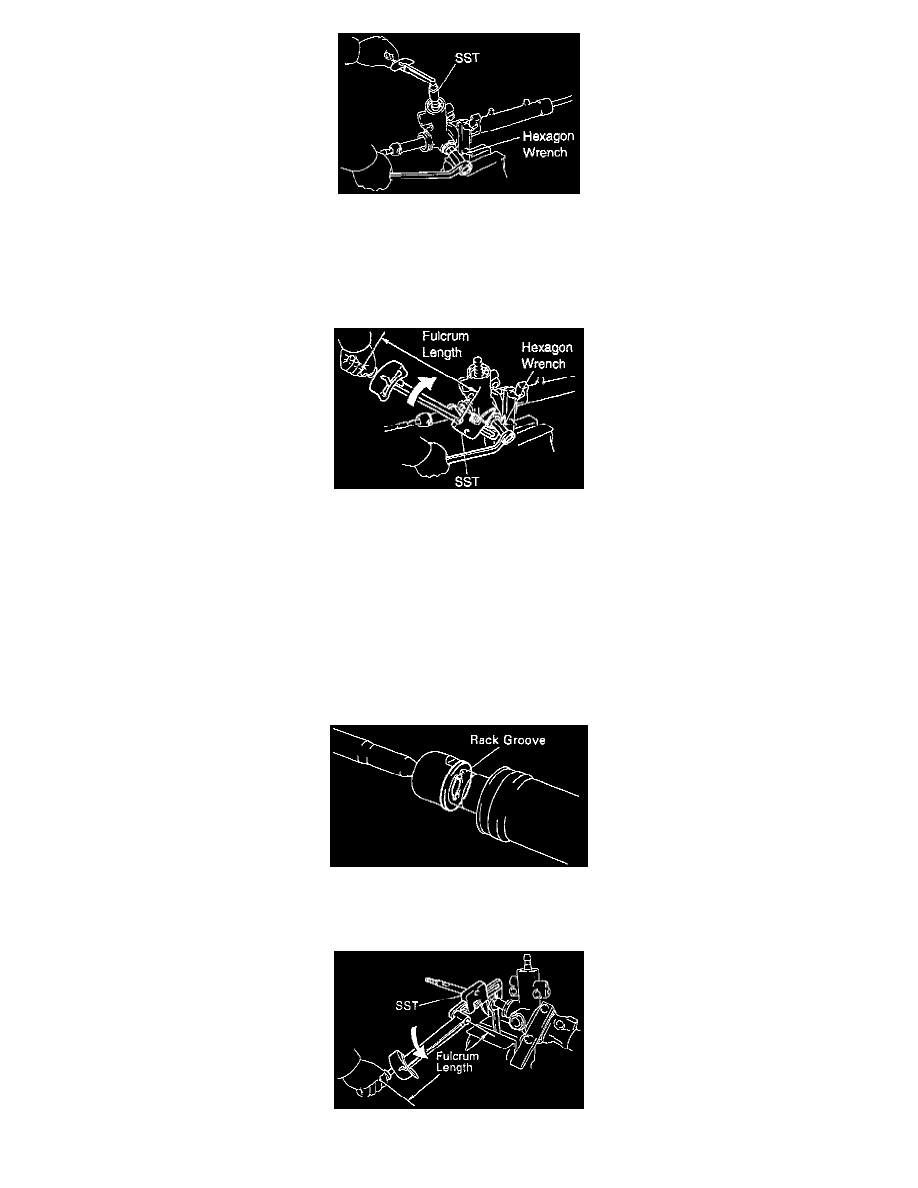
Using the 09616 - 00010 SST, a torque wrench and a (21 mm) hexagon wrench , tighten the cap until the preload is within the specification of
0.8 - 1.4 Nm (6.9 - 12.2 inch lbs.).
14. Install the rack guide spring cap lock nut by doing the following.
a. Apply Part No.08833 - 00080, THREE BOND 1344, LOCTITE 242 or equivalent sealant to 2 or 3 threads of the nut.
b. Using a (21 mm) hexagon wrench to hold the rack guide spring cap and using 09922 - 10010 SST, tighten the nut to 36 Nm (26 ft. lbs.).
NOTE:
^
Use the 09922 - 10010 SST in the direction shown in the illustration.
^
Use a torque wrench with a fulcrum length of 300 mm (11.81 inch).
c. Recheck the total preload, it should be 0.8 - 1.4 Nm (6.9 - 12.2 inch lbs.).
d. Remove the right and left rack end.
15. Install the right and left hand claw washers and rack ends by doing these procedures.
a. Install a new washer, and temporarily tighten the rack end.
NOTE: Align the claws of the washer with the steering rack grooves.
b. Using a spanner to hold the steering rack steady, and using the 09922 - 10010 SST, tighten the rack end to 51 Nm (18 ft. lbs.).
NOTE: