
Paseo Coupe L4-1497cc 1.5L DOHC MFI (1997)
a. Use a dial indicator near the center of the axle hub and check the backlash in the bearing shaft direction. The maximum reading should be 0.05
mm (0.0020 inch). If the backlash exceeds the maximum, replace the bearing.
b. Using a dial indicator, check the deviation at the surface of the axle hub inside the hub bolt, the maximum reading should be 0.05 mm (0.0020
inch), if the deviation exceeds the maximum, replace the axle hub.
6. Remove the drive shaft lock nut by doing the following.
a. Install the disc and brake caliper.
b. Remove the cotter pin and lock cap.
c. While applying the brakes, remove the nut.
NOTE: when installing the nut, tighten the nut to 216 Nm (159 ft. lbs.). See TSB DL001-98 3-6-98
d. Remove the brake caliper and disc.
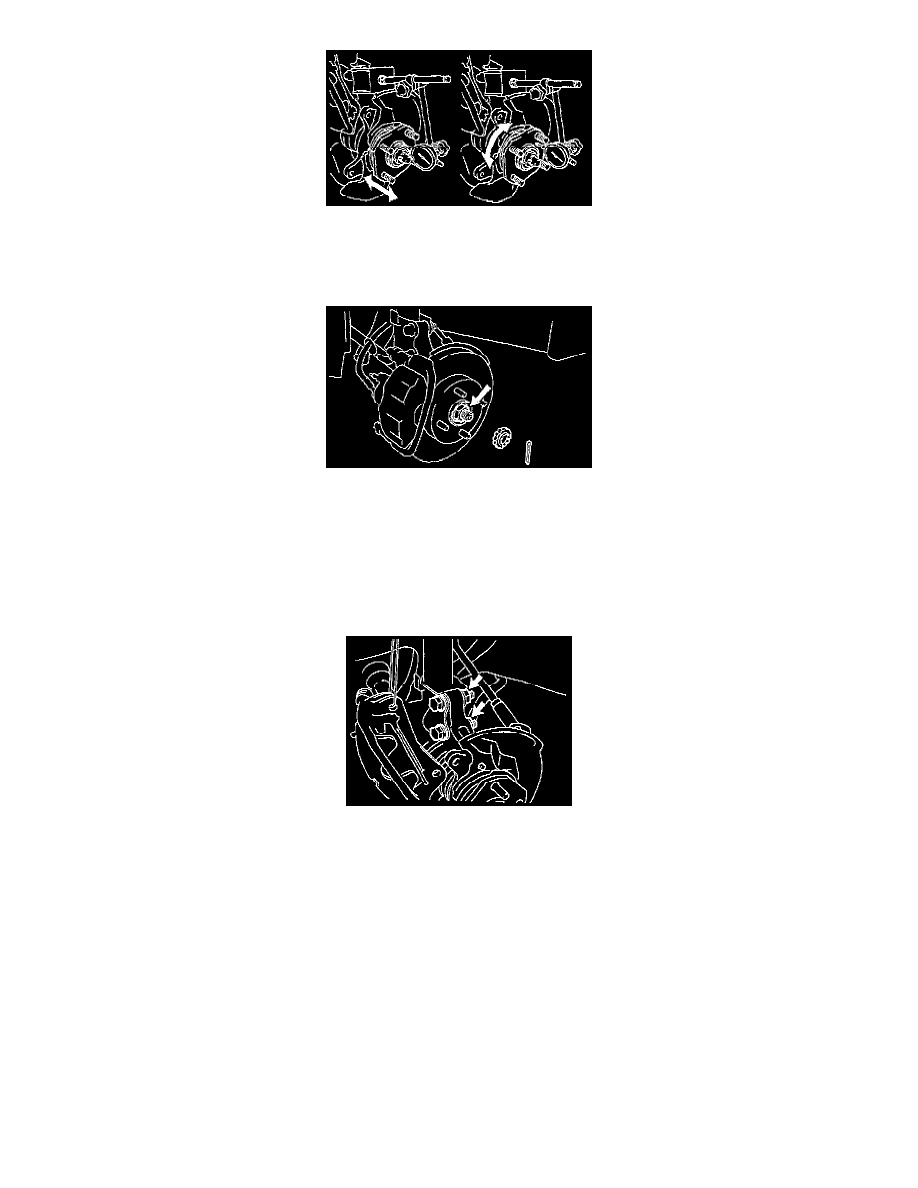
7. Loosen the two nuts on lower side of shock absorber
NOTE:
^
Do not remove the two bolts.
^
Before installation, coat the nut's threads with engine oil, and then tighten them to 153 Nm (113 ft. lbs.).
8. Disconnect the tie rod end from the steering knuckle by doing these steps.
a. Remove the cotter pin and nut.