
Paseo Coupe L4-1497cc 1.5L DOHC MFI (1997)
Valve Body: Service and Repair
On-Vehicle Repair
VALVE BODY REMOVAL
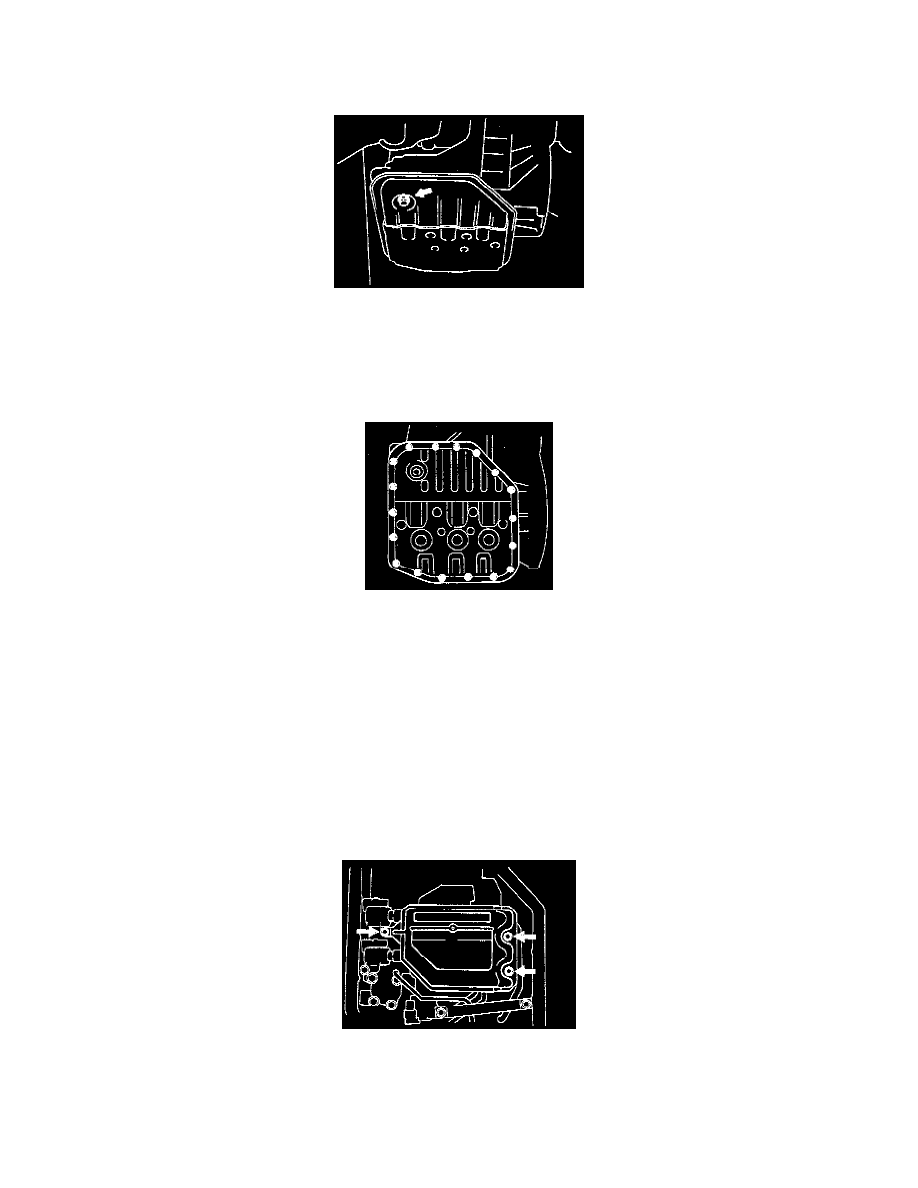
1. Drain ATF.
Remove the drain plug and gasket, and drain ATF into a suitable container.
Torque: 17 Nm (175 kgf/cm, 13 ft.lbs.)
NOTE: Replace the used gasket with a new one.
2. Remove oil pan and gasket.
Remove the 18 bolts, and carefully remove the oil pan assembly discarding the gasket.
Torque: 4.9 Nm (50 kgf/cm, 43 in.lbs.)
NOTE: Some fluid will remain in the oil pan. Replace the used gasket with a new one.
3. Examine particles in pan.
Remove the magnets and use them to collect any steel chips. Look at the chips and particles in the pan and on the magnet carefully to anticipate
what type of wear you will find in the transaxle:
-
Steel (magnetic): bearing, gear and plate wear
-
Brass (non-magnetic): bushing wear
NOTE: Make sure that the magnet does not interfere with the oil pipes.
4. Remove oil strainer.
a. Remove the 3 bolts and oil strainer.
Torque: 10 Nm (100 kgf/cm, 7 ft.lbs.)
NOTE: Be careful as some oil will come out with the strainer.