
Paseo Coupe L4-1497cc 1.5L DOHC MFI (1997)
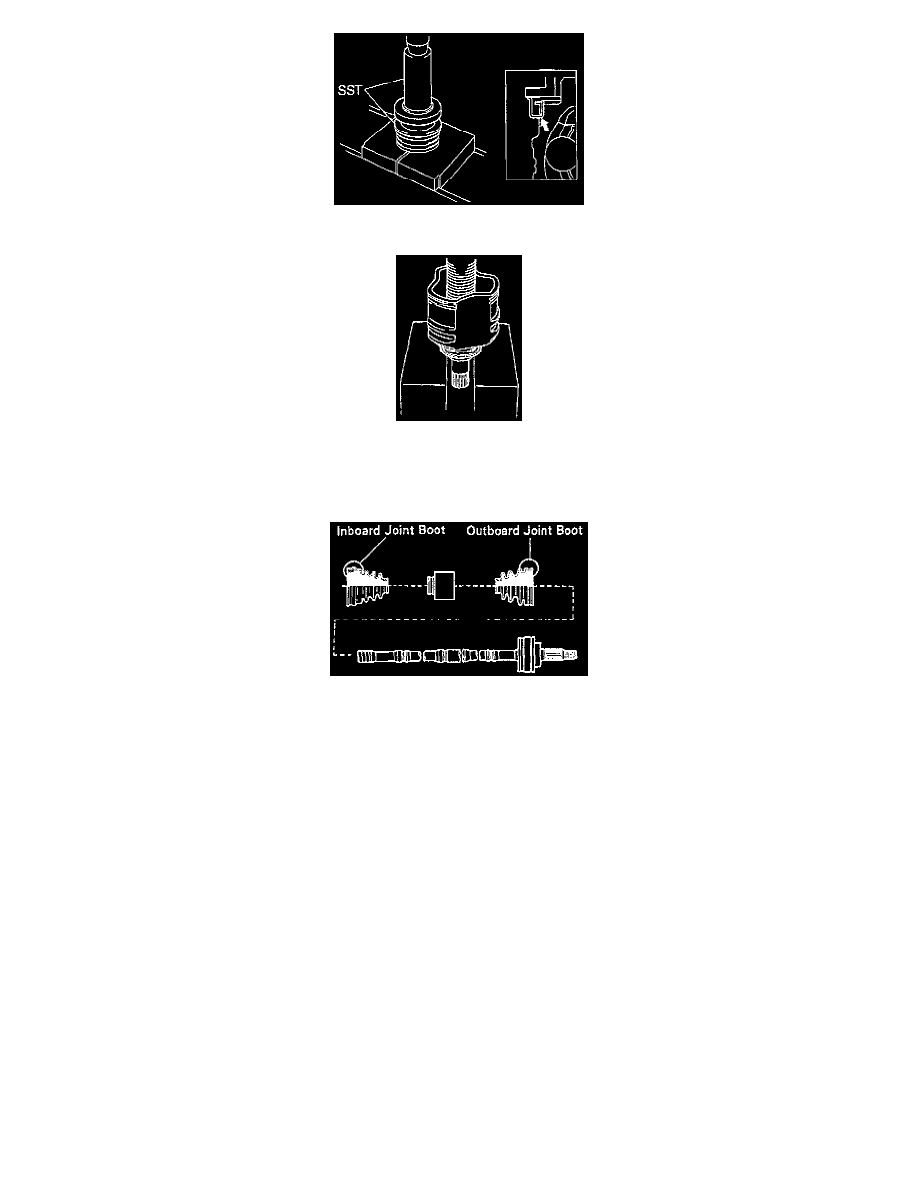
1. If the vehicle is w/o ABS, install the No.2 dust deflector by using the 09309 - 36010, 09316-20011 Special Service Tool (SST) and a press.
2. Using a press, install a new dust cover to the inboard joint tulip.
3. For the (righthand drive shaft), temporarily install the boots, clamps and the damper.
NOTE: Before installing the boot, wrap vinyl tape around the spline of the drive shaft to prevent damaging the boot.
a. Temporarily install a new outboard joint boot.
b. For the right hand drive shaft, temporarily install the damper.
c. Temporarily install a new inboard joint boot.
4. Install the tripod by doing the following.
a. Place the beveled side of the tripod axial spline toward the outboard joint.
b. Align the matchmarks before removal.
c. Using a brass bar and hammer, tap in the tripod to the drive shaft.
NOTE: Do not tap the roller.
d. Using a snap ring expander, install a new snap ring.
5. Before assembling the boot, pack the outboard joint and boot with grease in the boot kit, then install boot to outboard joint.
6. Install the inboard joint to front drive shaft by doing the following.
a. Pack the inboard tulip and boot with grease in the boot kit.
b. Align the matchmarks placed before disassembly.
c. Install the inboard joint tulip to the drive shaft.
d. Temporarily install the boot to the inboard joint tulip.
7. Assemble boot clamps to both of the boots, doing this.
a. Make sure the two boots are on the shaft groove.