
Paseo Coupe L4-1497cc 1.5L DOHC MFI (1997)
Using 2 screwdrivers and a hammer, tap out the snap ring.
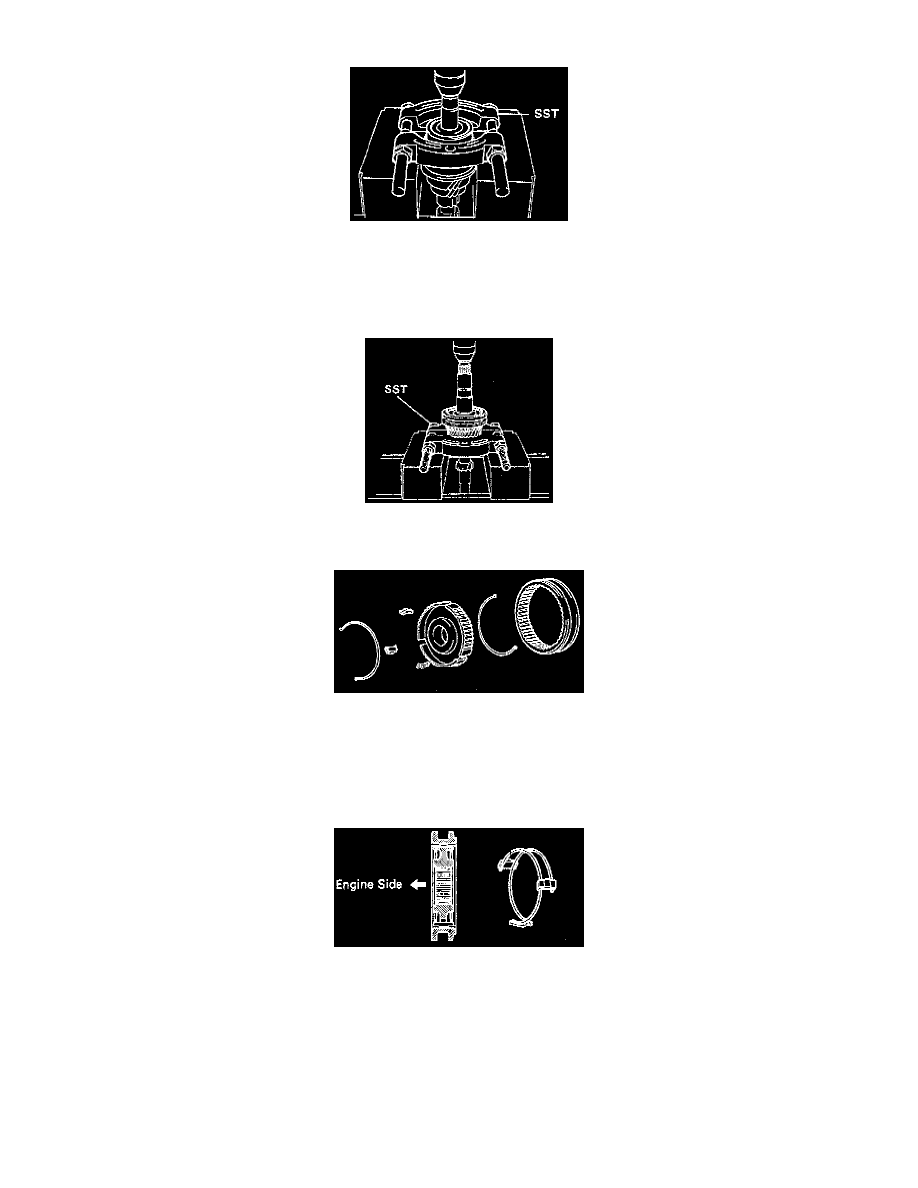
4. Remove rear ball bearing, 4TH gear, needle roller bearing, spacer and synchronizer ring from input shaft.
a. Using Special Service Tool (SST) 09950 - 00020 or equivalent, and a press, remove the rear ball bearing.
b. Remove the 4th gear, needle roller bearings, spacer and synchronizer ring.
5. Remove snap ring.
Using 2 screwdrivers and a hammer, tap out the snap ring.
6. Remove No.2 hub sleeve assembly, 3RD gear, synchronizer ring and needle roller bearing.
Using SST 09950 - 00020 and a press, remove the No.2 hub sleeve assembly, 3rd gear, synchronizer ring and needle roller bearings.
7. Remove no.2 hub sleeve, shifting key and spring from no.2 clutch hub.
Using a screwdriver, remove the 3 shifting keys and 2 springs from the No.2 clutch hub.
INPUT SHAFT ASSEMBLY
NOTE: Coat all of the sliding and rotating surfaces with gear oil before assembly.
1. Install No.2 clutch hub into hub sleeve.
a. Install the clutch hub and shifting keys to the hub sleeve.
b. Install the shifting key springs under the shifting keys.
NOTE: Position the key springs so that their end gaps are not in line.