
Previa Van LE 4WD L4-2438cc 2.4L DOHC SC MFI (1997)
Brake Pedal Assy: Adjustments
1. Disconnect the connector from the Stop Light Switch.
2. Loosen the Stop Light Switch lock nut and remove the Stop Light Switch.
3. Loosen the push rod lock nut.
4. Adjust the pedal height by turning the pedal push rod.
5. Tighten the clevis lock nut.
-
Torque 25 Nm (19 ft. lbs.)
6. Temporarily install the Stop Light Switch and lock nut to the pedal bracket.
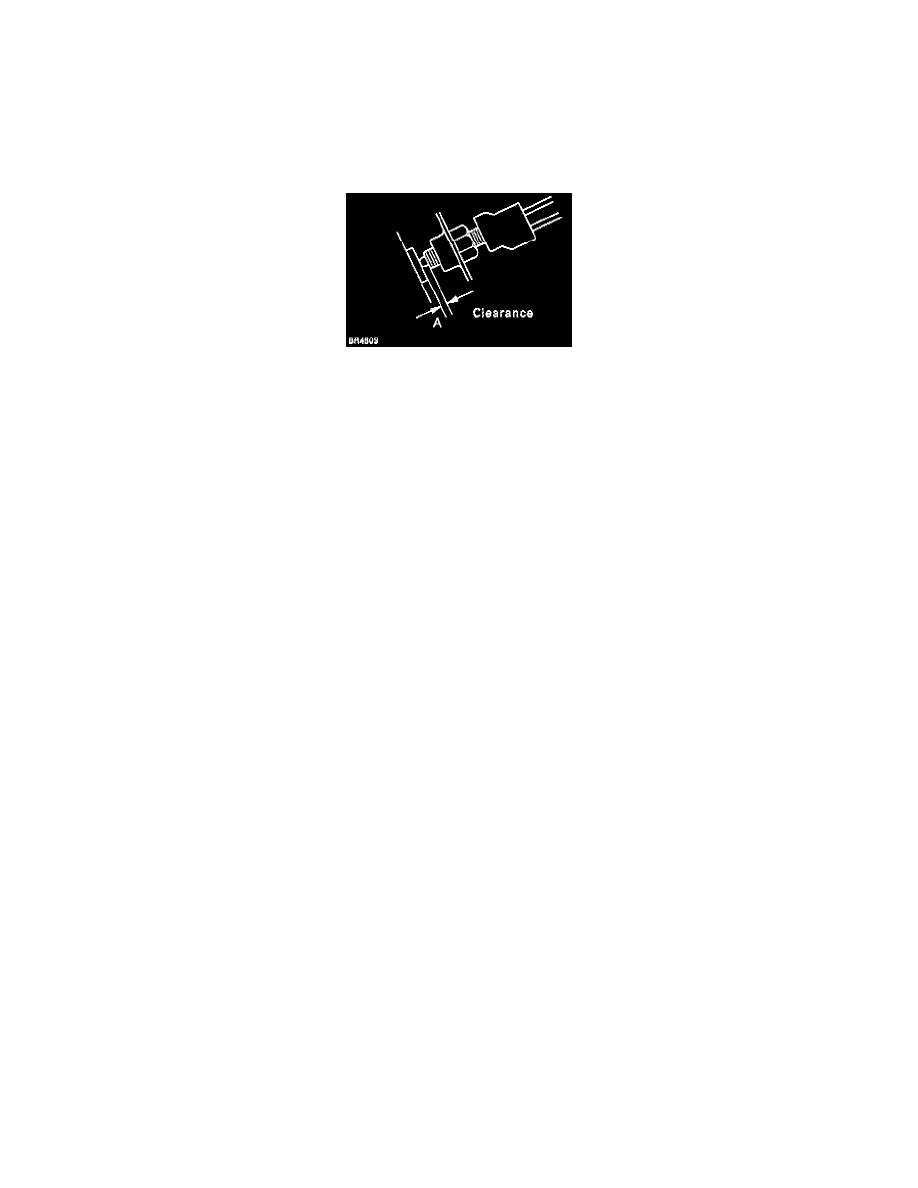
Adjust Stop Light Clearance (A)
7. Adjust the Stop Light Switch clearance (A) by turning the Stop Light Switch.
-
Clearance: 0.5 - 2.4 mm (0.020 - 0.094 inch)
8. Tighten the Stop Light Switch lock nut.
9. Check that the stop lights come on when the Brake Pedal is depressed, and go off when the Brake Pedal is released.
10. After adjusting the pedal height, check the pedal freeplay.
NOTE: If clearance (A) between the Stop Light Switch and the pedal stopper has been adjusted correctly, the pedal freeplay will meet the
specifications.